



Your first trade show involves more than booking booth space and showing up with a display.
You may need to choose the right booth setup, prepare graphics, order electricity or internet, arrange shipping, understand material handling, train staff, and create a plan for collecting leads.
The key is not to make your first booth as large or complicated as possible. It is to choose a setup that supports your goal, fits the event requirements, and can be managed by your team.
This guide covers the essential steps for planning your first trade show.
First-Time Trade Show Timeline
Every event has its own deadlines, so always use the official exhibitor manual as your primary schedule.
| Time Before the Show | Main Tasks |
|---|---|
| 12+ weeks | Set goals, book booth space and build a budget |
| 8–12 weeks | Choose your display and begin artwork |
| 6–8 weeks | Order venue services and plan shipping |
| 4–6 weeks | Approve graphics and confirm staff |
| 2–4 weeks | Test equipment and confirm deliveries |
| Show week | Install, inspect and operate the booth |
| After the show | Follow up with leads and review results |
If your show is less than eight weeks away, start with the exhibitor manual, display selection, and shipping plan. These areas often have the most important deadlines.
1. Start With a Clear Goal
Before choosing a display or designing your graphics, decide what success looks like.
Your main goal might be:
-
Generate qualified leads
-
Demonstrate a product
-
Launch a new product
-
Meet distributors or partners
-
Build brand awareness
-
Sell products at the show
Choose one primary goal.
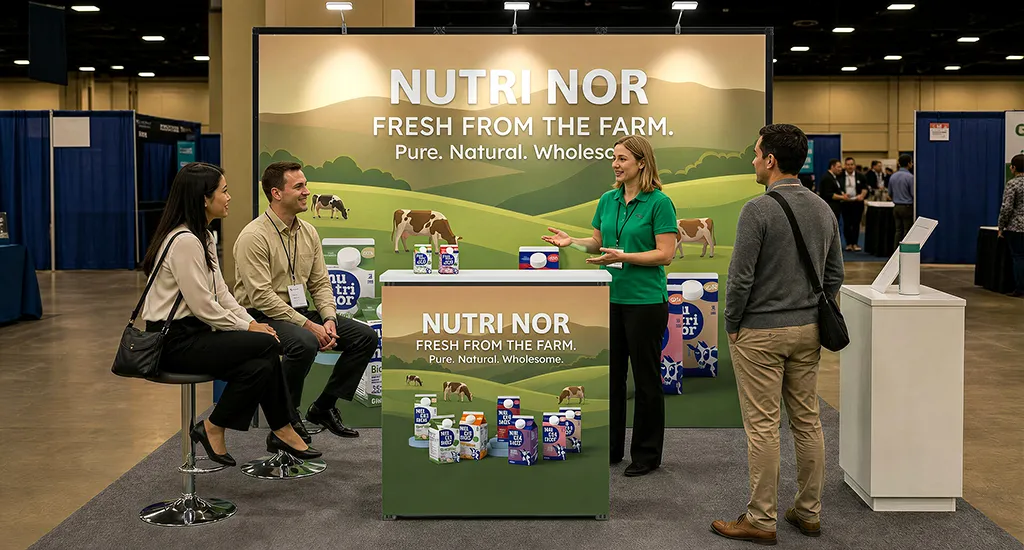
For example, a lead-generation booth needs an open layout and a simple way to collect visitor information. A product demonstration may require more floor space, equipment, and room for visitors to stop and watch.
Set measurable targets such as qualified leads collected, demonstrations completed, meetings booked, quotes requested, or sales opportunities created.
Your goal should guide the booth layout, graphics, staffing, and call to action.
2. Read the Exhibitor Manual Before Buying Anything
For a first-time exhibitor, the exhibitor manual is one of the most important planning documents.
It may include rules and deadlines for:
-
Booth height and construction
-
Move-in and move-out
-
Shipping and receiving
-
Material handling or drayage
-
Electricity and internet
-
Installation labor
-
Insurance
-
Staff registration
-
Fire and safety requirements
Do not wait until your display has been ordered to review these requirements.
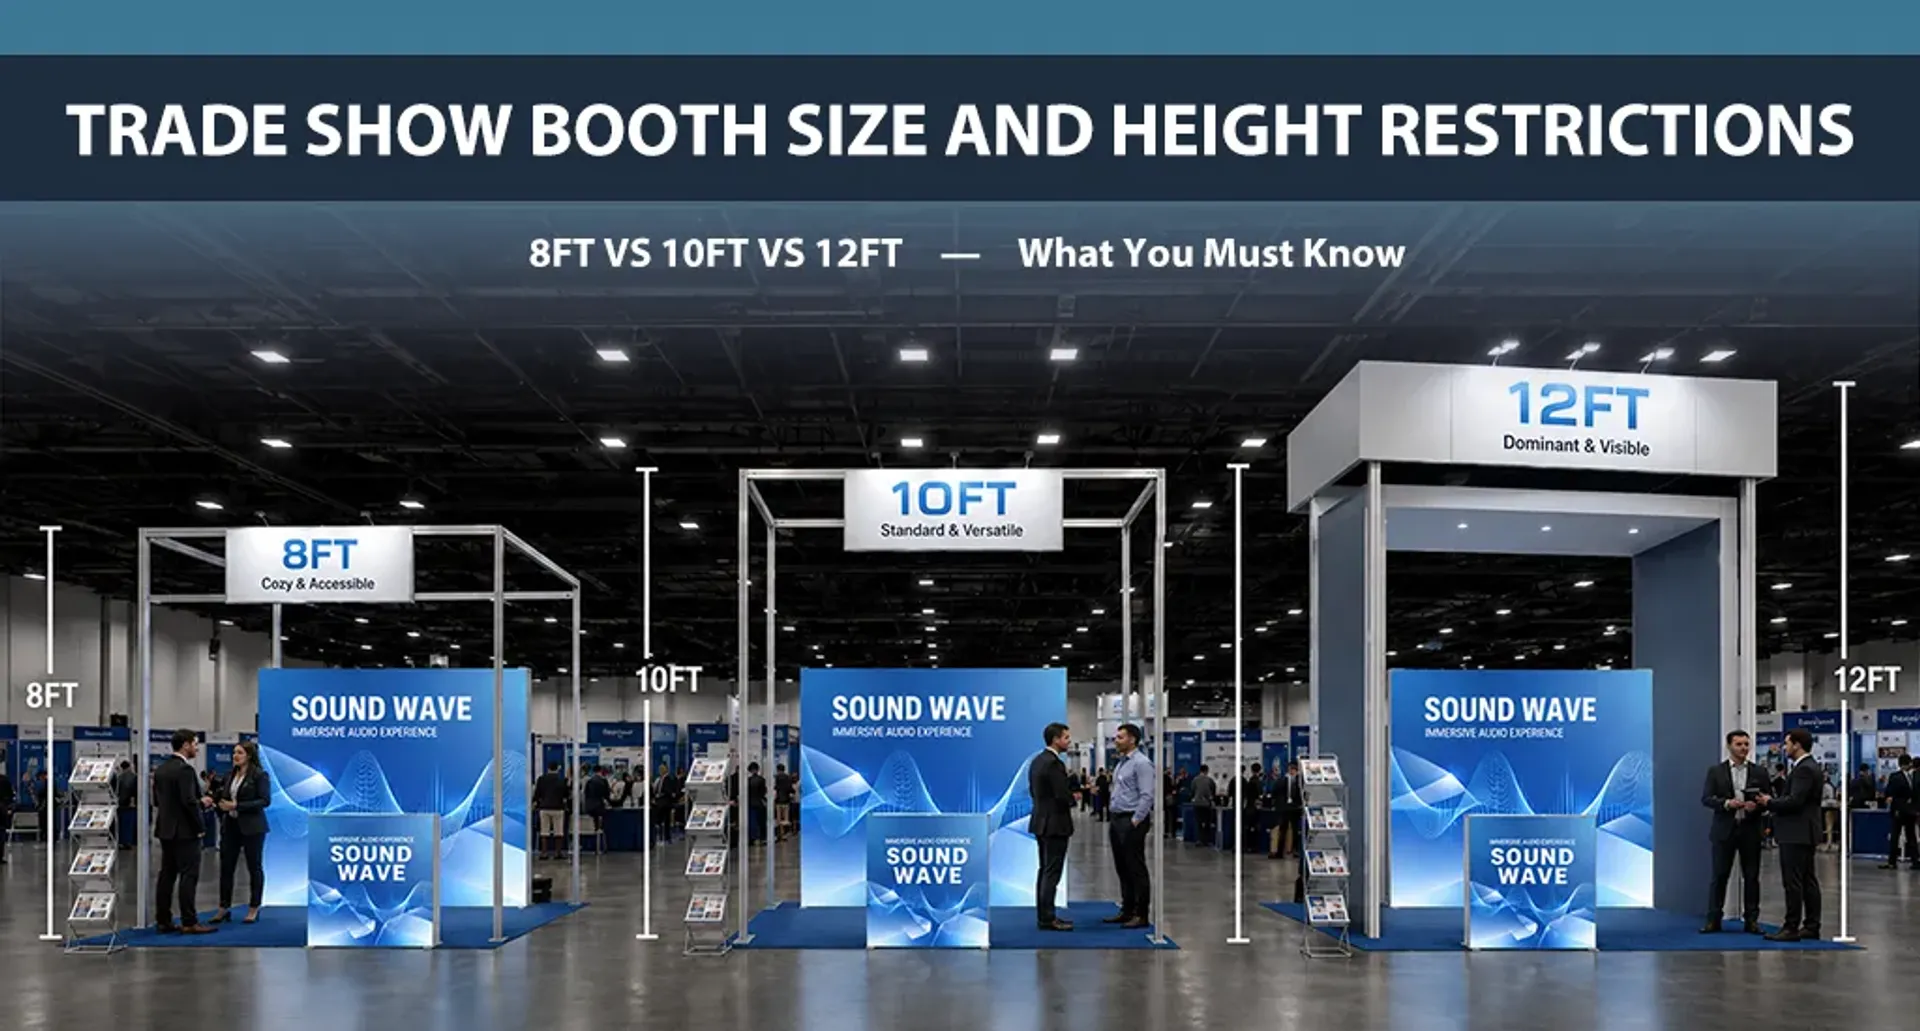
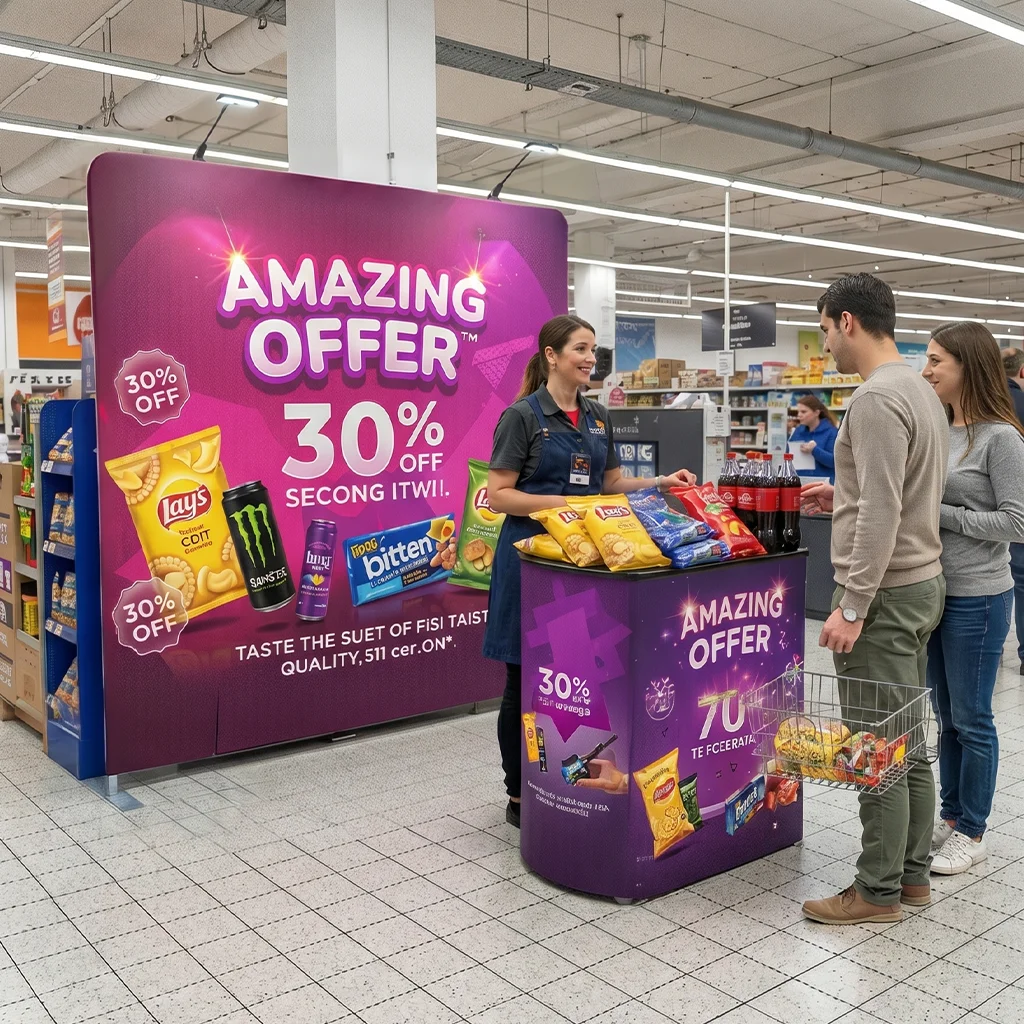
For example, your booth design may depend on height restrictions, while your setup plan may be affected by labor rules or electrical requirements. Shipping deadlines can also affect when your display needs to be produced.
Create one checklist with every deadline and assign responsibility for each item.
3. Budget for the Complete Event
The booth space and display are not your only costs.
A first-time exhibitor should also check whether the budget needs to cover:
-
Shipping and material handling
-
Electricity and internet
-
Furniture or flooring
-
Installation and dismantling
-
Monitors or AV equipment
-
Lead retrieval
-
Staff travel
-
Marketing materials
-
Insurance
-
Return shipping and storage
Do not assume these services are included with the booth space.
One common mistake is ordering venue services late. Advance-order deadlines may offer lower prices than ordering on-site, so identify required services early.
Leave some room in the budget for unexpected expenses. A missing adapter, additional electrical need, or last-minute service order can quickly add cost.
4. Choose a Booth and Display Your Team Can Manage
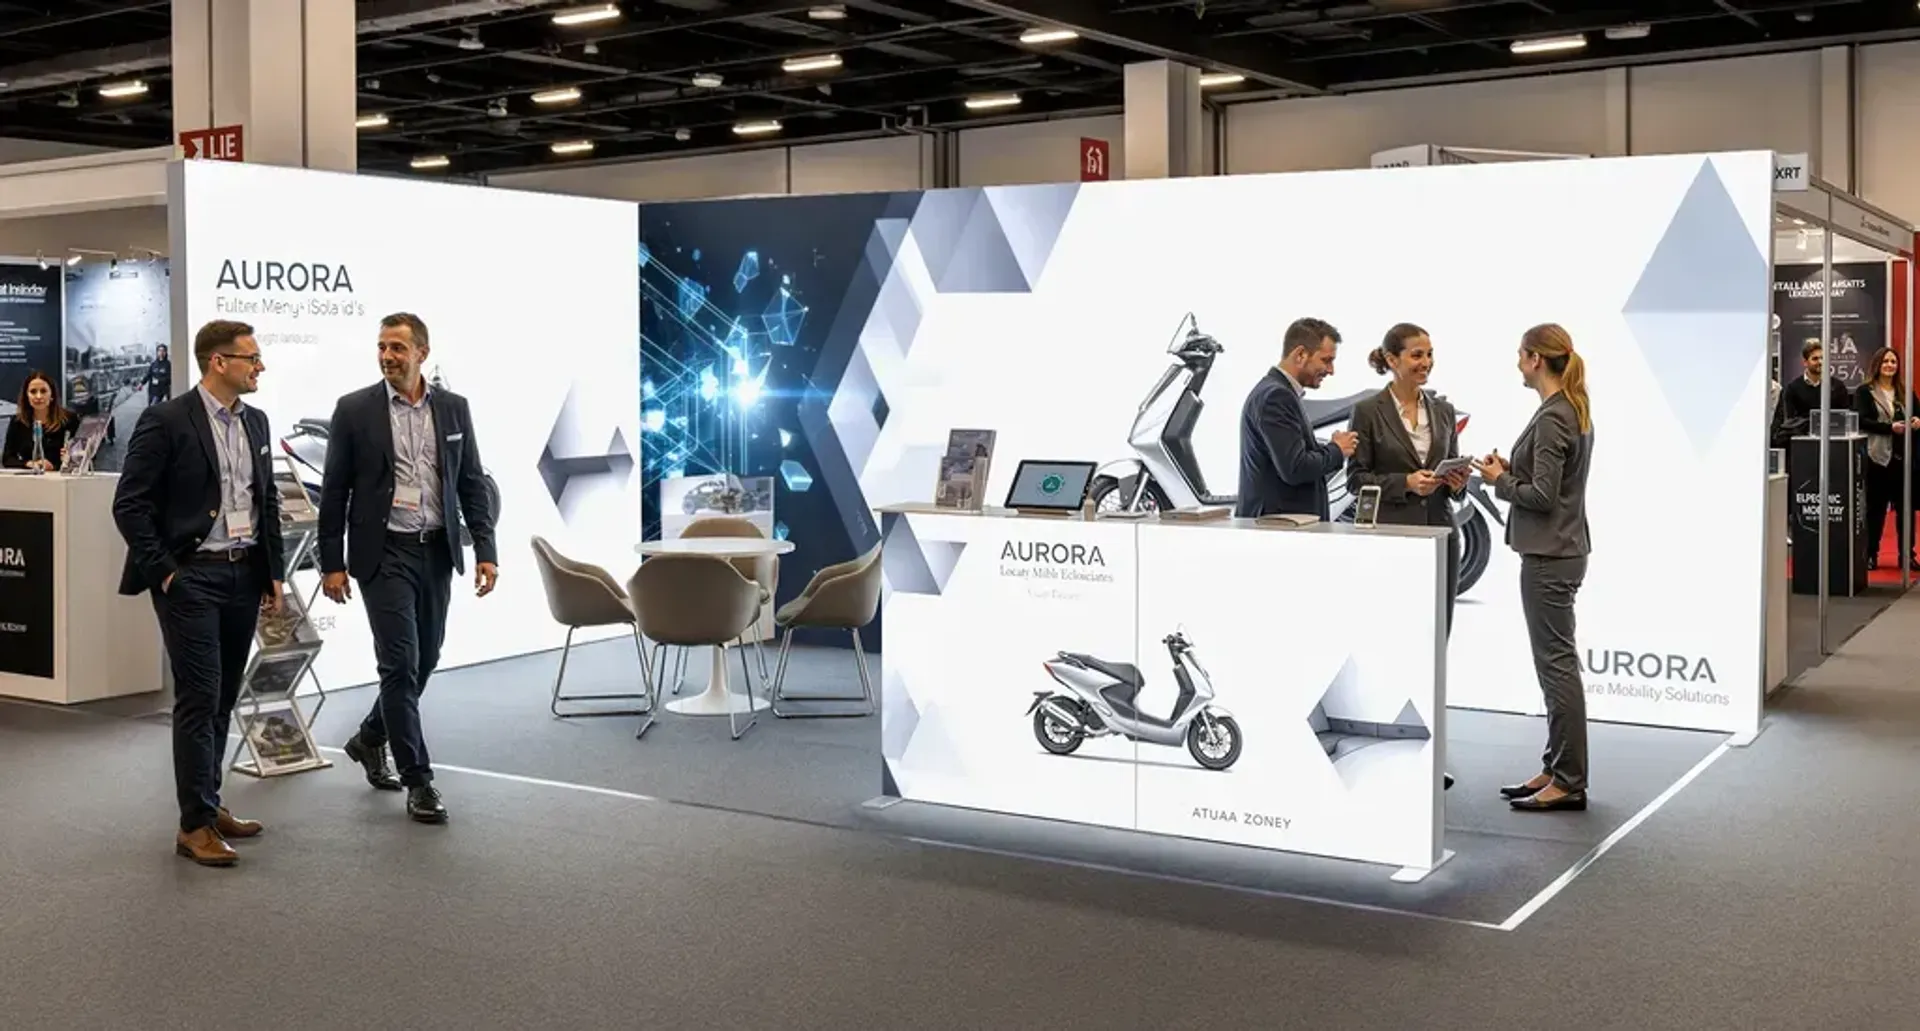
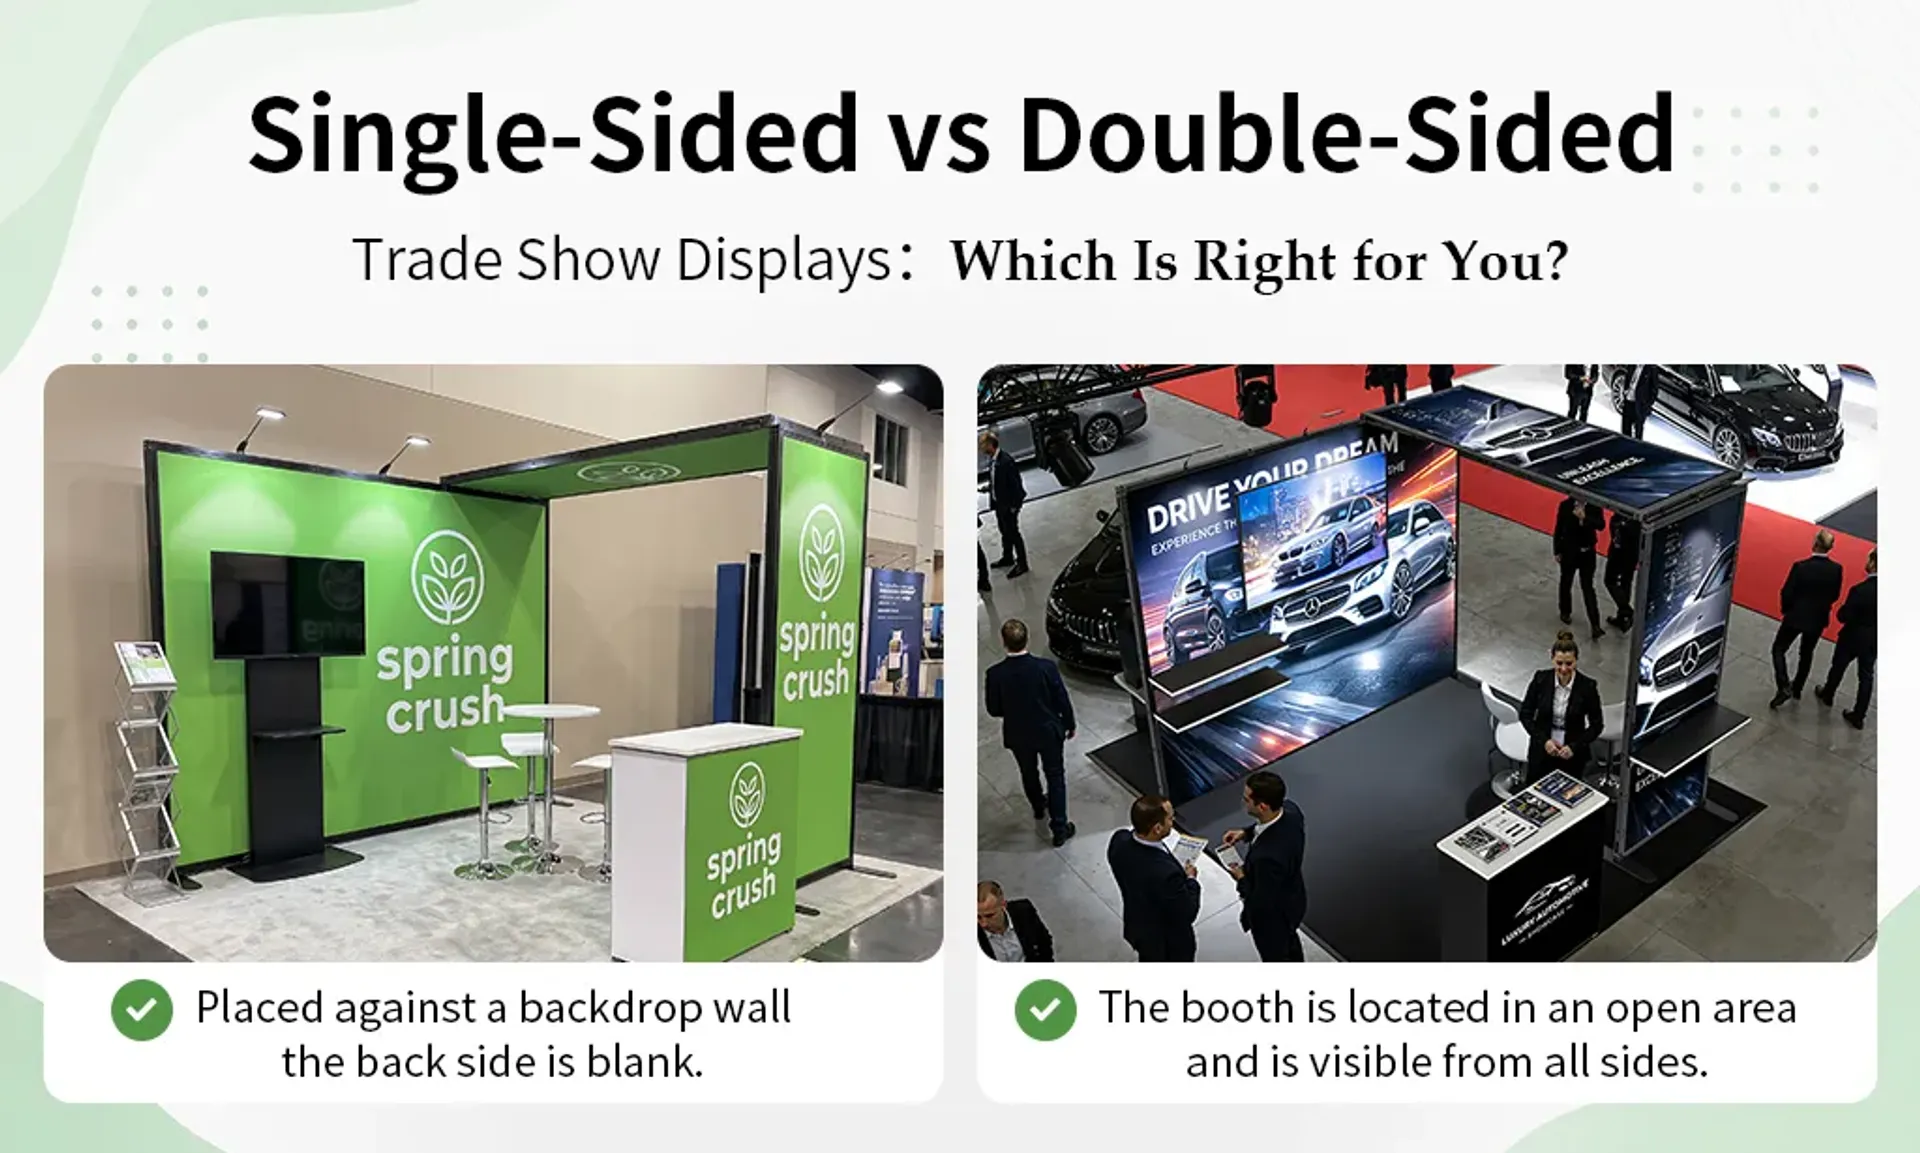
For many first-time exhibitors, a 10x10 inline or corner booth is a practical starting point.
An inline booth gives you one main visitor-facing side. A corner booth has two open sides and can provide better visibility and visitor access.
When choosing a display, think about more than appearance. Consider how it will be transported, installed, stored, and reused.
Tension Fabric Display
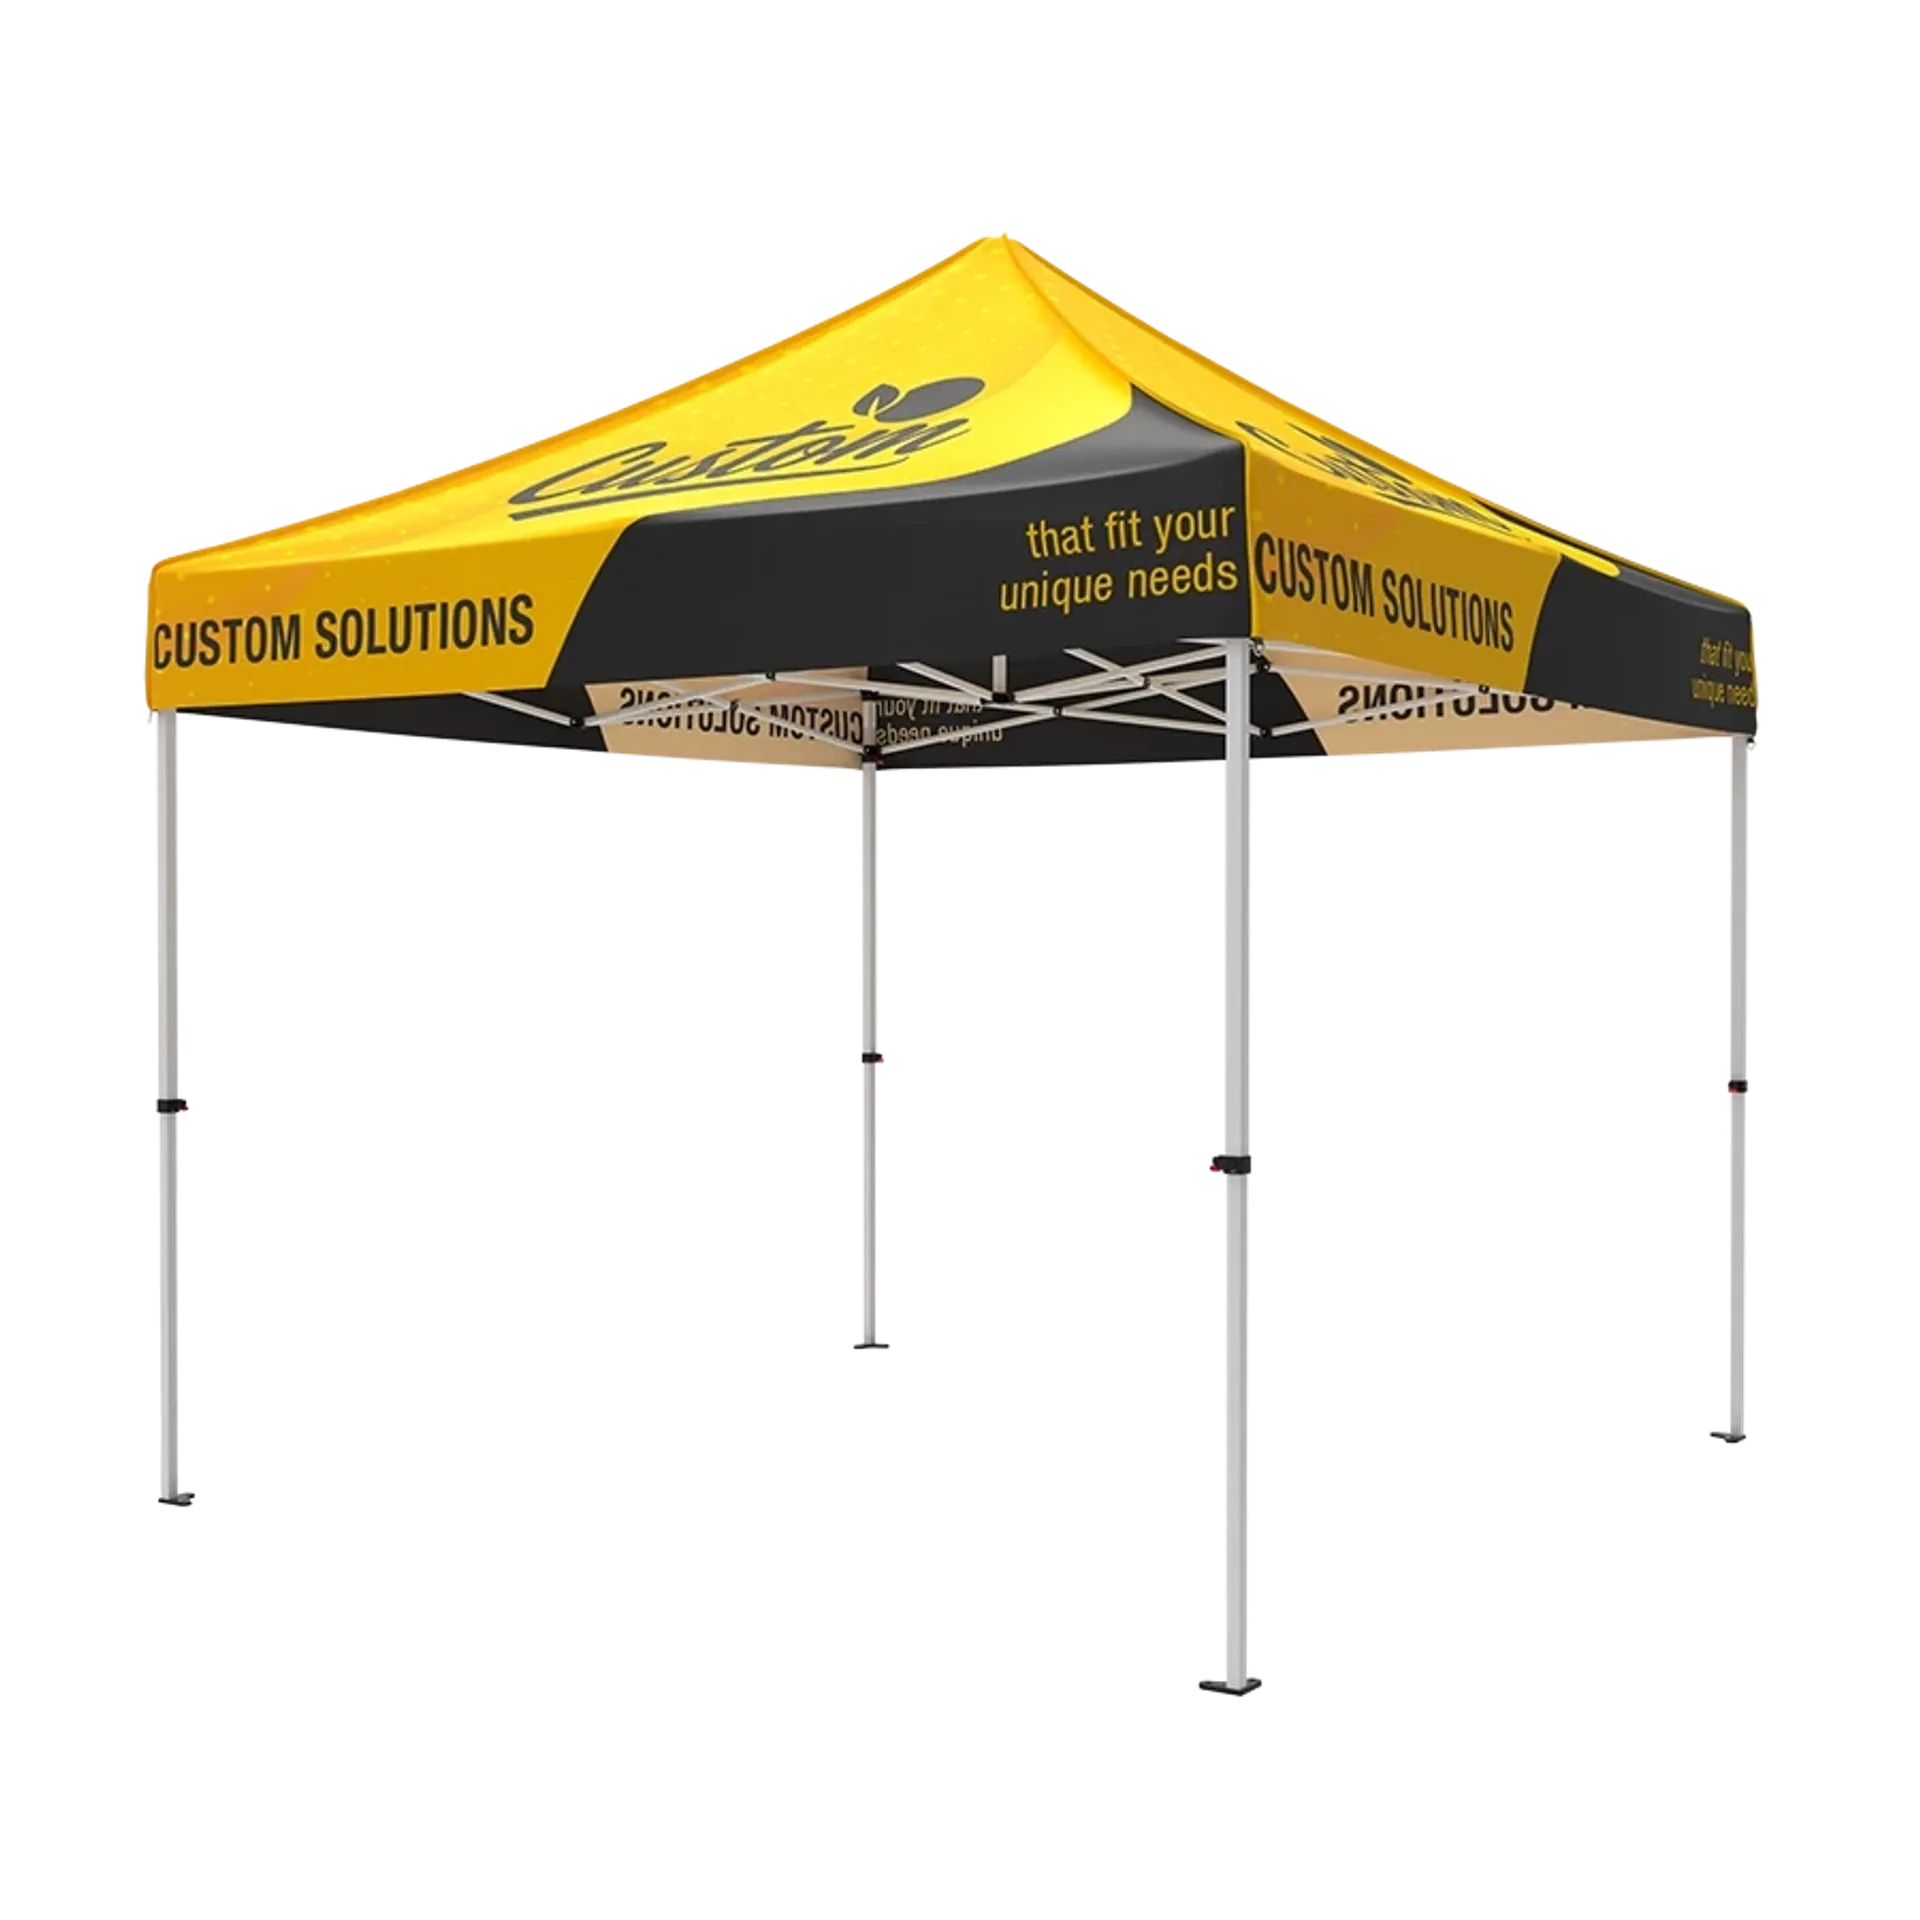
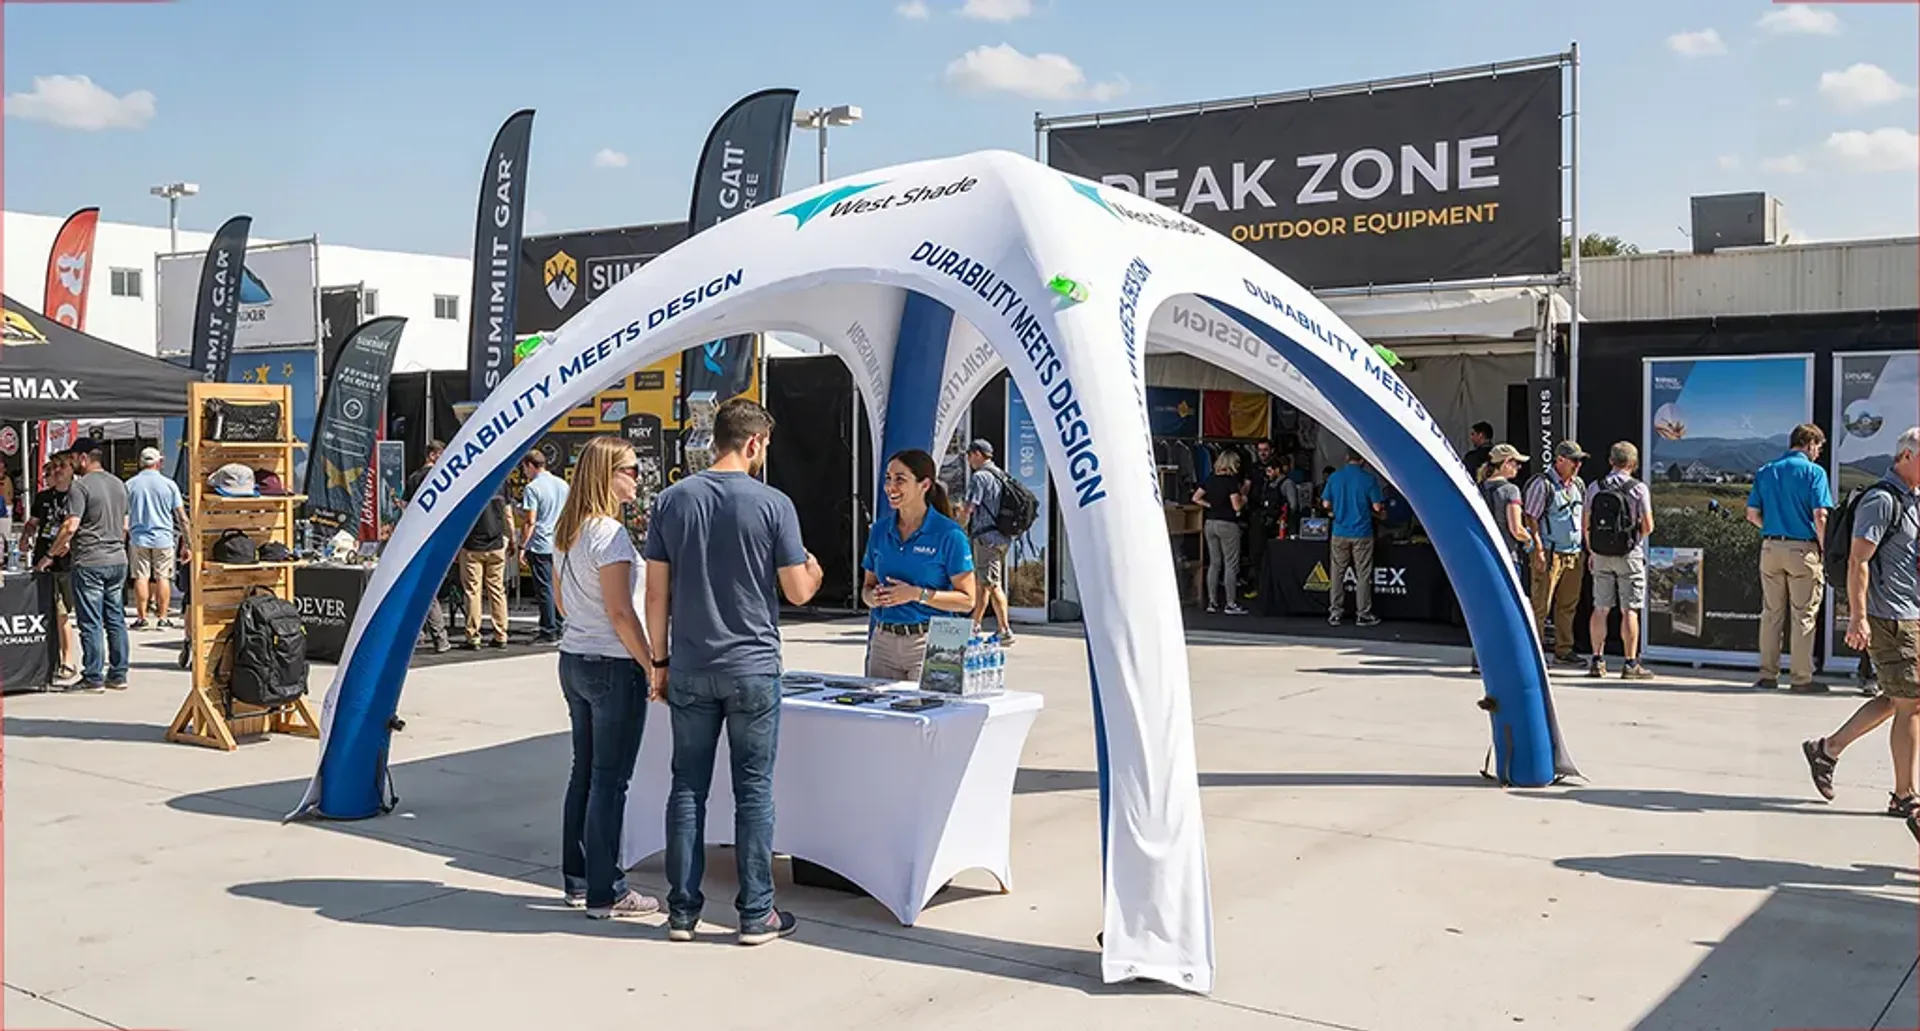
A lightweight option for creating a clean branded backdrop. It can be a good choice when portability and simple setup are priorities.
Pop-Up Display
Uses a collapsible frame and is suitable for exhibitors who need a compact display for repeated events.
Modular Booth
Can be configured for different spaces and may include counters, shelves, or monitor mounts. It is useful for companies planning to exhibit regularly or expand into larger spaces.
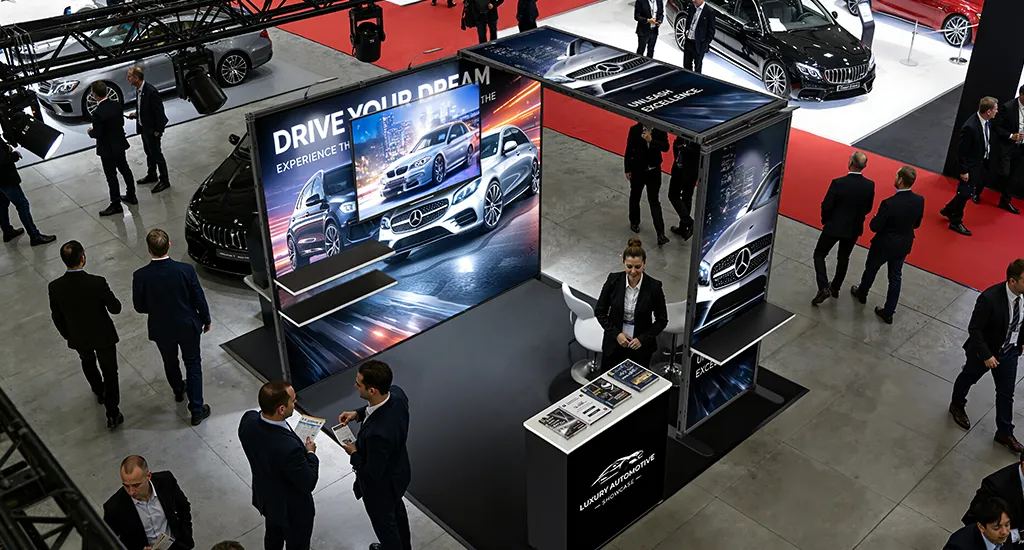
Backlit Display
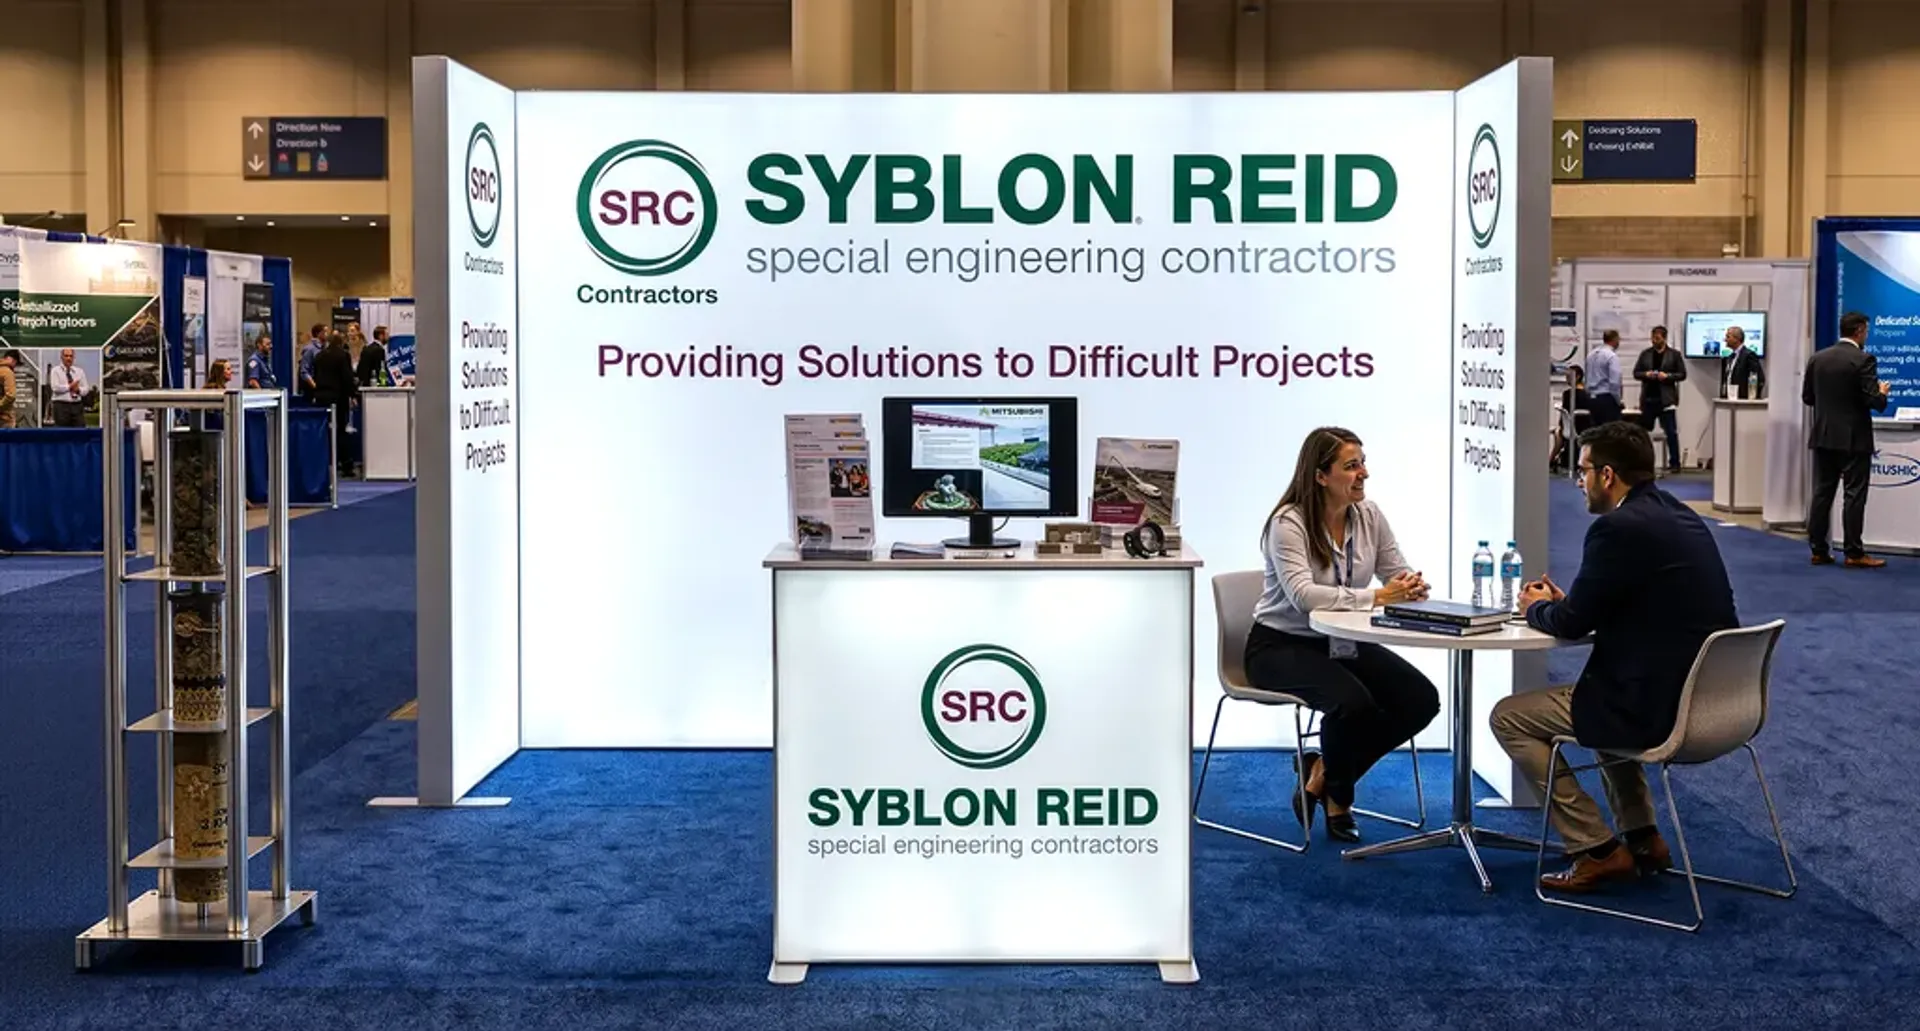
Uses illuminated graphics for stronger visual impact. It may require additional electrical planning but can help your booth stand out in a busy exhibit hall.
Before choosing, check packed weight, number of cases, setup requirements, graphic replacement options, and whether the system can be reused for future events.
For a first show, a booth your team can operate confidently is often a better choice than a more complicated system with features you do not need.
5. Plan the Layout and Graphics Together
A visitor should quickly understand:
What does your company do?
Why should they stop?
What should they do next?
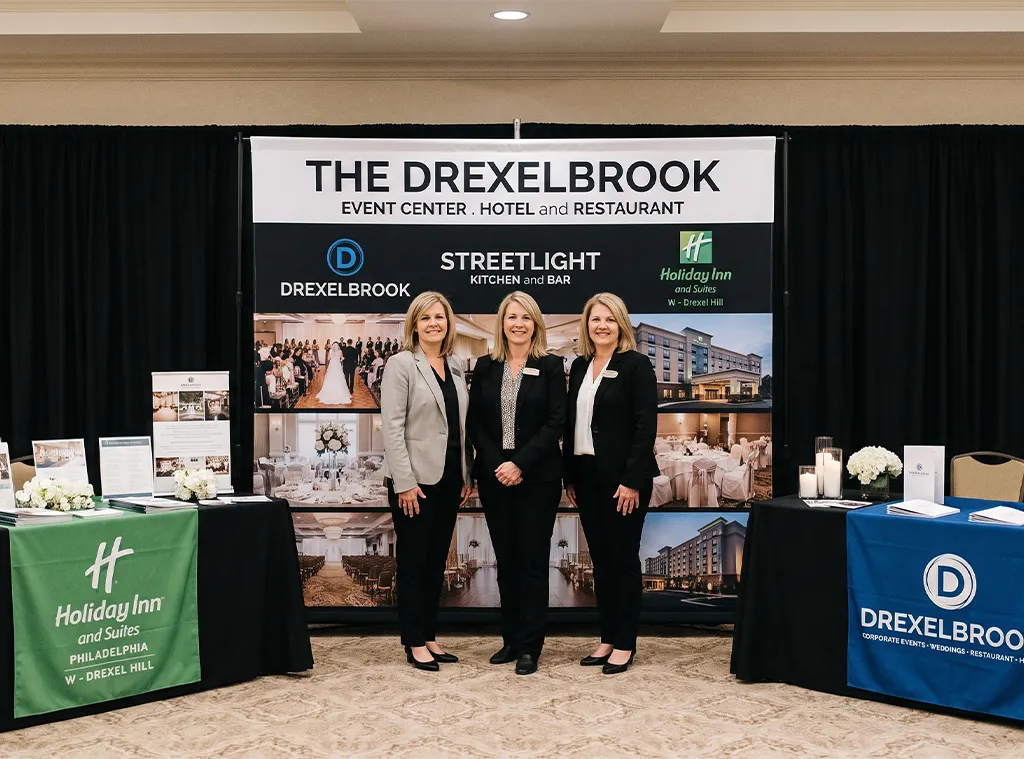
In a small booth, avoid placing a large table directly across the entrance if it prevents visitors from stepping inside or talking comfortably.
A simple 10x10 setup may include:
-
One branded backwall
-
One compact counter
-
One secondary display or product area
-
A lead-capture device
-
Two staff members
-
Storage inside or behind the counter
Keep the main message visible from the aisle.
Your primary graphic usually does not need to explain everything about your company. Focus on a visible logo, one clear benefit or message, and a strong supporting visual.
Detailed product information can be provided through staff conversations, monitors, printed materials, or a QR code.
If you do not have a print-ready booth design, you can provide your logo, text, images, brand colors, and design references. WestShade can prepare artwork for the specific display system and provide a digital proof for review before production.
6. Handle Venue Services and Shipping Early
Depending on the event, you may need to order electricity, internet, flooring, furniture, AV equipment, lead retrieval, or installation services.
If your booth includes backlighting, monitors, laptops, or other equipment, list every powered device before ordering electrical service.
Understand Shipping and Material Handling
Shipping and material handling are not the same.
Shipping is transporting your display and materials to the event.
Material handling, often called drayage, generally covers receiving and moving exhibit shipments within the event facility. Requirements and charges vary by show.
Many events offer advance warehouse and direct-to-show-site delivery. Check the deadlines and instructions before choosing.
For every shipment:
-
Use the correct event shipping labels
-
Include your company name and booth number
-
Keep tracking information
-
Record the number of pieces shipped
-
Plan return shipping before the event ends
Shipping problems are easier to manage when the display supplier, event deadlines, and transportation plan are coordinated early.
7. Prepare Your Staff and Lead Process
A badge scan is not automatically a qualified lead.
Before the show, decide what your team needs to record, such as:
-
Company and contact details
-
Product interest
-
Customer needs
-
Purchase timeline
-
Required follow-up
-
Next step or assigned sales representative
Keep the process simple enough to use during a busy event.
Staff should understand the main booth message, target visitor, product priorities, and lead process before arriving.
Avoid having the entire team sit behind a table or focus on their phones. At least one person should be available to greet visitors and begin conversations.
Test your lead-capture system before the event and prepare a backup method if needed.

8. Check the Booth Before Opening
Arrive early enough to solve problems before visitors enter.
Confirm that:
-
All shipments have arrived
-
Graphics and frames are undamaged
-
Lights, monitors, and devices work
-
QR codes and lead forms have been tested
-
Important graphics are not blocked
-
The booth is clean and ready
Stand in the aisle and view the booth as a visitor would.
Can you immediately identify the company and understand the main message?
If not, adjust the graphics, furniture, or equipment placement before the show opens.
Keep important presentation files available offline. Venue Wi-Fi may not always be reliable enough for a live demonstration.
9. Follow Up Quickly and Review the Results
Follow up with your most qualified leads first.
Do not send the same generic message to every visitor. Use the notes collected during the conversation and refer to the product, problem, or next step discussed.
After the show, review:
-
Qualified leads
-
Meetings completed
-
Demonstrations performed
-
Quotes requested
-
Sales opportunities created
-
Booth and staffing issues
-
Setup or shipping problems
These results will help you decide what to improve for the next event.
Some trade show leads may take months to become customers, so track them in your CRM rather than judging the event only by immediate sales.
First-Time Exhibitor Checklist
Before leaving for the show, confirm that:
-
Booth space and location are confirmed
-
The exhibitor manual has been reviewed
-
Required forms and deadlines are complete
-
The display meets event requirements
-
Graphics have been approved
-
Venue services have been ordered
-
Staff registration and insurance are complete
-
Shipping labels and tracking information are ready
-
Return shipping is planned
-
Staff understand their roles
-
Lead capture has been tested
-
Important files are available offline
Frequently Asked Questions
What size booth is best for a first-time exhibitor?
A 10x10 inline or corner booth is often easier to budget, design, transport, and staff. Choose a larger booth only when your products or visitor experience require more space.
How far in advance should I start planning?
Starting 8–12 weeks before the show gives you more time for display selection, artwork approval, production, venue orders, and shipping. Always check the event's specific deadlines.
Can I use my own booth design?
Yes. If you already have finished artwork, it can be reviewed for the selected display. If not, you can provide your logo, text, images, and brand references for a product-specific design and digital proof.
Get Ready for Your First Trade Show
Your first trade show does not need to be complicated.
Start with a clear goal, use the exhibitor manual to guide your deadlines, choose a display your team can manage, and plan venue services and shipping early.
A clear message, practical layout, and well-prepared team can have a greater impact than adding unnecessary size or complexity to your booth.
WestShade offers portable tension fabric, pop-up, modular, and backlit display solutions for a range of event spaces. Share your booth size, event goals, and budget with our team to compare suitable options and receive a free custom design mockup.