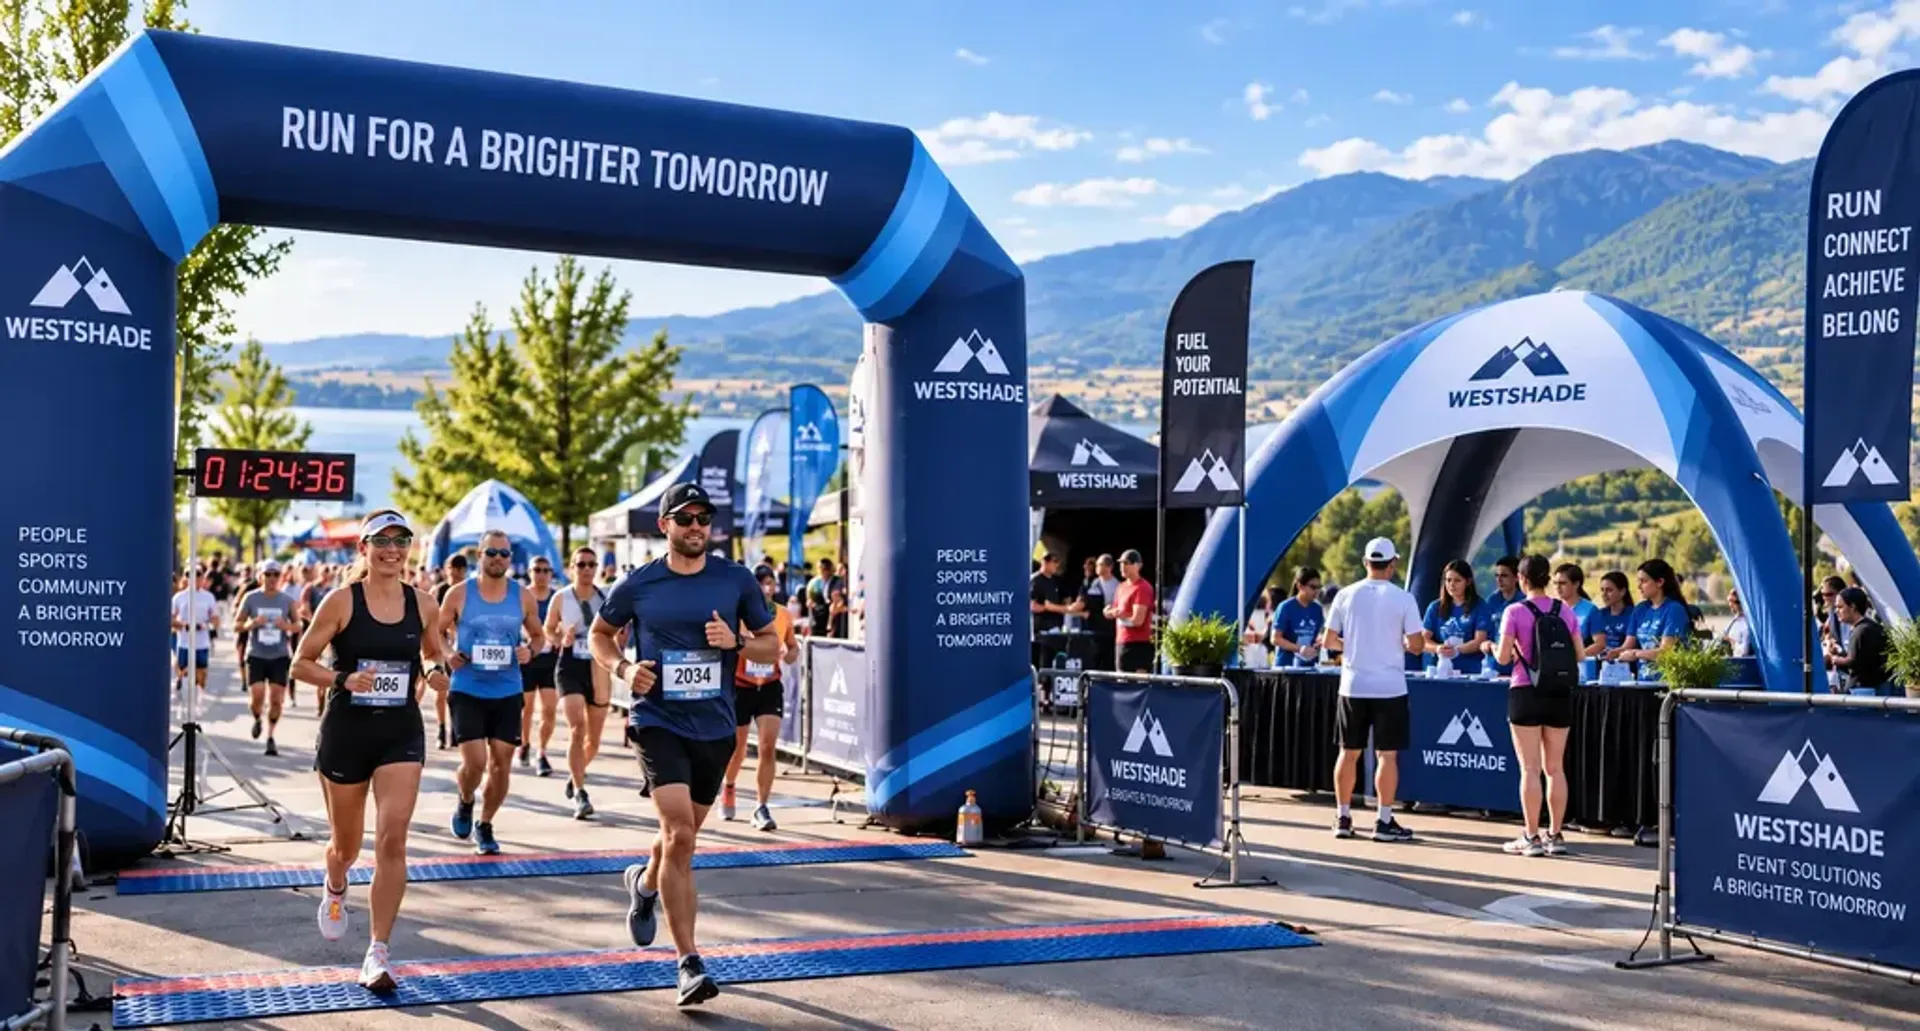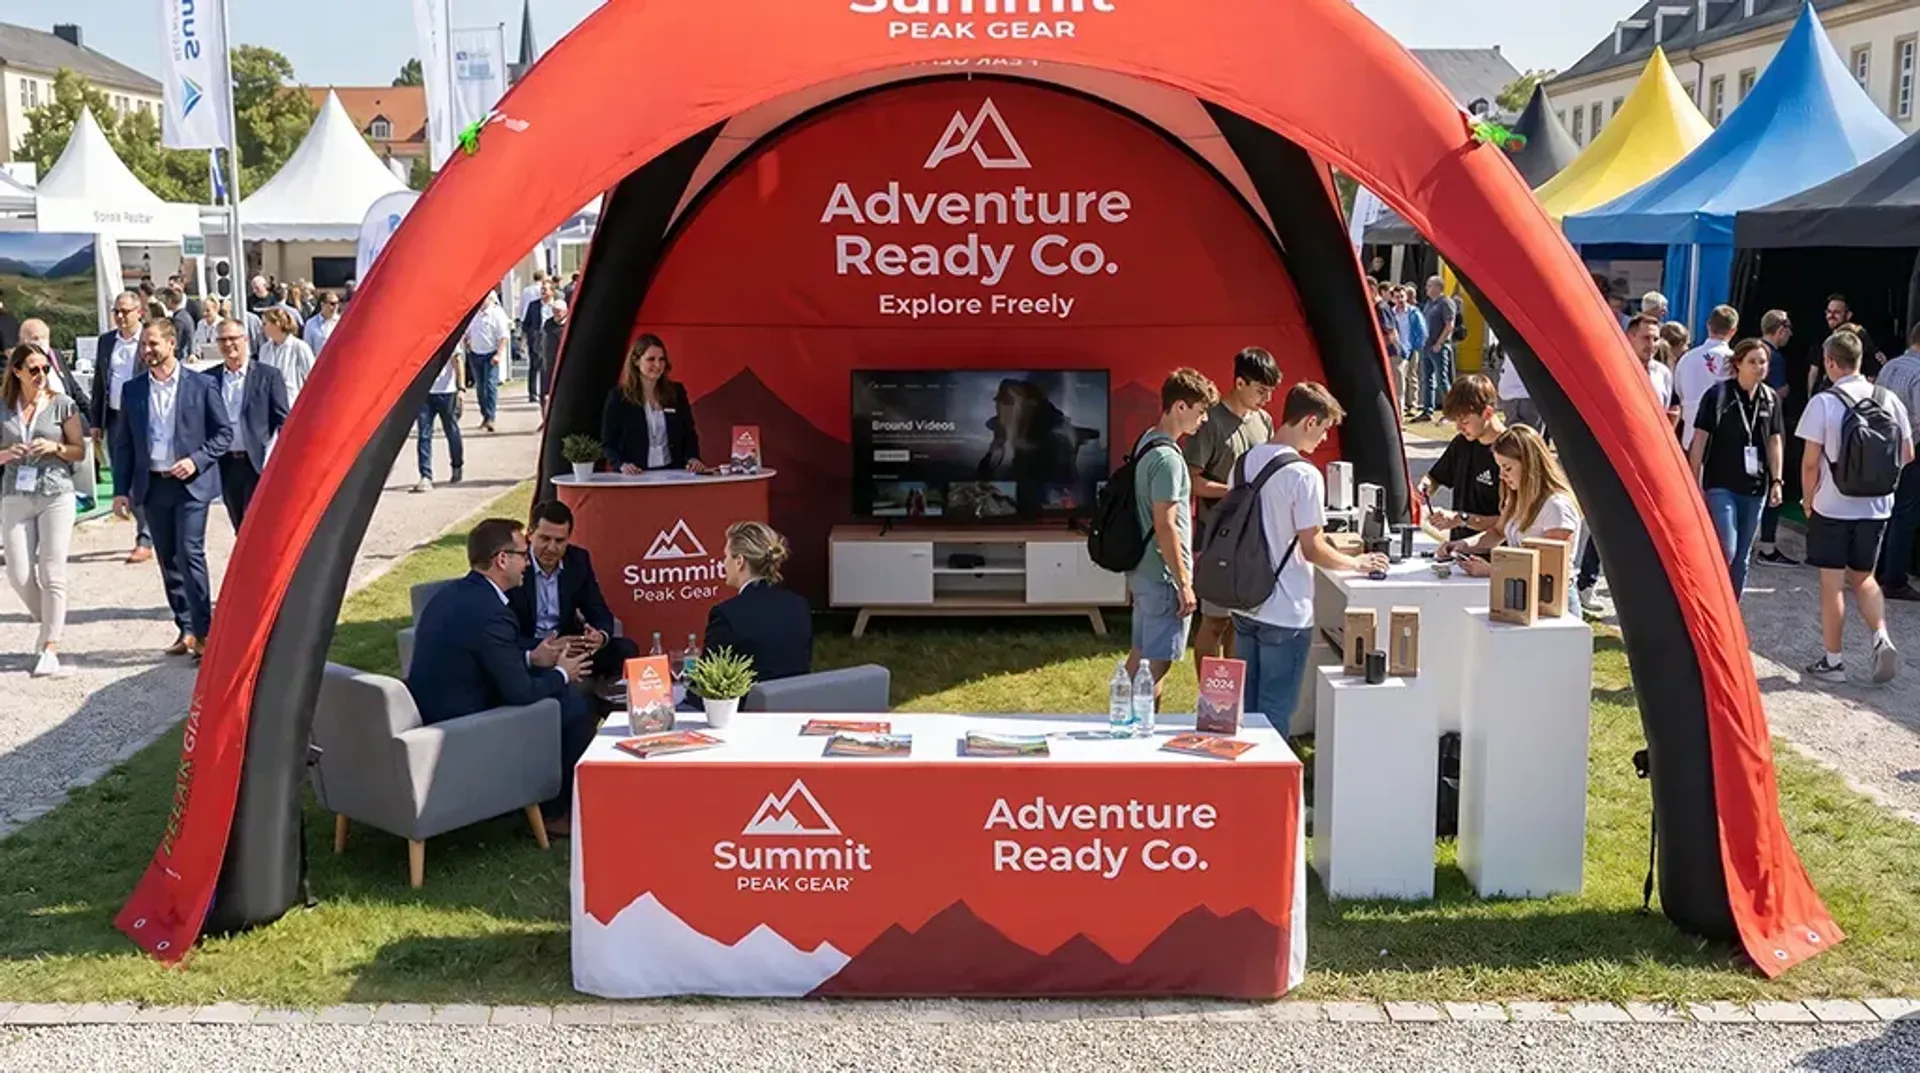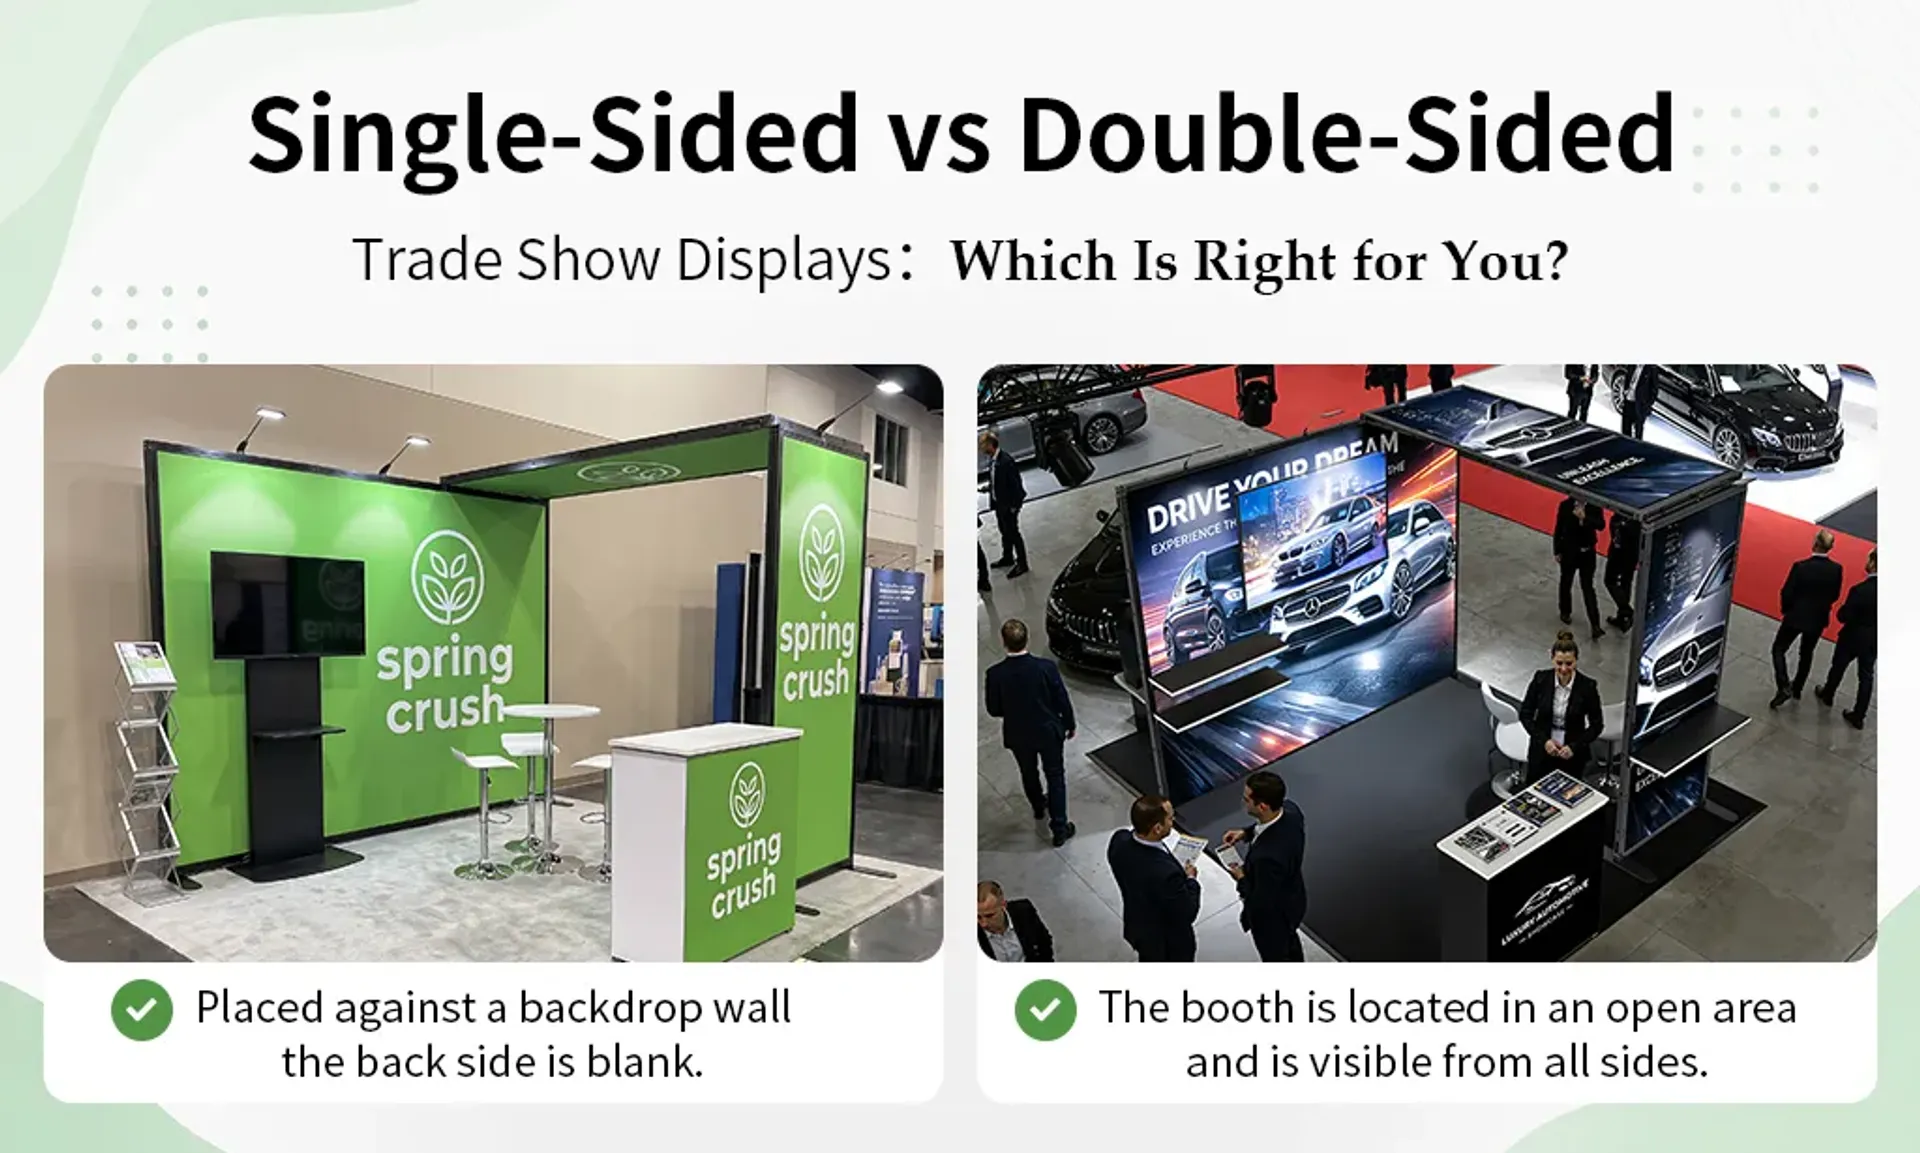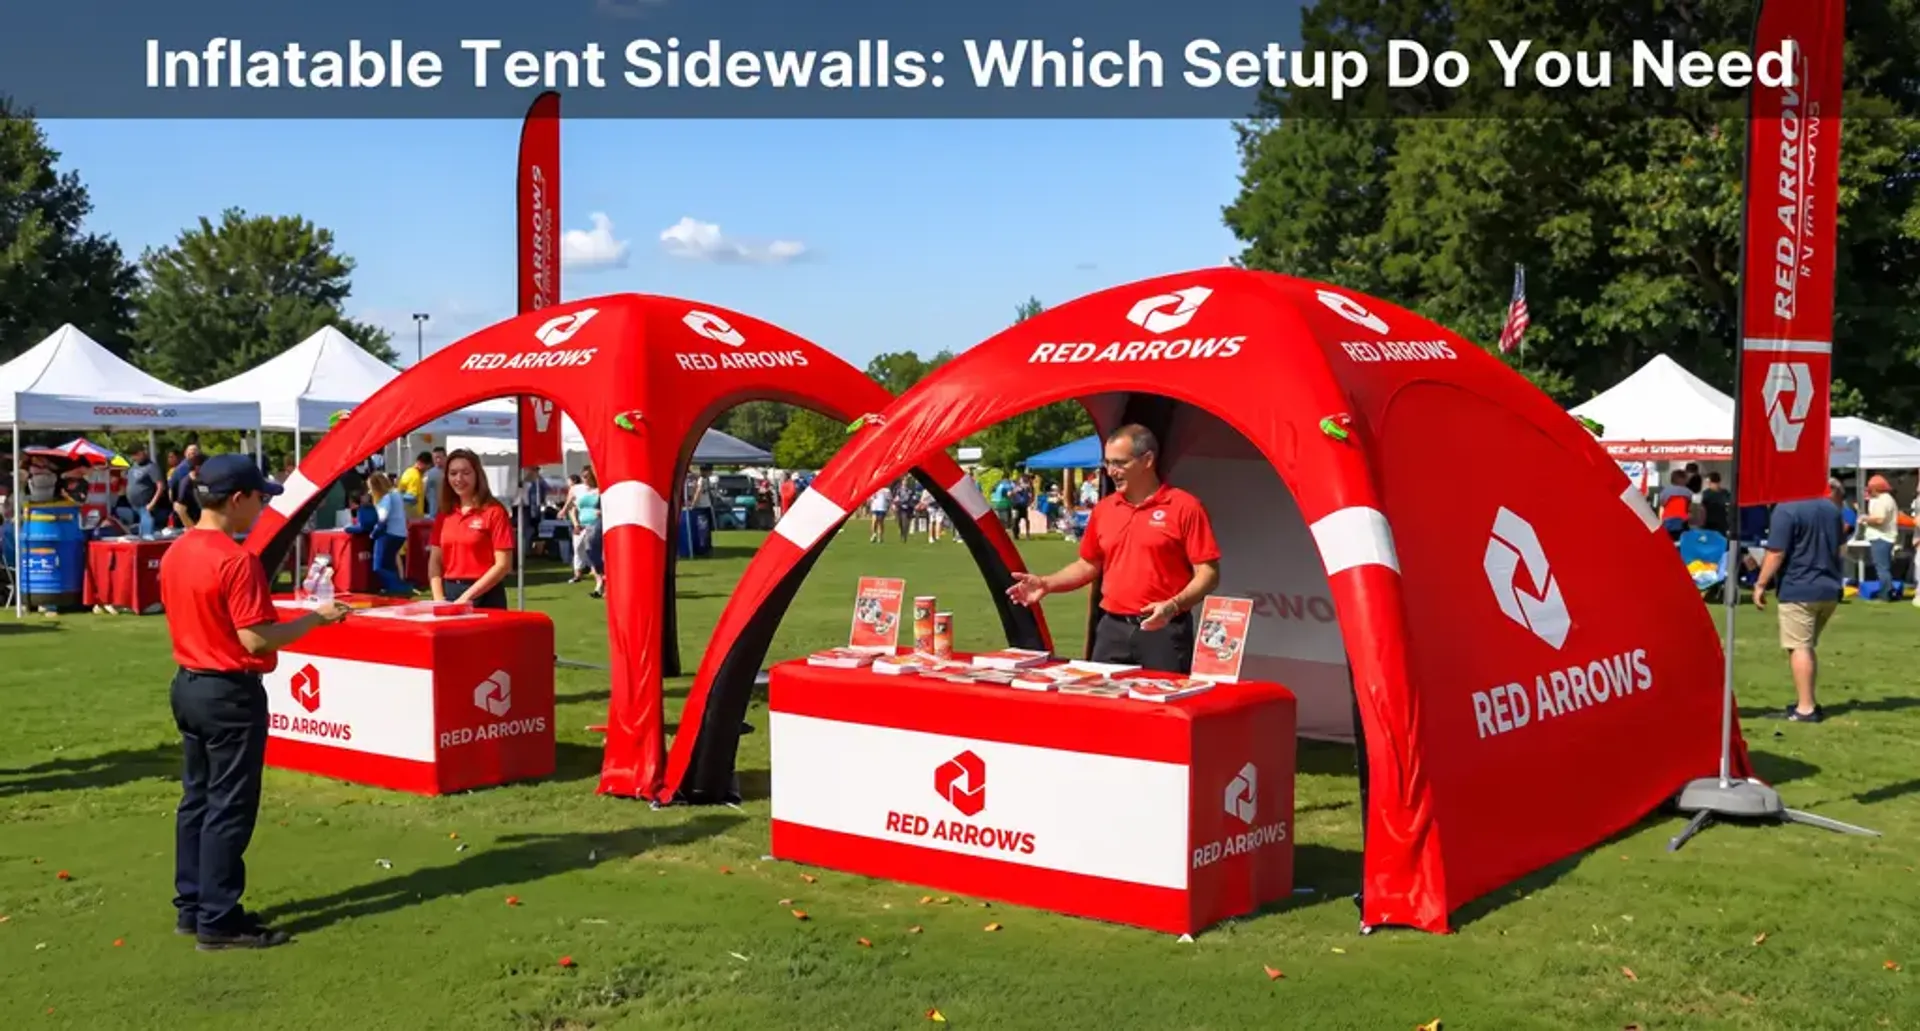



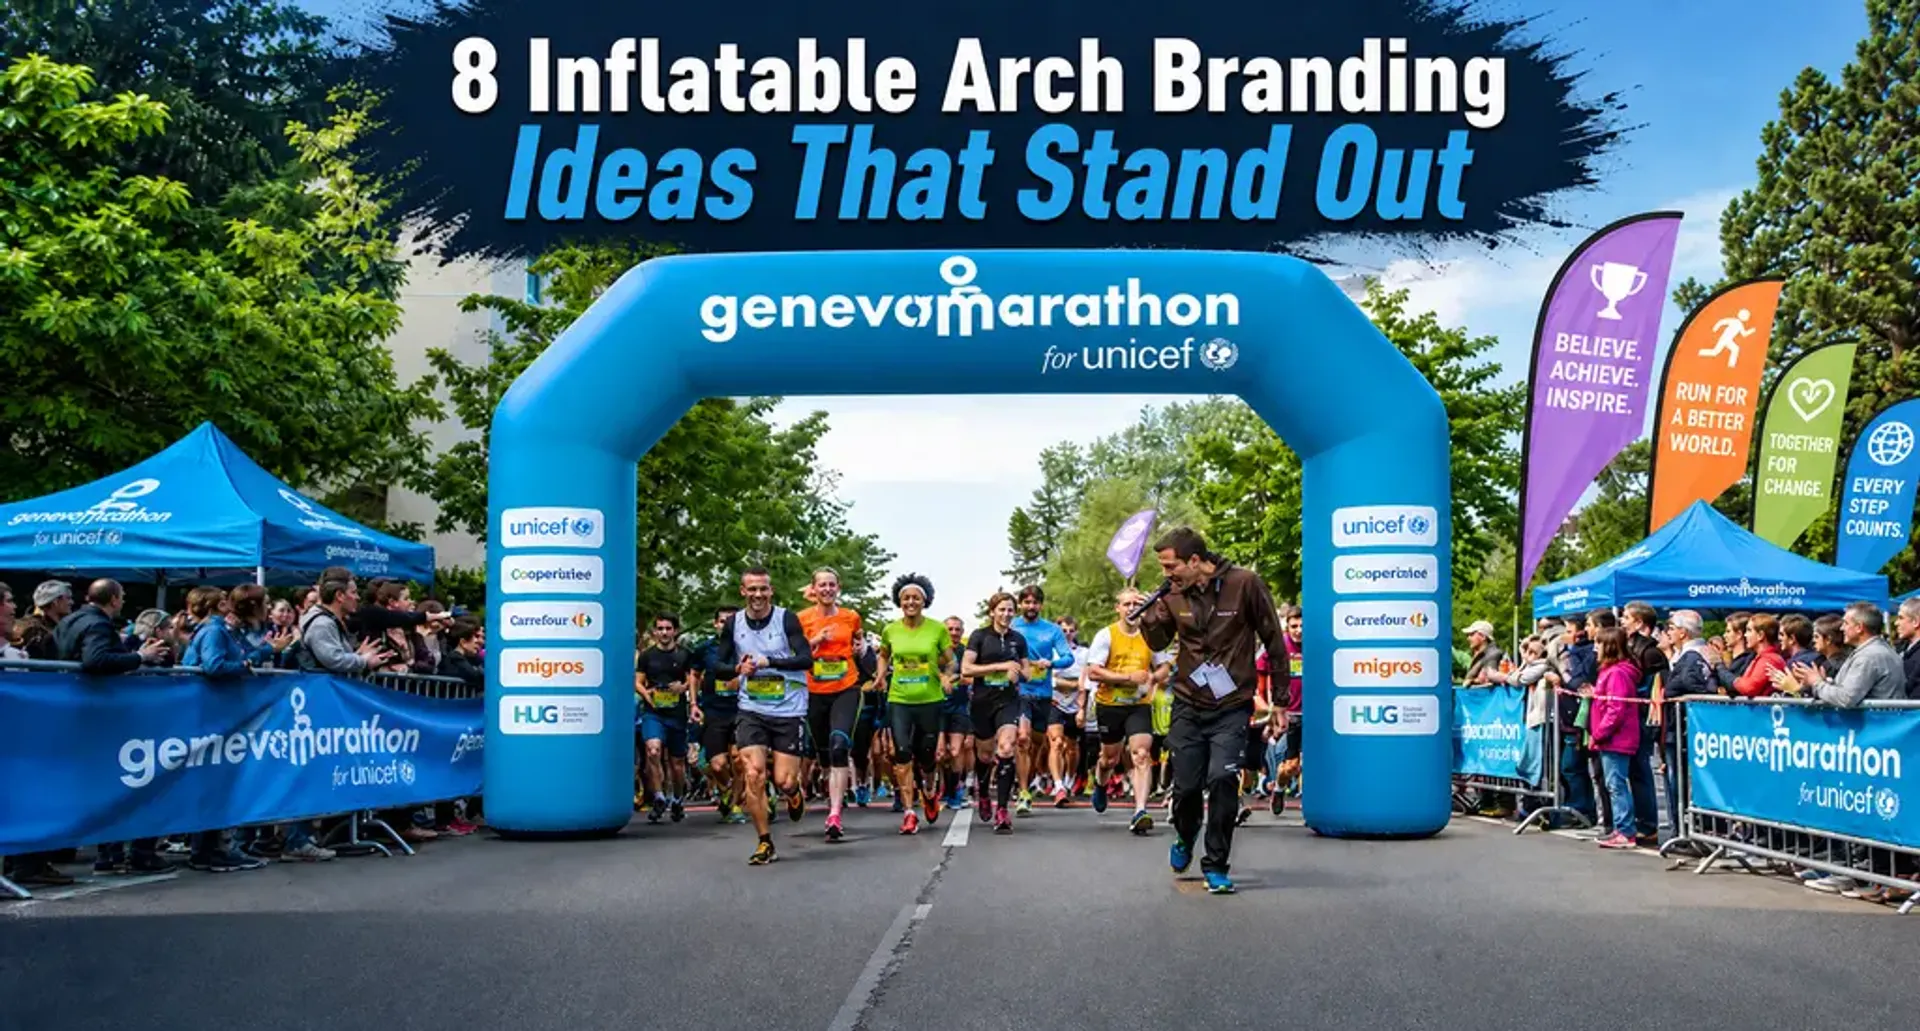
An inflatable arch is hard to miss, but size alone does not guarantee effective branding. A well-designed custom inflatable arch should identify your brand, communicate the purpose of the event, and work from the direction attendees will see it.
Whether you're planning a race, festival, grand opening, trade show, or brand activation, the following ideas can help you create an arch that attracts attention and becomes part of the event experience.
1. Build the Design Around One Main Message
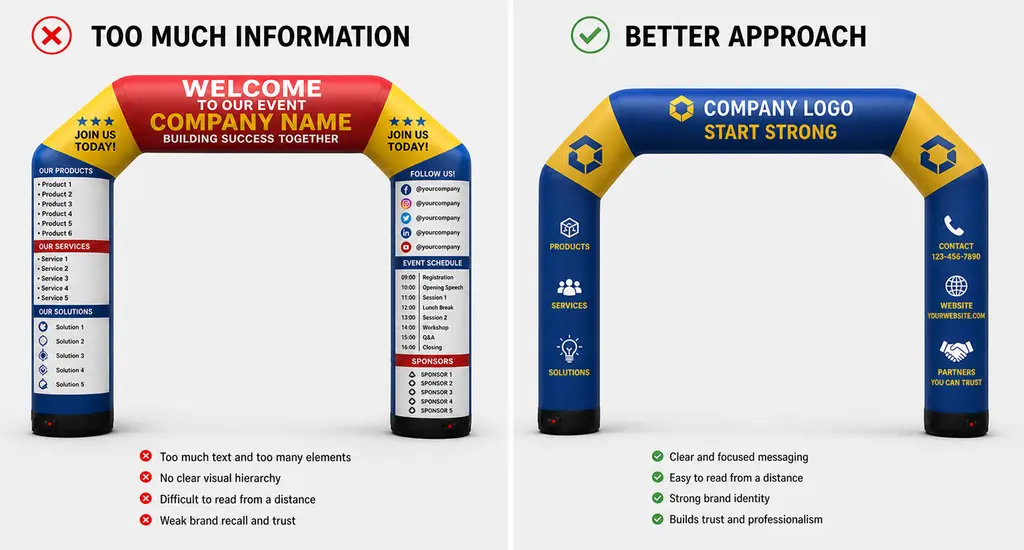
An inflatable arch is usually viewed from a distance and often while people are moving. It is not the place for a paragraph or a long list of services.
Choose one primary message that people can understand at a glance, such as:
-
START STRONG
-
FINISH LINE
-
GRAND OPENING
-
WELCOME TO [EVENT NAME]
-
ENTER THE EXPERIENCE
Quick test: View the design mockup at thumbnail size. If you cannot immediately identify the brand and main message, simplify the design.
2. Use the Top Crossbar as the Main Branding Zone
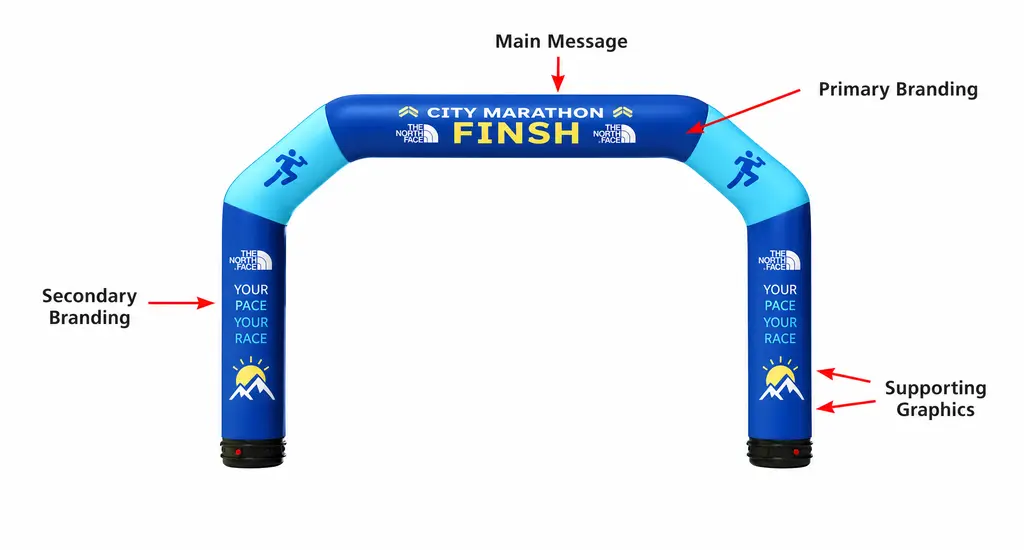
The top of the arch is usually one of the most visible areas because it sits above people, tents, barriers, and other event equipment. Use this space for your most important content, such as your logo, event name, or start/finish message.
Avoid placing small details near the upper curves, where artwork may be harder to read from below. Keep the core message centered and give it enough clear space so it does not compete with patterns or sponsor logos.
The two upright legs can support the main message with secondary graphics, product visuals, a hashtag, or directional information.
Think of the arch as three functional areas:
Top crossbar: Primary message or logo
Upright legs: Supporting graphics or secondary branding
Opening: The event experience and visual focal point
This hierarchy keeps the design easy to understand without making every part of the arch compete for attention.
3. Design for the Direction People Will Approach
Before approving the artwork, consider where the arch will stand and how attendees will see it. A race participant approaching a finish line has a very different viewing experience from a shopper walking toward a storefront.
Ask these questions:
-
Will people approach from one direction or both?
-
Is the arch viewed mainly by pedestrians, runners, or drivers?
-
Will barriers, tables, or crowds cover the lower sections?
-
Does the back of the arch also need branding?
If both sides are visible, make sure each direction communicates a complete message.
For example, the front can say "START" while the reverse side says "FINISH". Alternatively, both sides can carry the event name while using different sponsor arrangements.
Designing for the actual viewing direction helps prevent important branding from being hidden or overlooked.
4. Choose One Dominant Brand Color
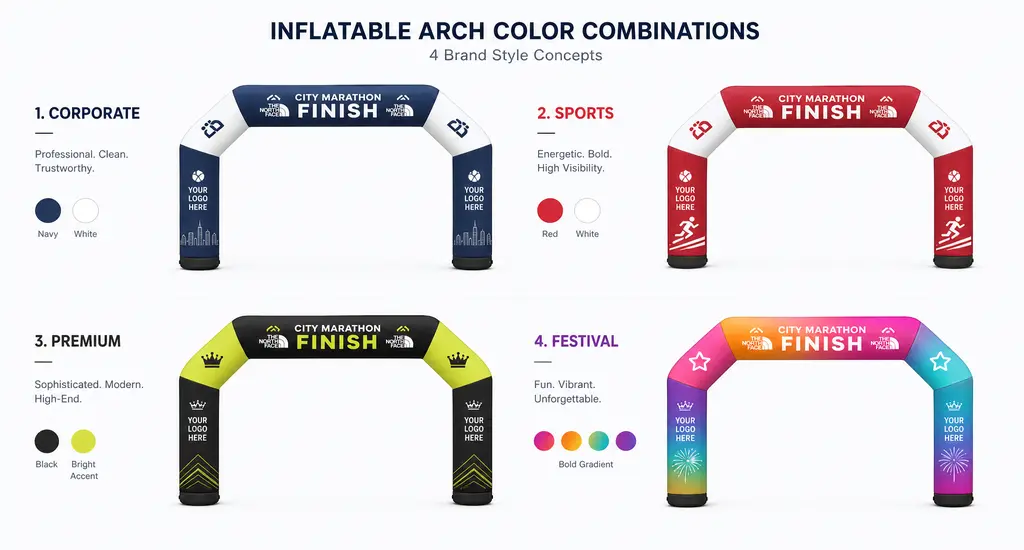
Strong color can make an inflatable arch recognizable before the words become readable. Start with one dominant color that connects naturally to your brand, then add one or two contrasting colors for the logo and main message.
For example:
-
A dark blue arch with white lettering creates a clean corporate look.
-
A red or orange arch communicates energy at races and sports events.
-
A bold gradient can work well for festivals or youth-focused campaigns.
Avoid using several colors with similar brightness. Without enough contrast, logos and text can disappear in photos or strong outdoor light.
Before production, review the design at different sizes and under different lighting conditions. A design that looks clear on a computer screen may be less effective when viewed from across an outdoor venue.
5. Turn the Arch Into a Photo Frame
Every photo taken under a branded arch can extend the event beyond the venue. Instead of treating the arch as simple signage, design the opening as a deliberate photo opportunity.
Place recognizable logos on the top crossbar and upper legs so they remain visible behind groups. Keep critical artwork away from the bottom, where people, equipment, and barriers may cover it.
If social sharing is part of your event strategy, consider adding one short hashtag or event handle in a readable position. You can also create a designated photo point a few steps in front of the arch.
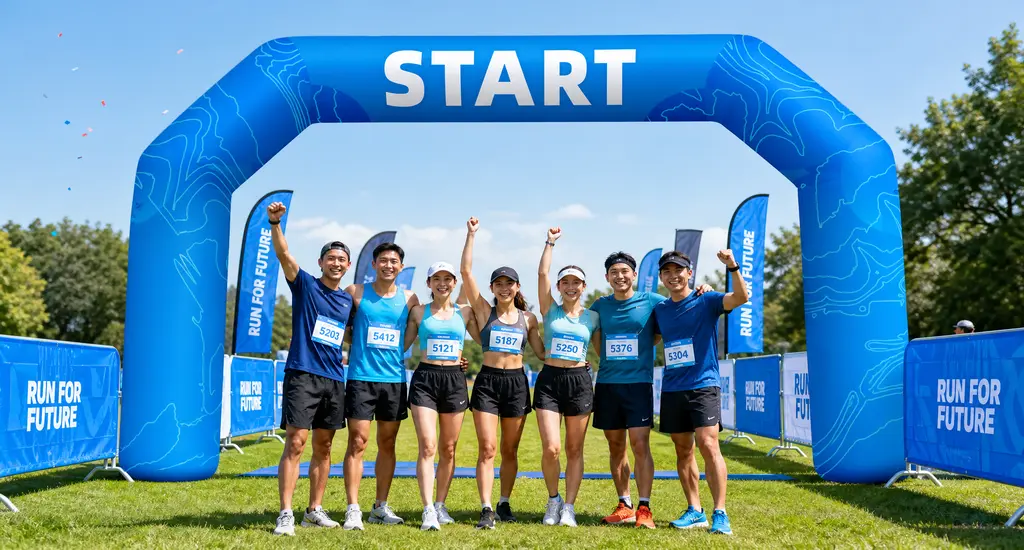
6. Give the Arch a Clear Event Role
An arch becomes more memorable when it marks a meaningful transition. Instead of using it simply as a large decoration, give it a specific job within the event.
For example, an inflatable arch can serve as:
-
A start or finish line at a race
-
The main entrance to a festival
-
A gateway to a sponsored activity zone
-
An entrance to a new store or product launch
-
A photo moment at a conference or brand activation
Use direct words such as "START","FINISH", "WELCOME", or "ENTER" when they help visitors understand what the arch represents.
7. Organize Sponsor Logos Instead of Filling Empty Space
Inflatable arches can be valuable sponsorship assets, but adding every logo at the same size can quickly create visual noise.
Establish a clear hierarchy before designing the artwork.
Place the event name or primary sponsor on the top crossbar. Use the legs for supporting sponsors, arranging logos in consistent rows with enough space around each one.
If there are many partners, consider moving smaller logos to a separate sponsor wall rather than shrinking them until they become difficult to read.
A simple hierarchy might look like:
Primary brand or event: Largest and most prominent
Main sponsor: Secondary position
Supporting sponsors: Smaller, organized placement
8. Connect the Arch to the Rest of the Event
An inflatable arch should look like part of a complete brand environment, not an isolated display.
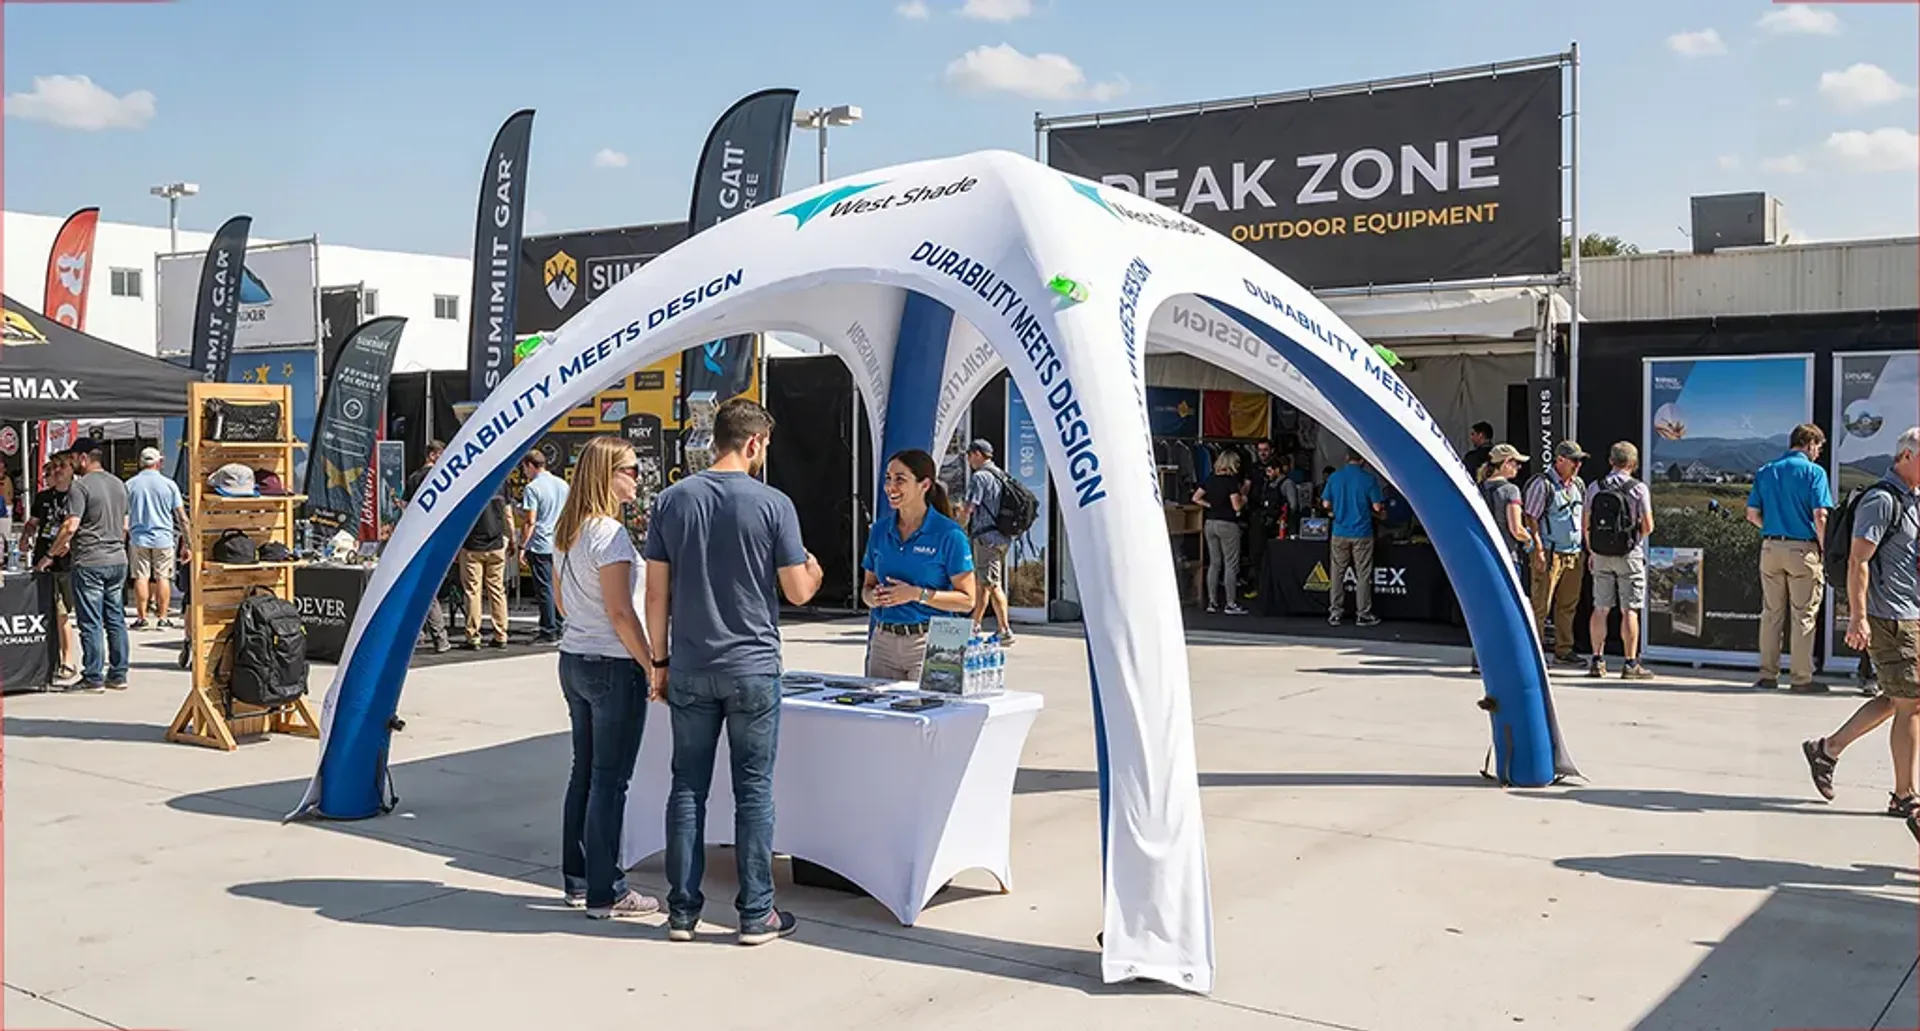
Repeat its dominant colors, typography, and graphic elements across other event materials, such as:
-
Inflatable tents
-
Inflatable columns
-
Flags and banners
-
Photo backdrops
For a race, the arch can establish the visual theme while matching flags guide participants along the course.
Westshade's custom inflatable solutions can help you coordinate arches, tents, columns, and other inflatable displays into a consistent event branding system.
Common Inflatable Arch Production & Planning Mistakes
Even a bold concept can lose impact if practical details are overlooked. Avoid these common mistakes:
- Choosing a size without checking venue or ceiling clearance
- Ignoring the clear opening needed for people, equipment, or vehicles
- Designing artwork before confirming final arch dimensions
- Using the wrong artwork template
- Failing to consider how the curved structure affects logo and text placement
Always work from the supplier's correct artwork template and review a scaled mockup before production.
A Final Inflatable Arch Branding Checklist
Before approving your inflatable arch design, confirm that:
- Your brand and main message are readable at a distance
- Important content is positioned where crowds are unlikely to block it
- Colors and typography provide strong contrast
- The artwork works from all important viewing directions
- The arch size and opening fit the venue and intended use
Taking a few minutes to review these details before production can prevent expensive artwork revisions and help ensure the finished arch performs as intended.
Turn Your Inflatable Arch Into a Branded Event Landmark
A successful inflatable arch does more than mark an entrance. It tells attendees where something begins, frames an achievement, and creates a natural place to photograph and share the brand.
Ready to turn your event entrance into a recognizable brand landmark? Explore Westshade's custom inflatable displays and create an inflatable arch tailored to your event, audience, and space.