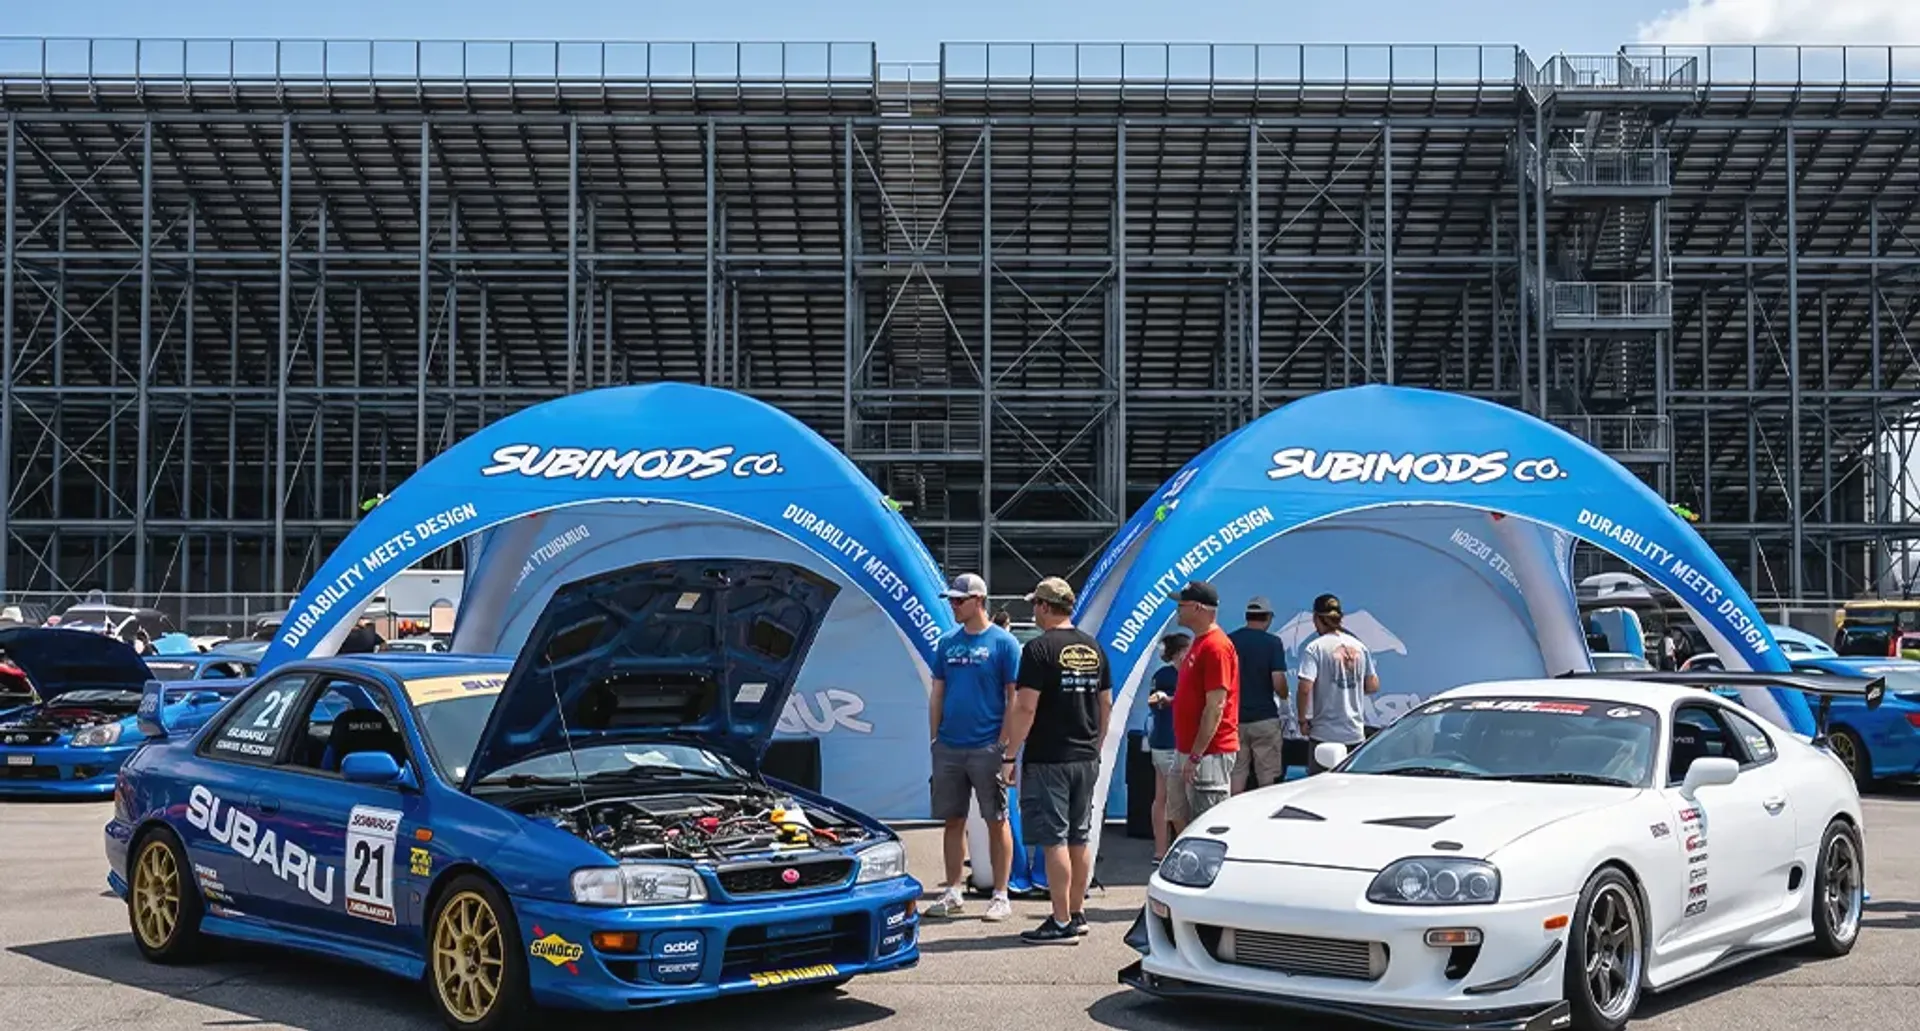



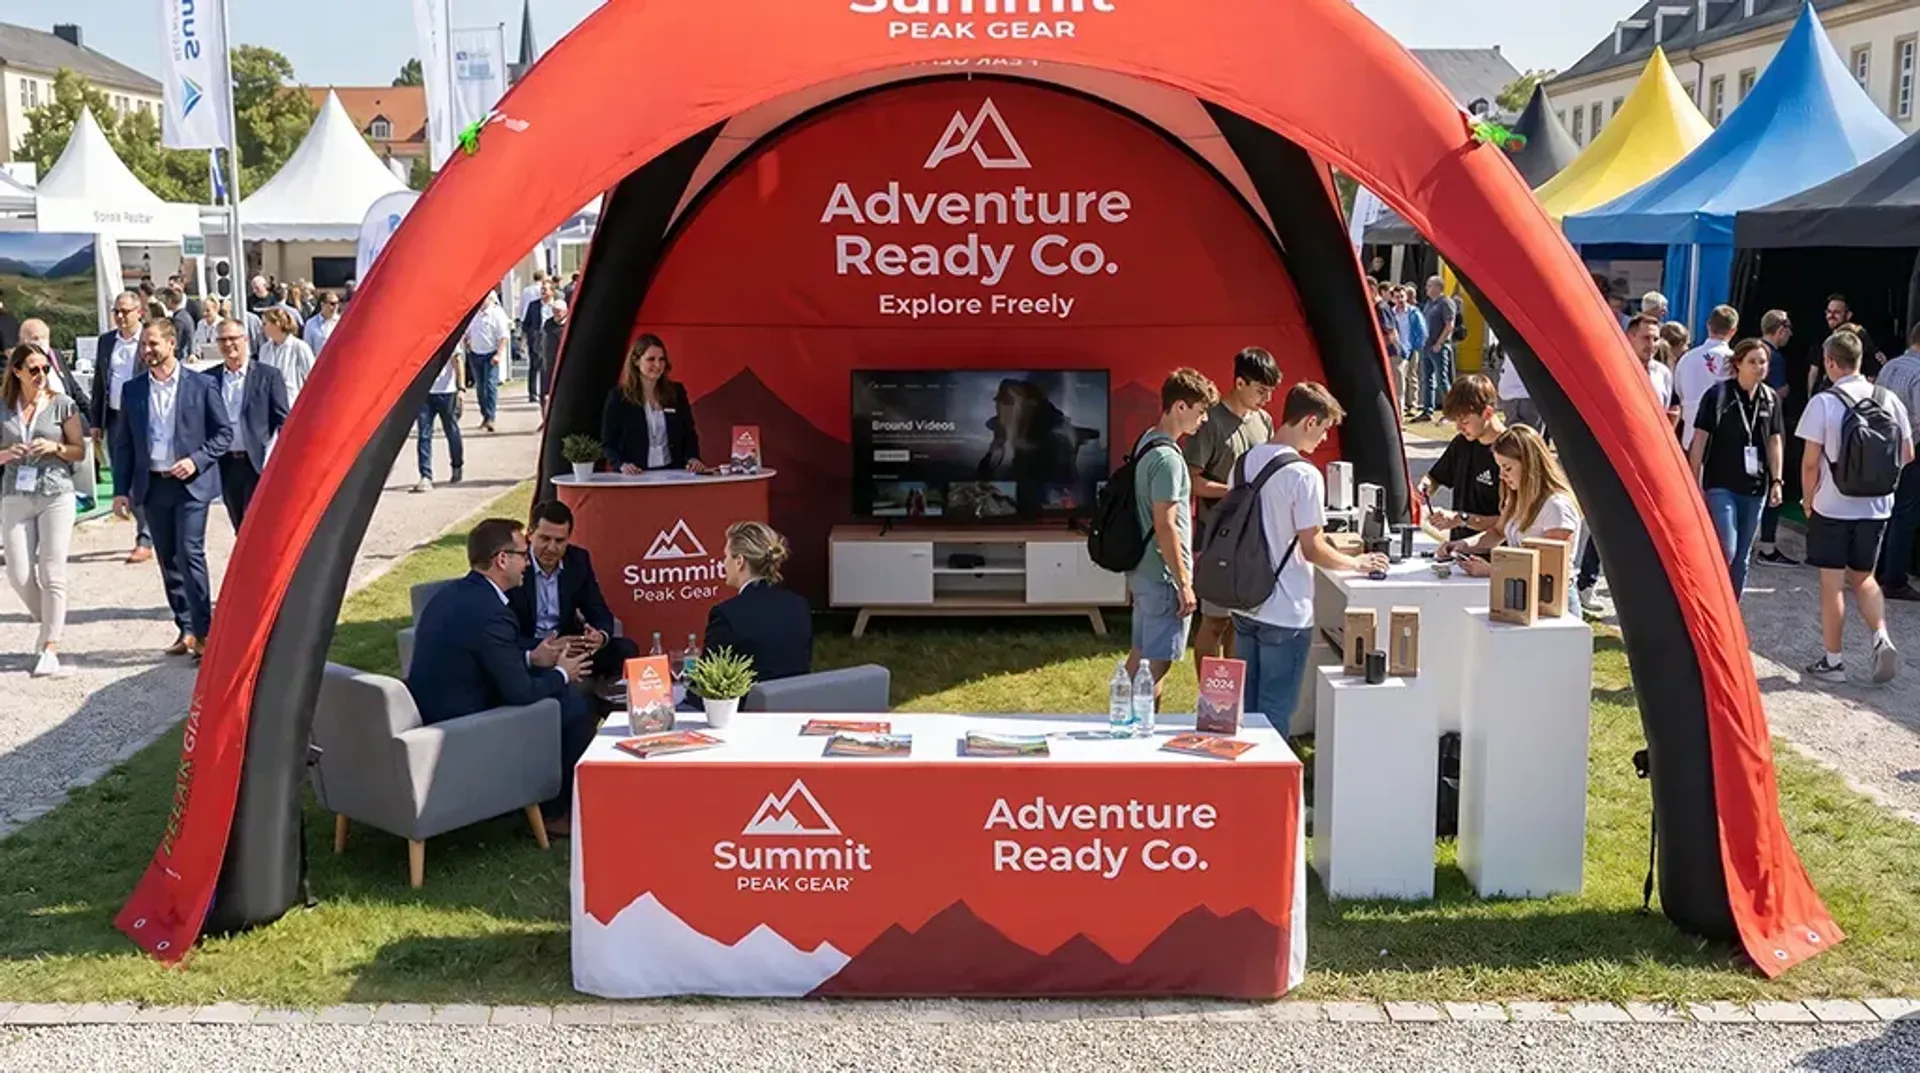
A 10x10 trade show booth gives you 100 square feet of floor space. Once you add an inflatable tent, counter, displays, and staff, the usable space becomes more limited.
A practical setup should keep the entrance accessible, make your branding visible from the aisle, and leave enough room for visitors and your main activity.
Before choosing a layout, remember:
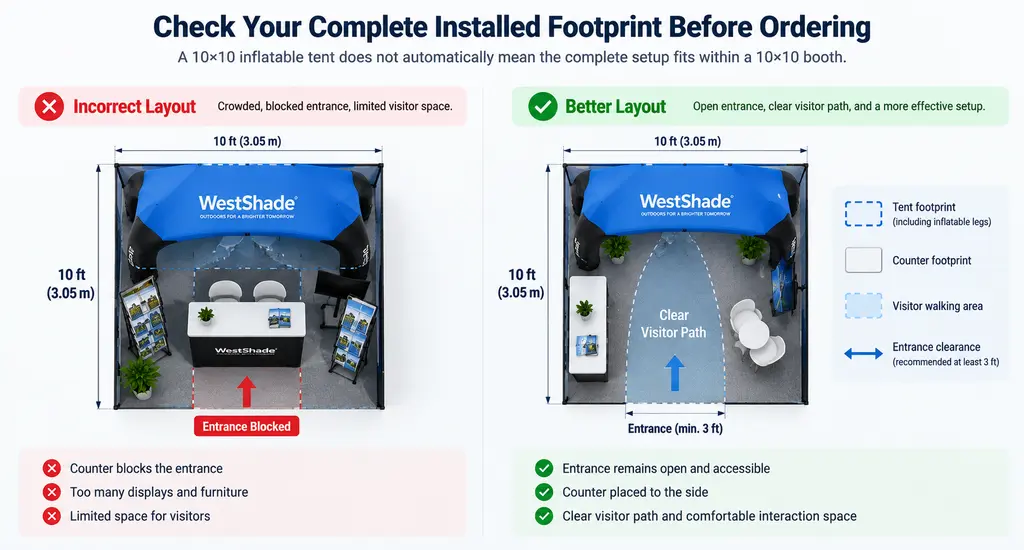
A 10x10 inflatable tent does not automatically mean the complete setup fits within a 10x10 booth.
1. Check the Actual Installed Footprint
The listed tent size is only the starting point. Your complete setup may also include inflatable legs, walls, extensions, anchoring, furniture, and equipment.
Before ordering, check:
-
Overall installed width and depth
-
Interior usable space
-
Overall height
-
Wall configuration
-
Entrance width
-
Venue clearance requirements
Compare the complete installed dimensions with the exhibitor manual rather than relying only on the tent's listed size.
WestShade's size guide also recommends considering furniture, equipment, visitor movement, and other setup elements when choosing an inflatable tent size.
2. Keep the Entrance and Center Open
For a compact 10x10 setup, keep the aisle-facing entrance as open as possible. Avoid placing a large table or display directly across the front.
A compact counter can sit along one side, while the center remains available for short conversations, product interaction, or lead collection.
This also makes the booth easier to enter and allows visitors to see the branding and activity inside from the aisle.
If the layout already feels crowded on paper, simplify it before adding another display element.
3. Use the Walls for Branding
For an inline booth, the full rear wall of the inflatable structure can serve as the main branding surface.
WestShade's 10x10 inflatable tent supports custom graphics and different wall configurations, including Full Walls and Window Walls.
Keep the main message simple enough to understand from the aisle:
Your Brand → What You Offer → Your Main Message
Detailed product information can be presented through a small product display, monitor, brochure, or QR code rather than filling every part of the tent with text.
Your booth location should also influence the wall configuration. An inline booth can use a full rear wall with an open front, while a corner booth may benefit from keeping both aisle-facing sides more open.
Additional walls can provide more branding or defined display areas, but they also reduce visibility and open floor space.
4. Design Around Your Main Activity
Before choosing furniture, decide what visitors need to do inside the tent.
| Main Activity | Layout Approach |
|---|---|
| Lead generation | Open center with a compact side counter |
| Product information | Small display along the rear or side |
| Product demonstration | Keep clear floor space around the demonstration |
| Short sales conversations | Compact standing counter |
| Longer meetings | Consider whether a larger setup is more appropriate |
A 10x10 inflatable tent works best when the setup has a clear primary purpose.
If you need large equipment, seating, multiple displays, several staff members, or multiple activities at the same time, consider a larger tent. WestShade offers larger options such as 13x13, 16x16, and 20x20 for setups that require more space.
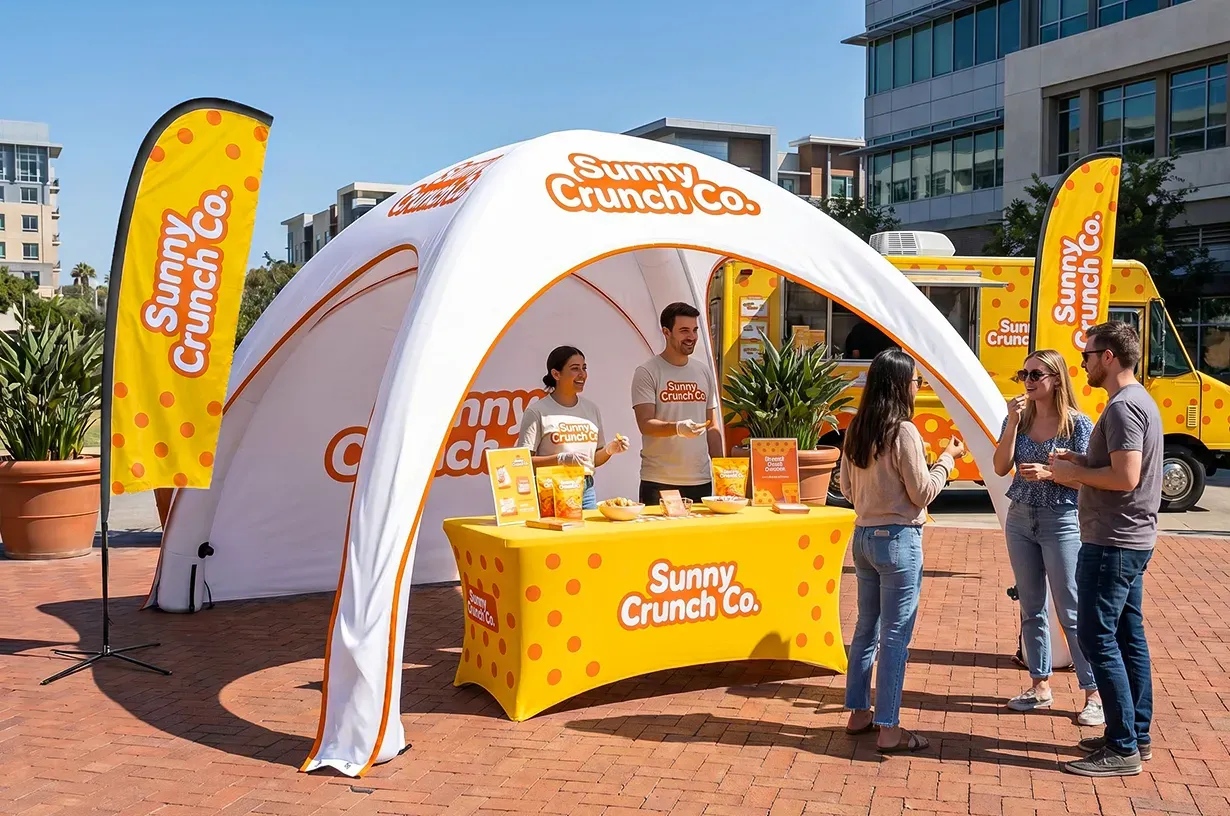
5. Keep Supporting Displays Selective
A 10x10 inflatable tent already provides a large branded structure, so every additional display should have a specific purpose.
A compact setup may include:
-
Custom inflatable tent
-
Branded rear wall
-
One side counter
-
One small product or information display
-
Open central area
Additional flags, banners, tables, screens, or seating can be useful, but they also reduce the limited floor space.
Before adding another item, ask:
Does it help visitors notice us, understand our product, or interact with our team?
If not, it may not be worth the space.
6. Confirm Venue Requirements Before Production
Before approving the final setup, check the event's exhibitor manual for:
-
Maximum display height
-
Booth boundaries
-
Electrical requirements
-
Fire and material regulations
-
Installation and dismantling rules
-
Anchoring requirements
WestShade inflatable tents use a sealed-air system, so they do not require continuous airflow to remain inflated during the event. Power may still be needed during inflation and for lighting, monitors, or other equipment.
Plan power connections and cable routing in advance so they do not interfere with visitor movement.
A Practical 10x10 Inflatable Booth Layout
For an inline booth focused on branding, lead generation, and short conversations, place the main branded wall at the rear, keep the entrance open, position a compact counter along one side, and leave the center open for visitor interaction.
This layout is only a starting point. A demonstration-focused setup may need more open floor space, while a corner booth may benefit from two open sides.
The layout should follow the activity, not the other way around.
When 10x10 Is Not Enough
A 10x10 setup can work well when the booth has one primary function and the configuration remains compact.
Consider a larger size if you need space for:
-
Large equipment
-
Multiple product displays
-
Seating
-
Dedicated demonstrations
-
Storage
-
Several staff members
-
Multiple visitor activities
The right size is the one that leaves enough room for the activity you actually need to run.
Before You Approve the Setup
Before production, confirm:
-
Footprint — Does the complete setup fit the approved booth space?
-
Height — Does it meet venue restrictions?
-
Access — Is the entrance and visitor path clear?
-
Working Space — Is there enough room for your main activity?
-
Configuration — Are the walls and accessories appropriate for the venue?
Plan Your 10x10 Inflatable Trade Show Setup
A successful 10x10 setup is not about fitting as many display elements as possible into 100 square feet.
Start with the complete installed footprint, keep the entrance accessible, reserve the center for visitor interaction, and use the inflatable structure for clear branding.
If you're planning a 10x10 inflatable setup, share your booth dimensions, booth location, staffing needs, branding requirements, and planned activities with WestShade.
WestShade offers custom inflatable tents with different sizes, wall configurations, and stability options, along with free 3D mockups to help visualize your setup before production.