
Have you ever spent hours making a banner for an event, only to get few attention? Or maybe you’ve opened an online banner tool, only to feel stuck, with nothing in mind?
Actually, these failures are common. Average designs weaken a banner’s impact as a marketing tool. The good news? You don’t need design experience to fix it. This article will help you overcome potential challenges. Keep read and you will know how to design a banner for events successfully within 10 minutes.
What is the Main Purpose of a Banner?
A custom event banner is a strong marketing tool for promotion. As an essential visual display, custom banners usually feature outstanding text, relevant graphics, and a reasonable layout. They will help with branding and promotion.
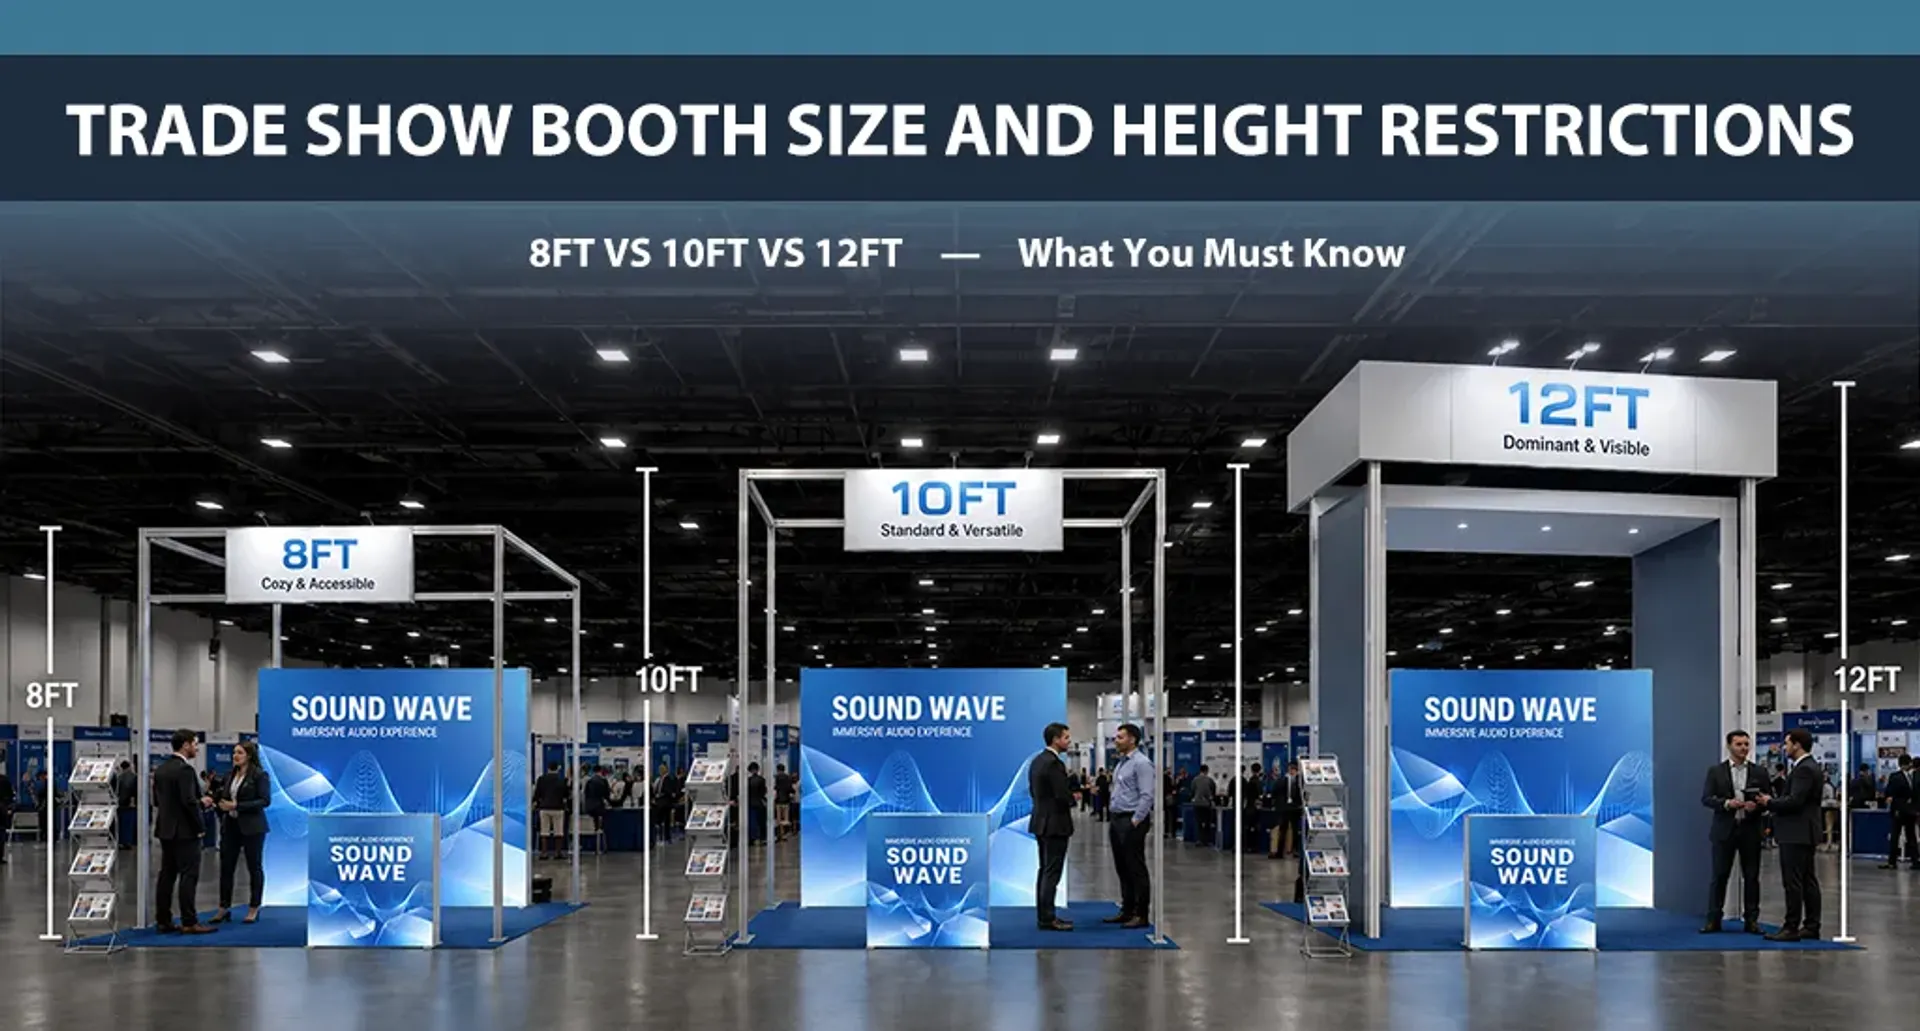
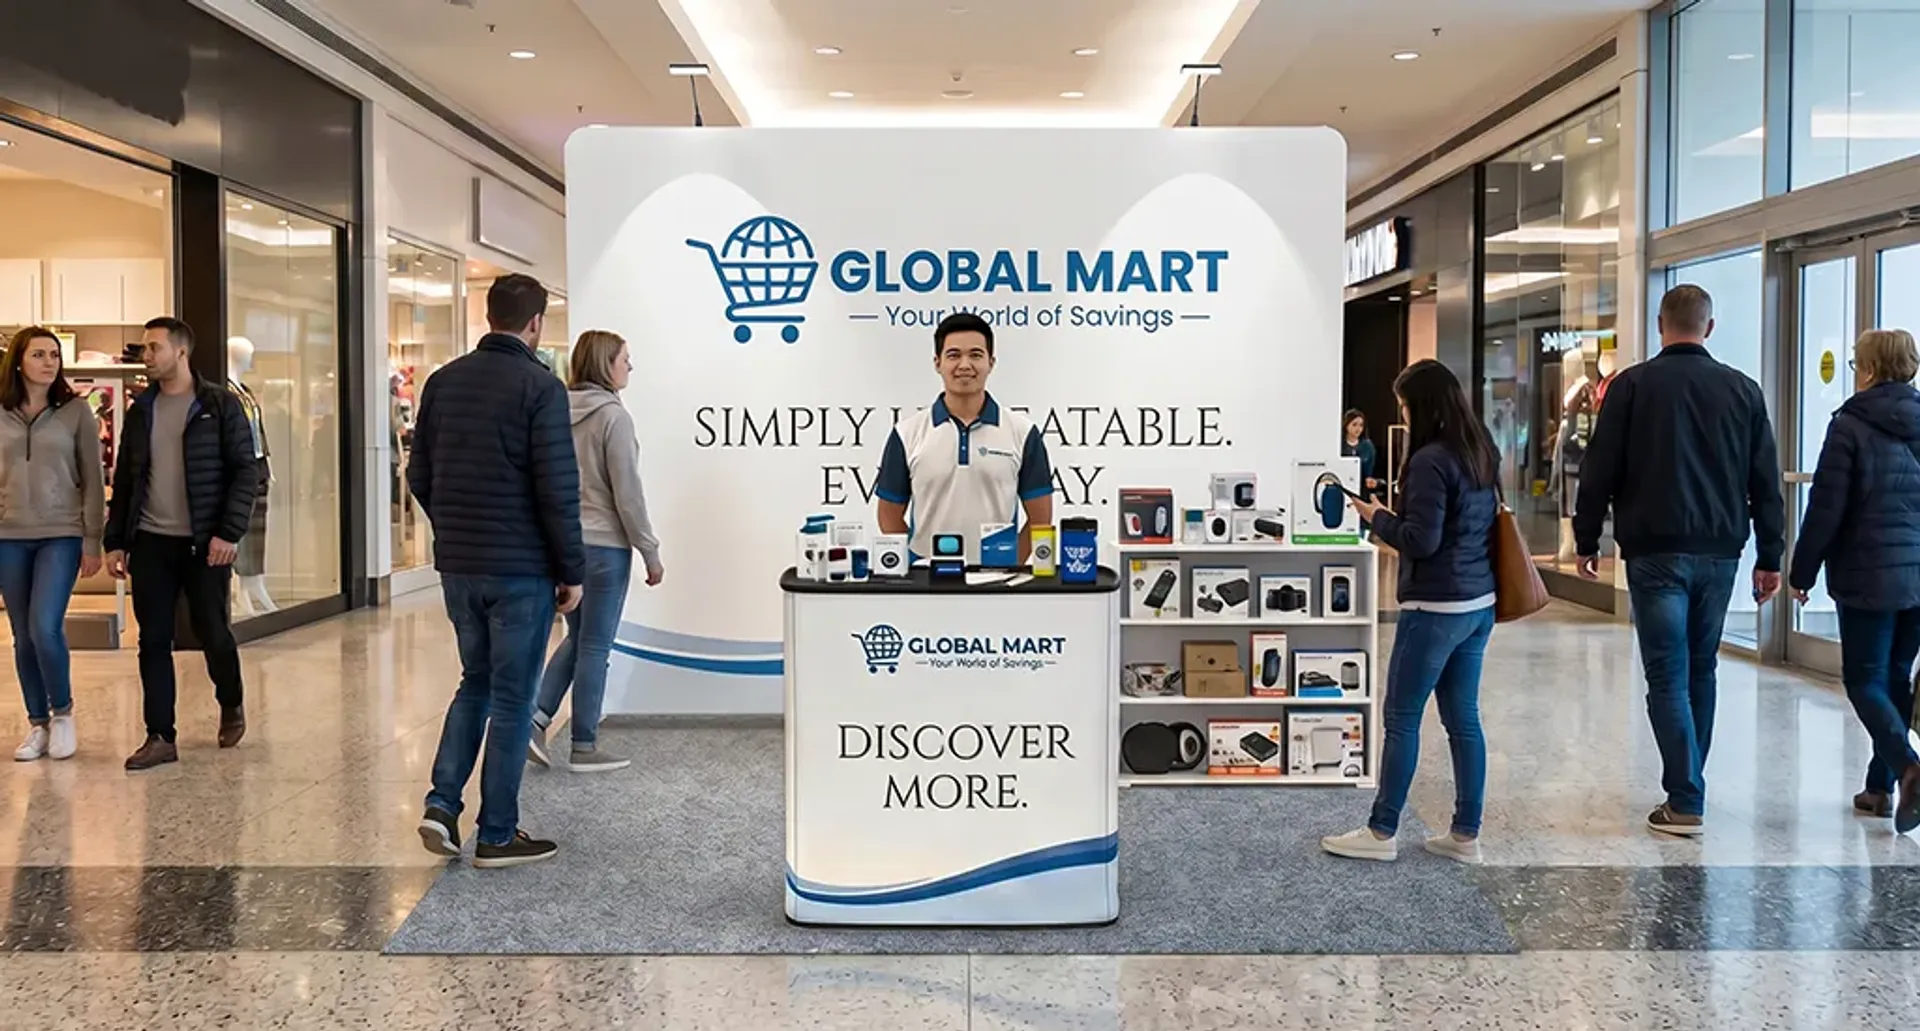
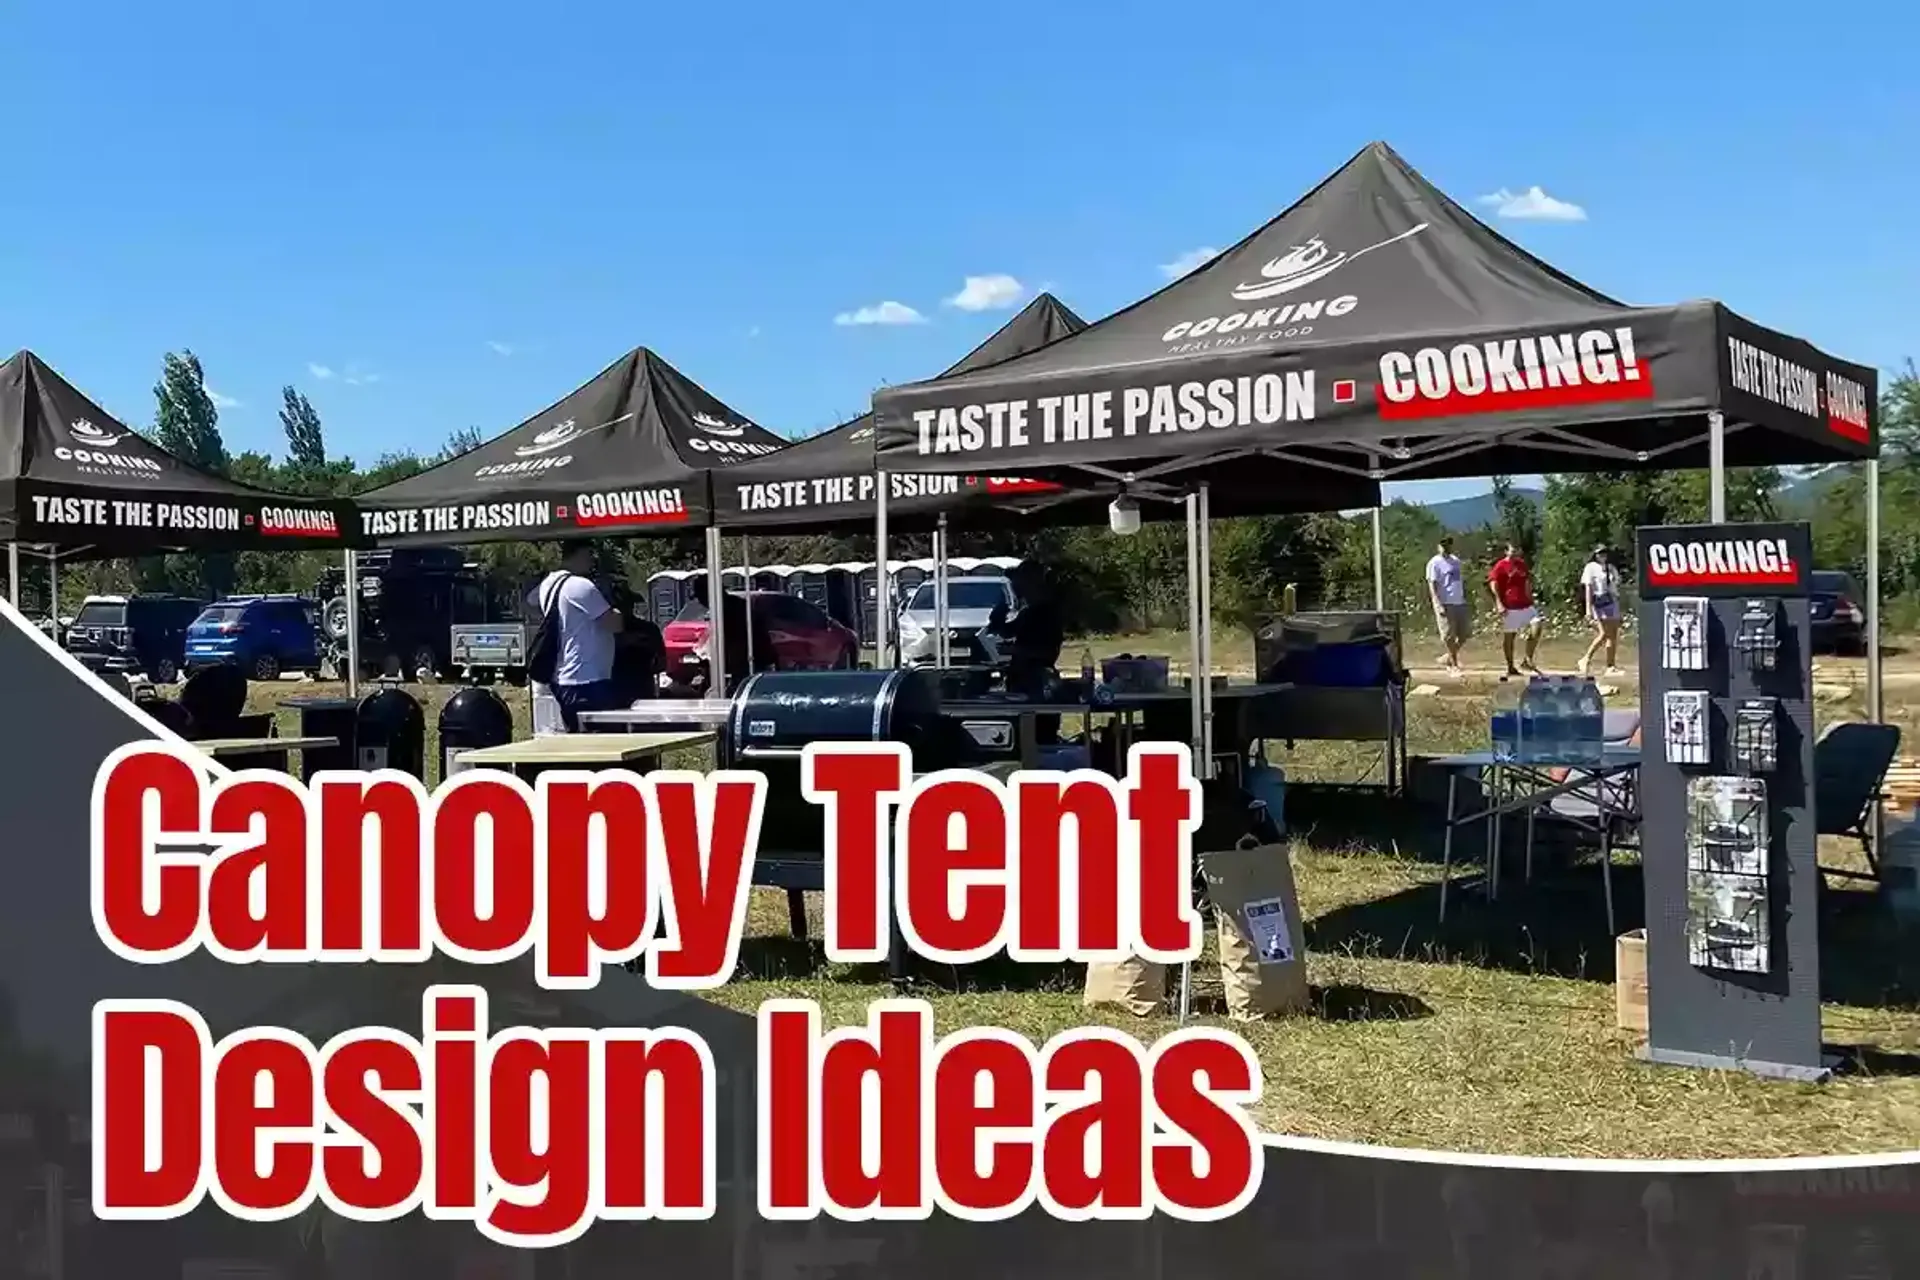
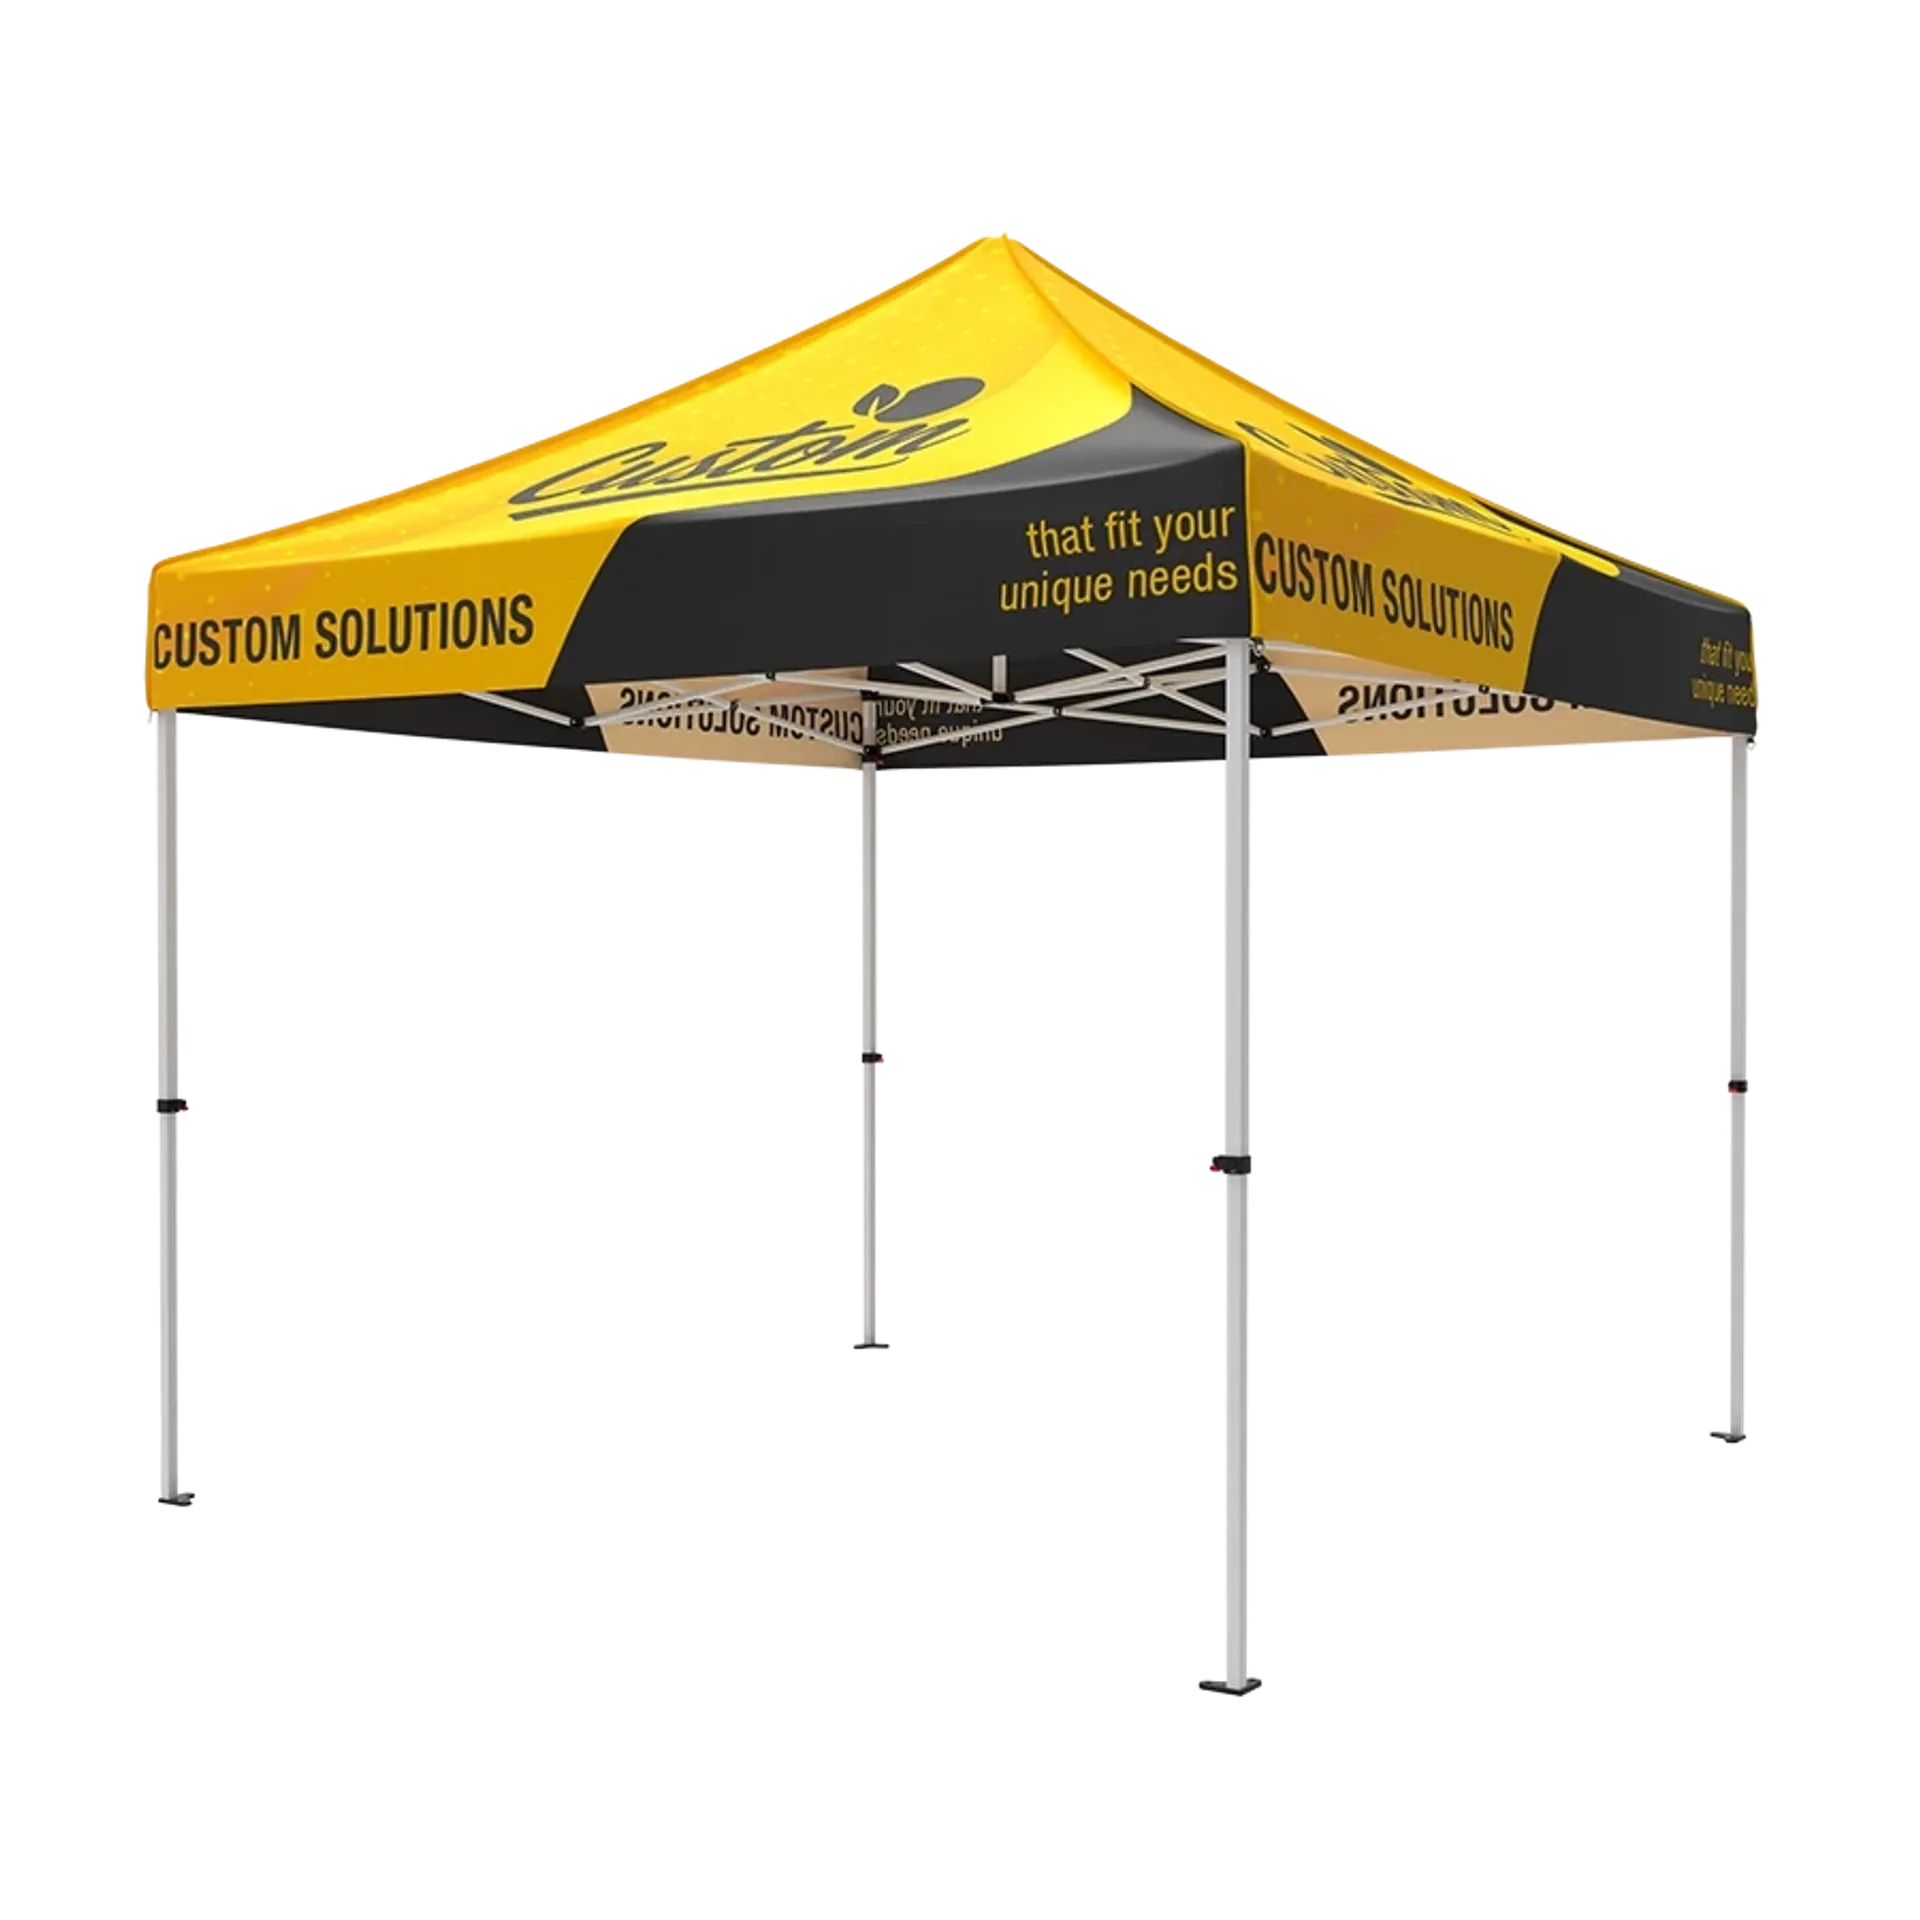
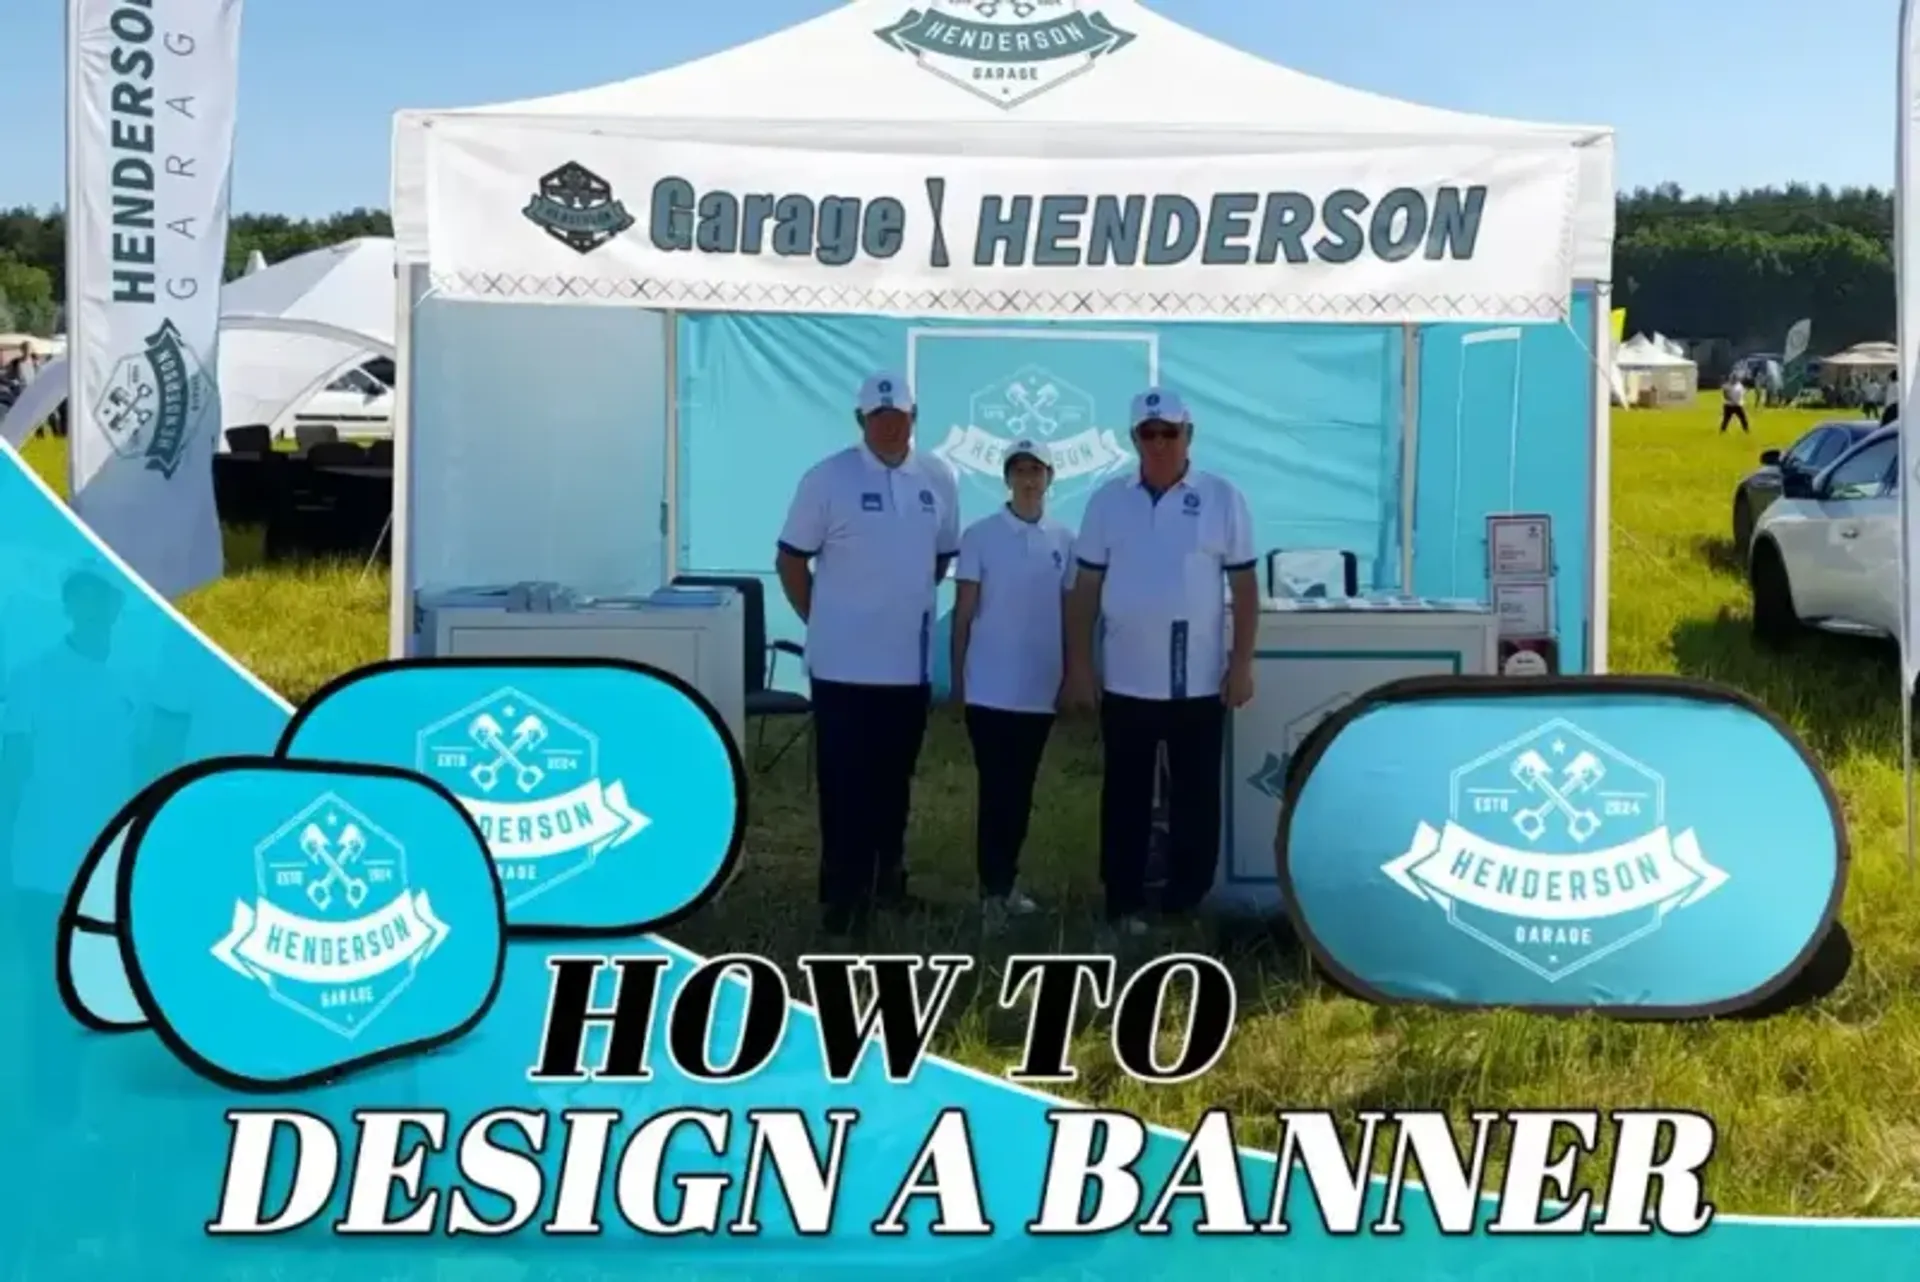
At trade shows or exhibitions, banners play an especially important role. When you set up a pop-up tent, the custom canopy represents your brand from a distance, while banners placed on or around the tent act as fixed flyers for your booth.
Although the content on each banner may vary depending on the event or purpose, businesses generally create a banner to achieve the following goals:
- Grab attention in crowded spaces and stand out from surrounding booths
- Communicate key messages quickly, such as brand name, slogan, or core offerings
- Strengthen brand recognition through consistent colors, logos, and design elements
- Direct audience action, such as visiting a booth, scanning a QR code, or learning more about a product or service
5 Common Types of Custom Event Banners
We explore five commonly used outdoor tent banners in the market.
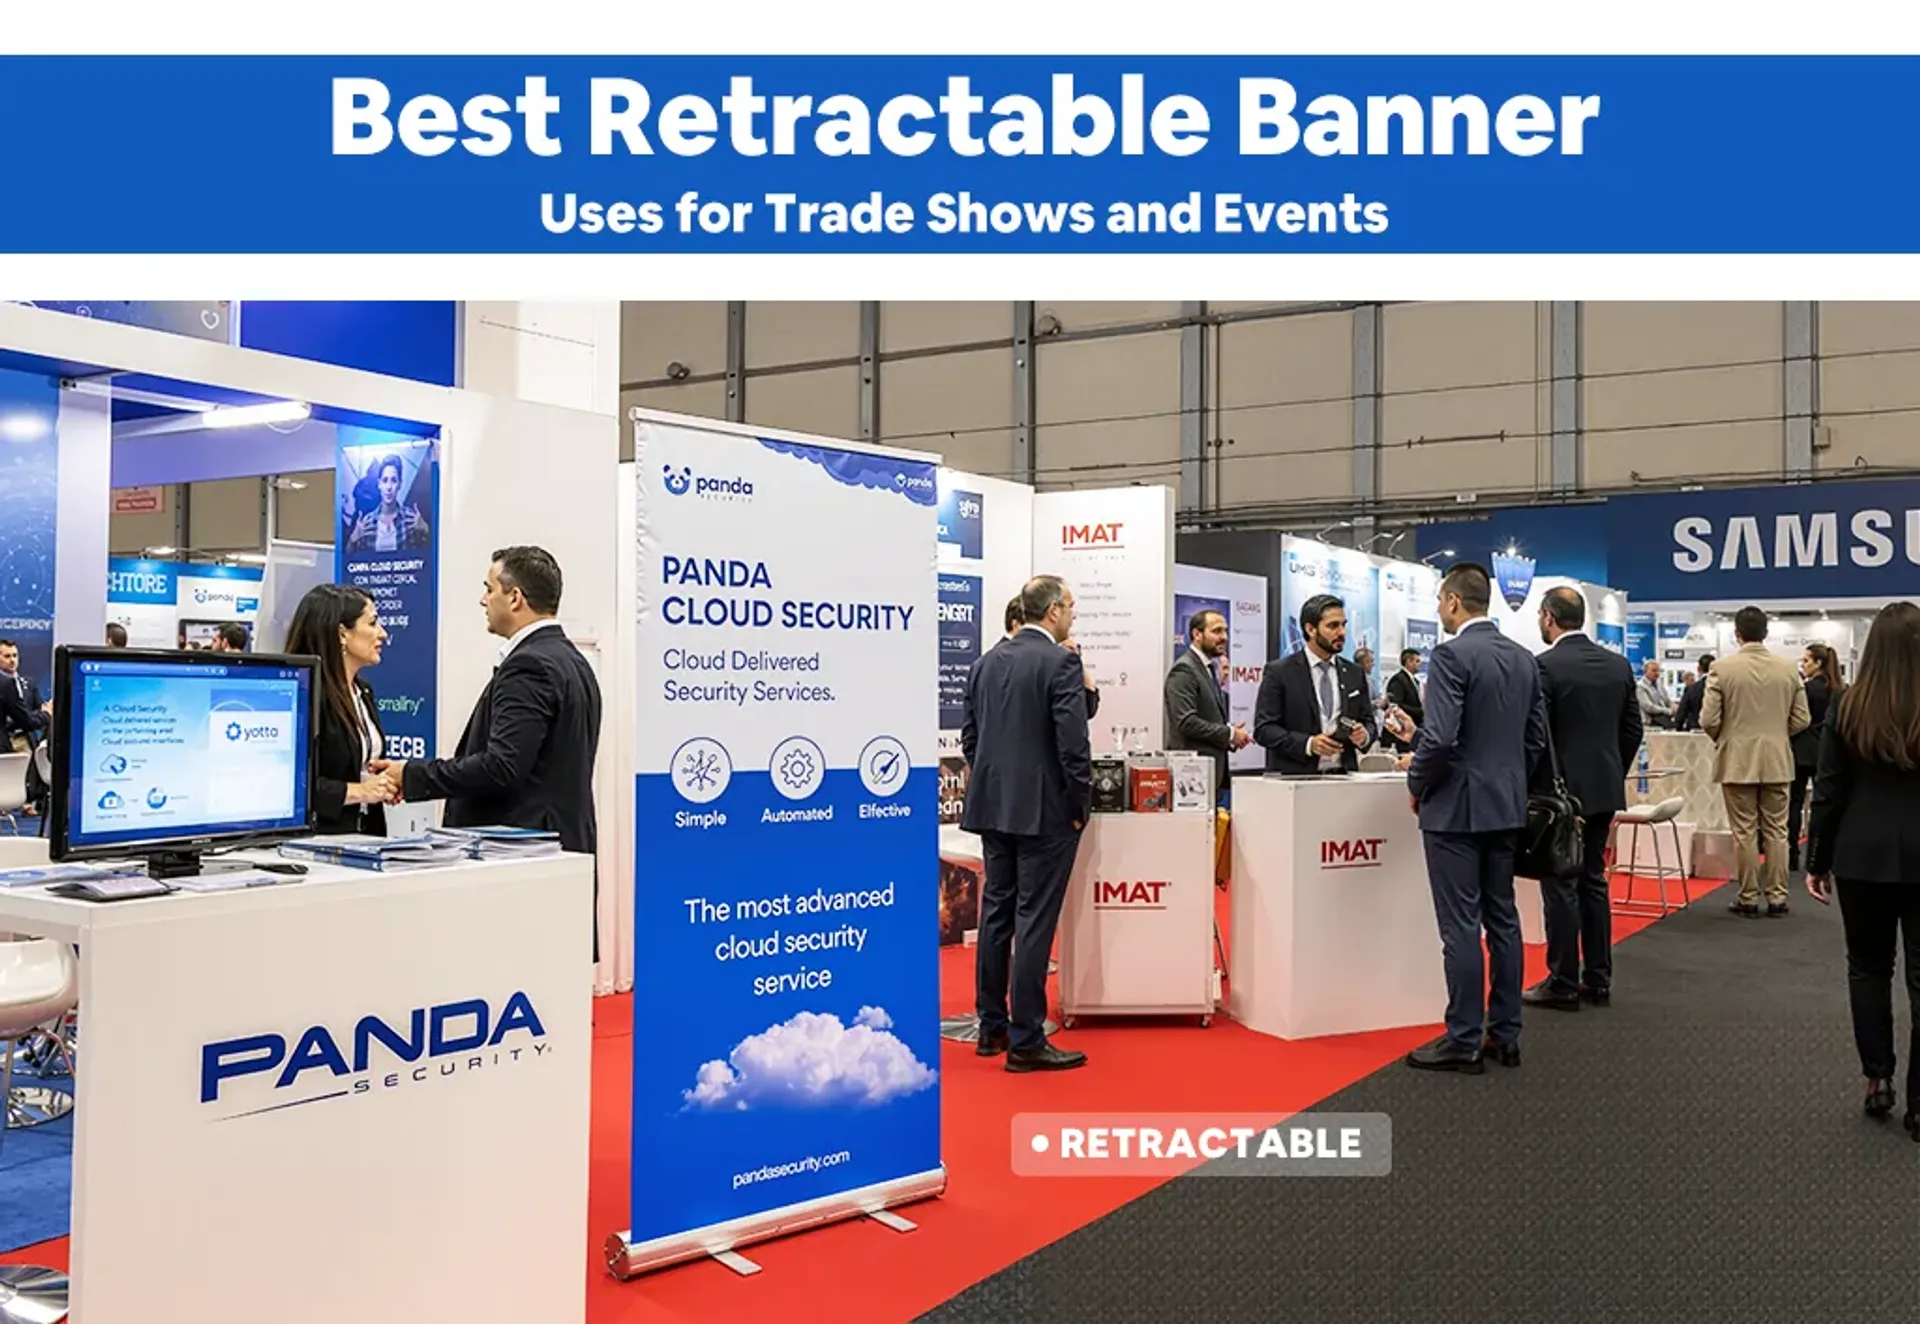
1. Retractable banners
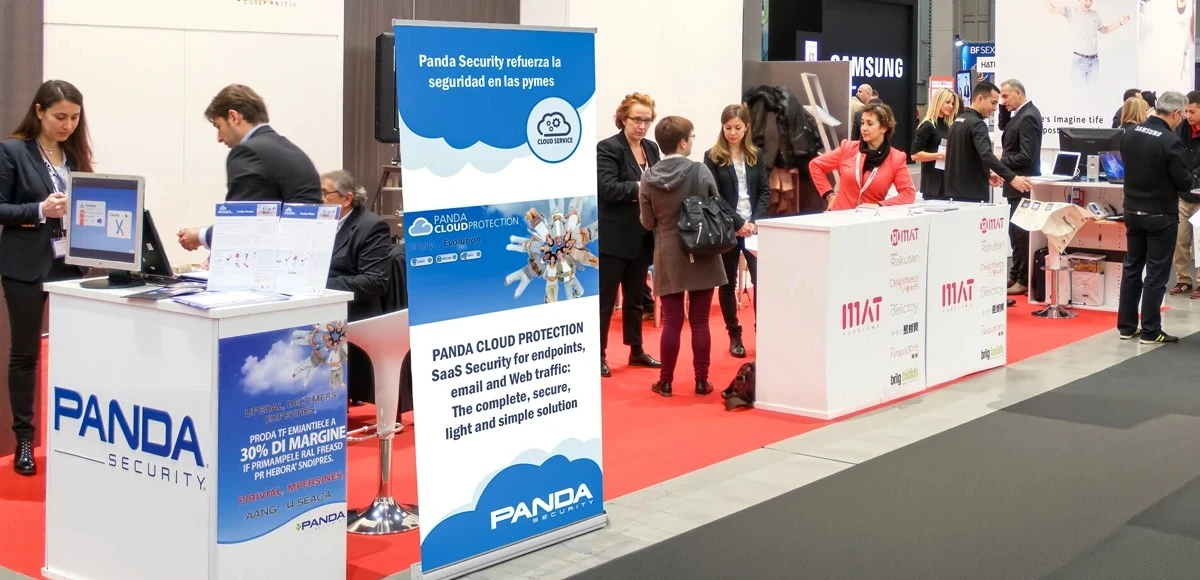
A retractable banner is a type of event banner with a stand. It features printed fabric stored in the banner stand. When needed, the promotional banner easily pulls up from the base and can be secured in an upright position. It’s commonly used for trade shows and exhibitions.
2. Pop-up banners
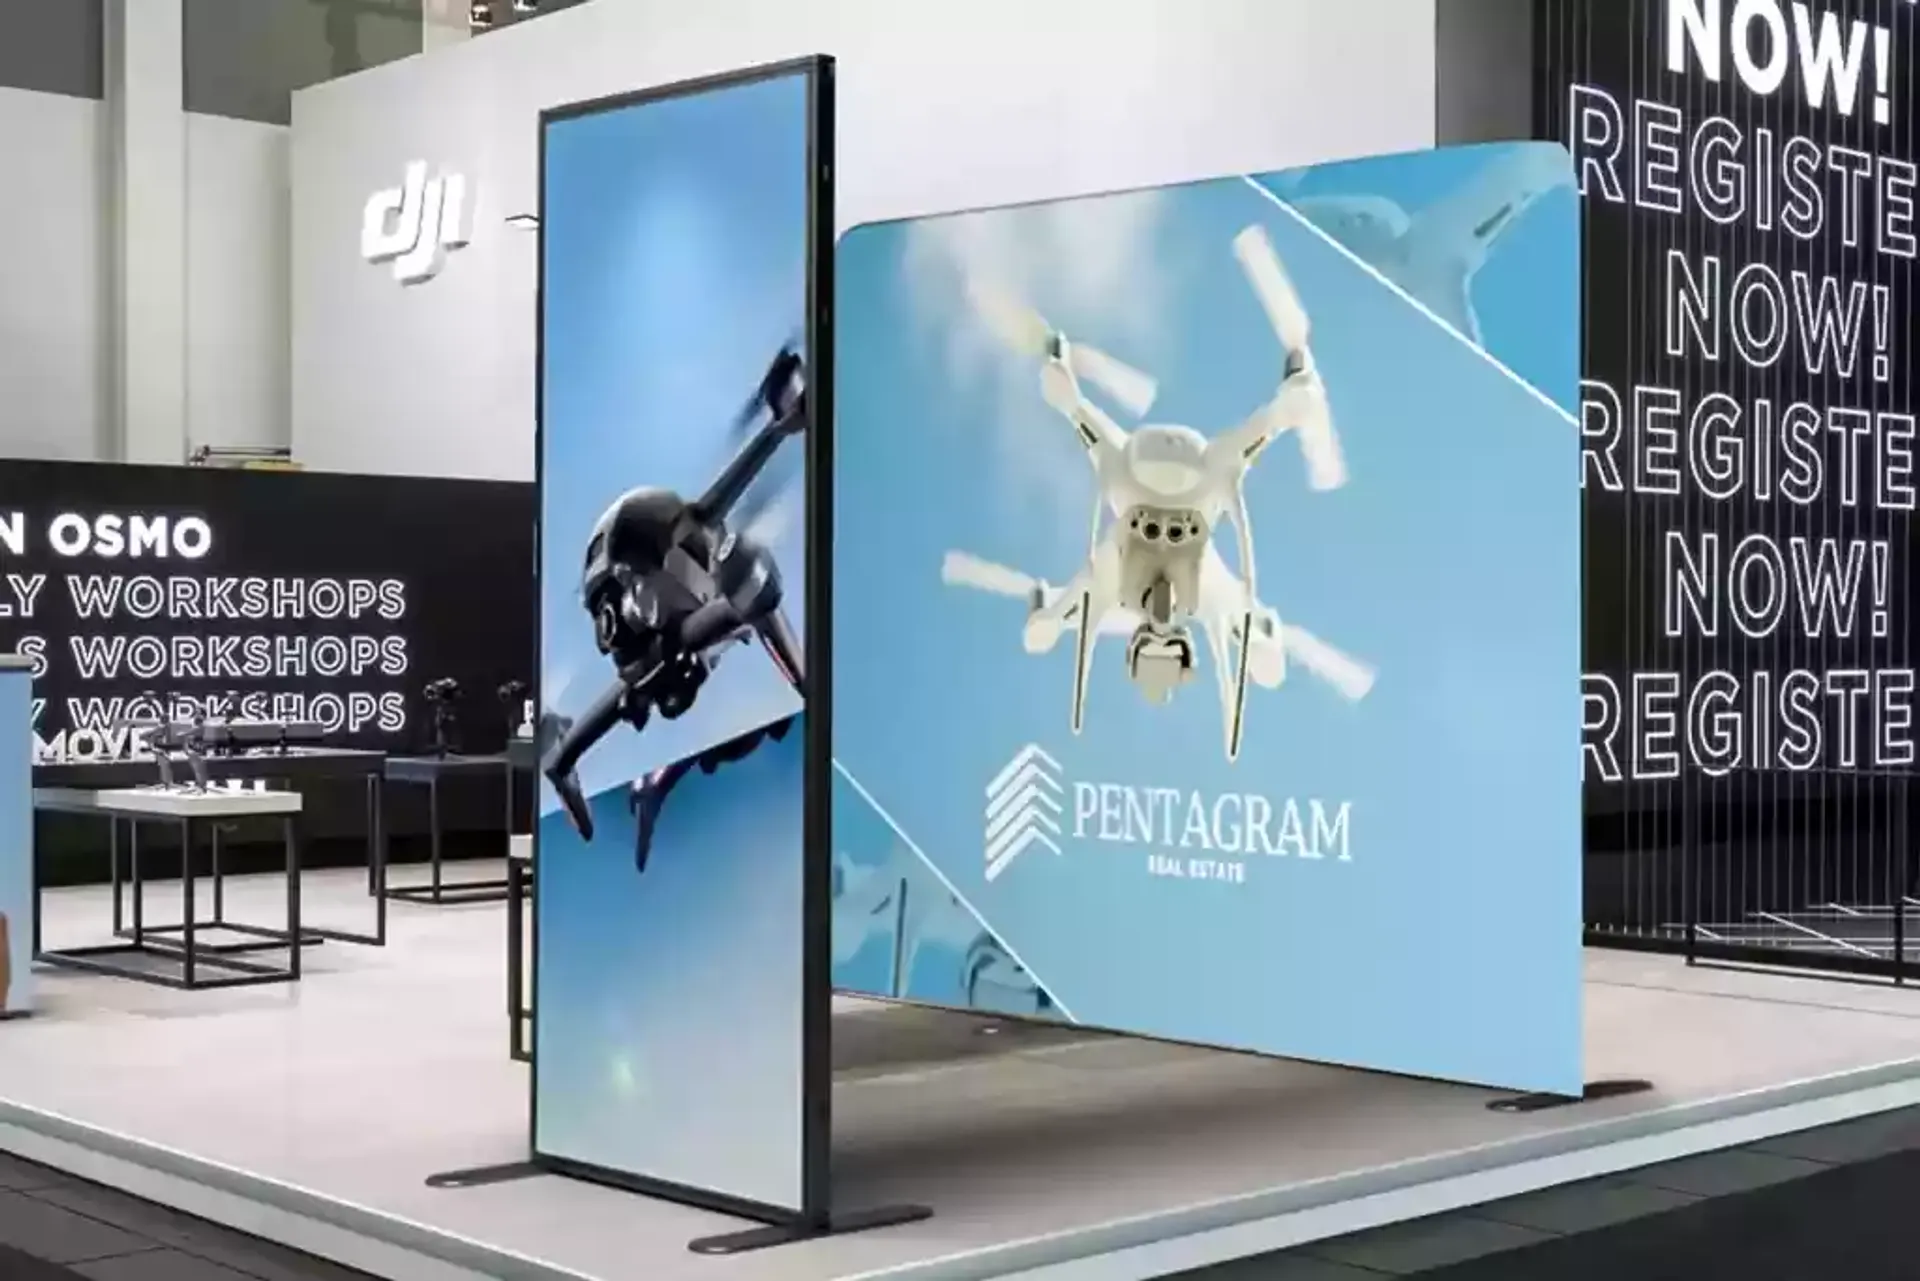
The portable banner is a double-sided and folded display. This market banner features a commercial look with eye-catching logos and graphics. Compared to standard rectangular banners, pop-up banners are available in a wider range of shapes and styles, giving them a more distinctive and modern appearance.
3. Hanging banners
Hanging banners, also called flat banners, do not have a stand. They usually feature rectangular shapes and are suspended from ceilings or tent frames to maximize visibility from a distance. This event banner is especially effective in crowded trade shows or outdoor events where floor space is limited. A hanging banner helps draw attention from across the venue.
4. Billboard banners
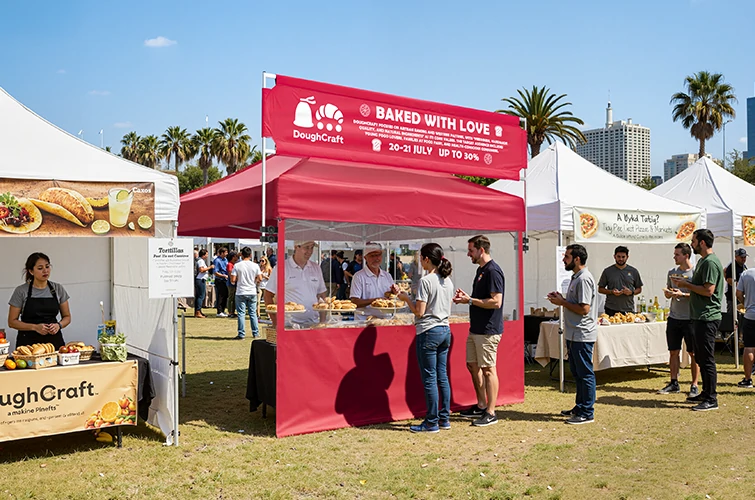
Billboard banners are usually placed on top of your canopy. These long, horizontal banners are ideal for getting your name or slogan seen from a distance, especially in crowded outdoor spaces. Think of them as the “headline” for your booth setup.
5. A-Frame banners
A-frame banners are like sandwich boards or chalkboards you see outside coffee shops. You can print a message on them or even handwrite a custom note. Its structure is similar to a pop-up banner, but it generally features a metal or plastic frame and is not foldable. They’re perfect for events like craft fairs, farmers markets, or pop-up booths where you want to get creative and switch up your message throughout the day.
How to Design an Effective Event Banner?
Designing an effective event banner starts with the right tools and a clear creative process.
Tip 1: Choosing a reliable design platform
A reliable banner design platform helps ensure your banner looks professional, is correctly sized, and is ready for print. Some platforms offer easy-to-use templates for beginners, while others provide advanced tools or professional design support for businesses that want a polished, custom look.
- Canva: an effective banner creator with 1000+ free mockups.
- Pixabay: a wide range of free stock images for making event banners.
- WestShade online design: provides a custom banner service involving professional designers.
- Adobe: a professional design tool with free event banner templates.
Compared to the other three self-design options, WestShade offers online expert design support. Simply tell us your design ideas, and we will quickly provide you with professional design mockups. Just contact us.
Tip 2: Know the purpose of banners
Different purposes lead to a variety of banner design ideas. For example, when introducing a new product, the design should focus on product details and features. If you want to increase brand or social issue awareness, consider ideas to design stunning logos and powerful text. Before you start your design, make it clear what you want the banners to do.
Tip 3: Select the right banner size and quantity
Consider the size and the position of your area. If the area is vast without any distractions, large banners can be laid on the ground to attract people. Conversely, use small banners. Think about how many banners you need. Multiple banners can play different roles. You can use a small table top banner with a payment way and a standard size for promotion. Suitable banner sizes and quantity ensure everyone sees your banner, allowing as much customer exposure as possible.
Tip 4: Set a unique style for the custom banner
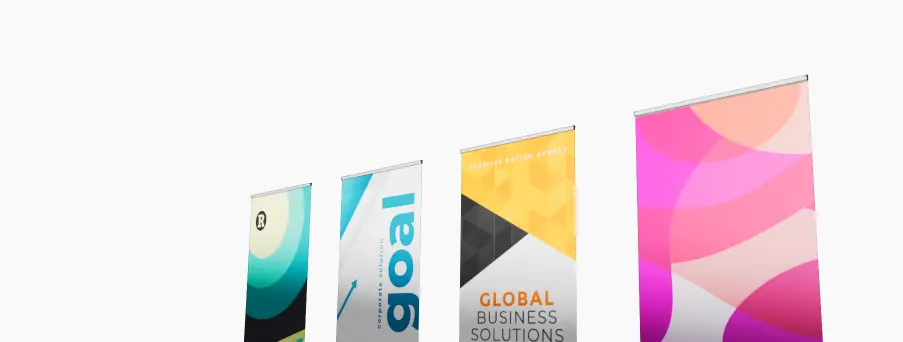
The banner style mainly goes into the color palette and patterns.
Colors have various meanings. Color psychology shows that red and orange represent energy and passion, while blue and black represent calmness and simplicity. Red also has a meaning of emergency. If you want to spread urgent messages, use it without hesitation. White is the most used color. Many commercial banners will use a white background to harmonize with the dull black or grey. Pink, yellow, and other gentle colors are suitable for childish and mild banners.
When you want to add patterns and lines to decorate your banner, use more curves and rounded corners. It performs well in any style. Many amazing banners are decorated with curved lines. This element gives the audience a modest and friendly feeling. Its fluent flow can guide the customer’s vision more naturally.
Tip 5: Design eye-catching banner graphics
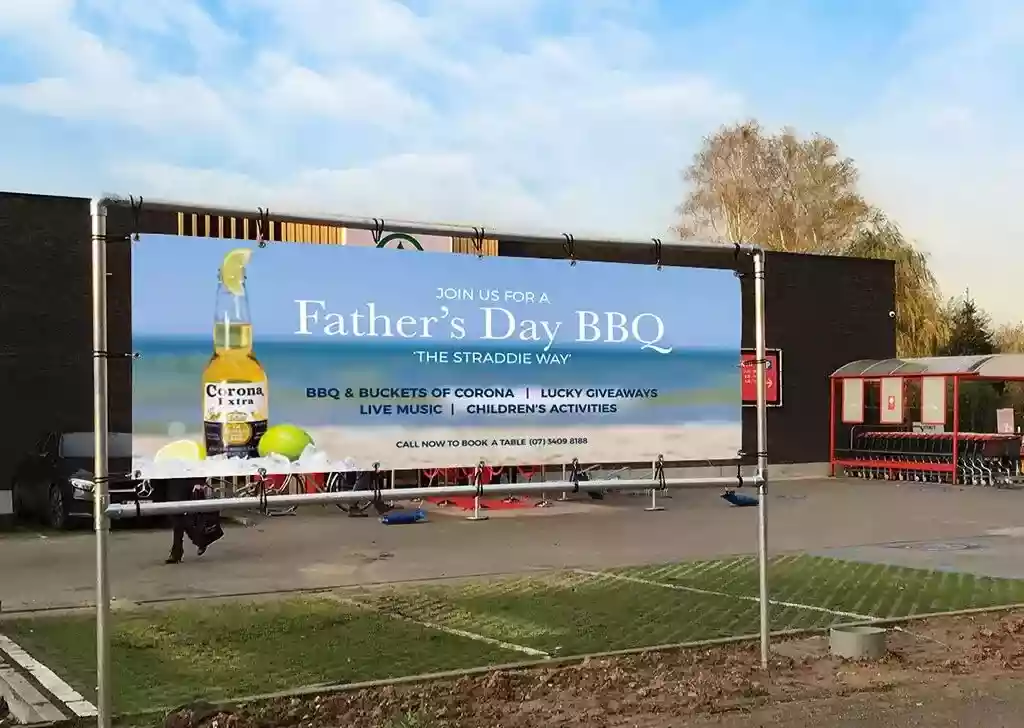
Images play a crucial role in attracting people. When someone walks past your booth, a high-quality and eye-catching background image can make your banner stand out instantly.
Choose a background that matches your purpose and brand style. It could be a solid color for a clean, minimal look, or a subtle pattern to add some personality without overwhelming the text. Make sure the colors work well with your logo. A good trick is to pull your banner colors directly from your logo palette to keep everything cohesive and professional.
If possible, make original images to avoid copyright risks. When you print banners, pictures from the internet always have a blurred effect. But it doesn’t matter. If that really happens, designers from WestShade will create high-quality and clear images. We have professional stock photos. You only need to find one or two examples and send them to our graphic designers online.
However, using too many bold images can create clutter, making it difficult for the audience to focus on the key information. Just keep focused and clear in graphic design.
Tip 6: Add useful text and artful fonts on tent banners
The text needs to both spread vivid messages and be visually appealing. Use bold fonts for the main content and keep the message concise and to the point.
In the entire campaign, customers tend to spend merely several seconds reading your banners, and some won’t even have a look. So, you need to spread the most important message in the shortest time. You can add call-to-action phrases to highlight your key purpose. Think of a time-limited discount or special changes to your product; these CTAs will make your banner stand out.
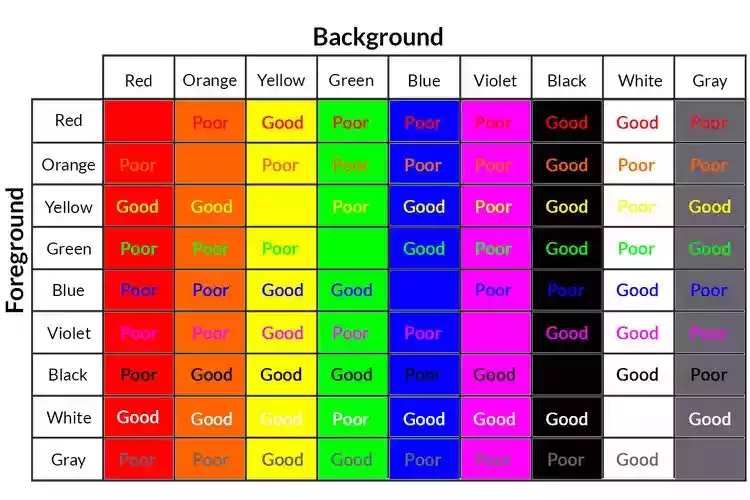
Using contrasting colors in font borders and contents will be helpful. But a poor color match can make your text hard to read. This is because when background and text don’t contrast enough, our eyes can’t separate the message from the background. So it visually blends in, and we naturally skip over it.
The match of red and blue is a typical case. If you really want to apply them in text, use another color to separate them.
Here we conclude with a color match chart for you.
Tip 7: Avoid effortless content layout
That’s the most important part of a successful banner. Use your wild imagination to create a striking and bold design. But don’t make a disordered and messy layout. Stack elements blindly may lead to low quality and visual chaos. Combine images and text in place to prevent customers from feeling tired of your messages. Important information should be placed at eye level, with secondary details next to it. When people have read the highlight, they will naturally notice the relevant content beside it.
Tip 8: Banner printing technologies
Printing technologies play a vital role in making a promotional banner a finished product. Let’s delve into some popular print options.
- UV Printing: This technique uses ultraviolet (UV) light to instantly cure special inks as they are applied to the banner surface. The result is a vibrant, durable print with a slightly raised texture that withstands outdoor conditions well.
- Dye Sublimation: Dye sublimation creates stunning visuals on event banners. This way uses heat to transfer dye onto the fabric banner. It creates vibrant images without any noticeable fabric lines. Dye sublimation works best for complex, demanding banner designs. The colors remain vibrant even after repeated use.
Want to know more? WestShade has an excellent custom printing service. Contact us, fill in your information, and tell us your banner design ideas. Our customer service will give a quick reply in a short time.
FAQs
How to design a banner for events?
The design process can be concluded with the step-by-step tips below:
- Choose a professional design platform.
- Identify your design purpose.
- Choose a suitable size and quantity.
- Select a style that is related to your brand identity. Use high-quality images and a reasonable color match to catch attention.
- Keep the text clear and concise.
- Arrange elements in a logical order.
- Decide on printing technologies.
What are common banner design mistakes?
We have summarized some common mistakes in banner design:
- Using Low-Resolution Images
- Overloading with Text
- Not Considering Viewing Distance
- Poor Visual Hierarchy
- Ignoring the Banner’s Physical Constraints
- Skipping Professional Help or Design Software
Addressing these issues ensures your banner looks professional, grabs attention, and communicates your message effectively at events.
How much does it cost to create a banner?
The cost of a custom tent banner varies widely, typically ranging from $75 to $500 depending on factors like size, material, printing methods, and any custom design services you select. For example, popular retractable banners usually cost between $90 and $400. To learn how these prices break down and explore detailed options for retractable banners, check out our dedicated article on retractable banner costs.
Conclusion
Designing a banner isn’t just about throwing your logo and some text onto a background, but creating something that grabs attention and gets your message across clearly. From choosing the right size and materials to picking readable fonts and matching colors, every detail counts.
Want to make things even easier? Check out our Custom Canopy Tent with Banner Kits. They’re designed to give you a complete, professional-looking setup, including a pop-up canopy, banners, and all. Perfect for trade shows, markets, and outdoor events where you need to stand out fast.