



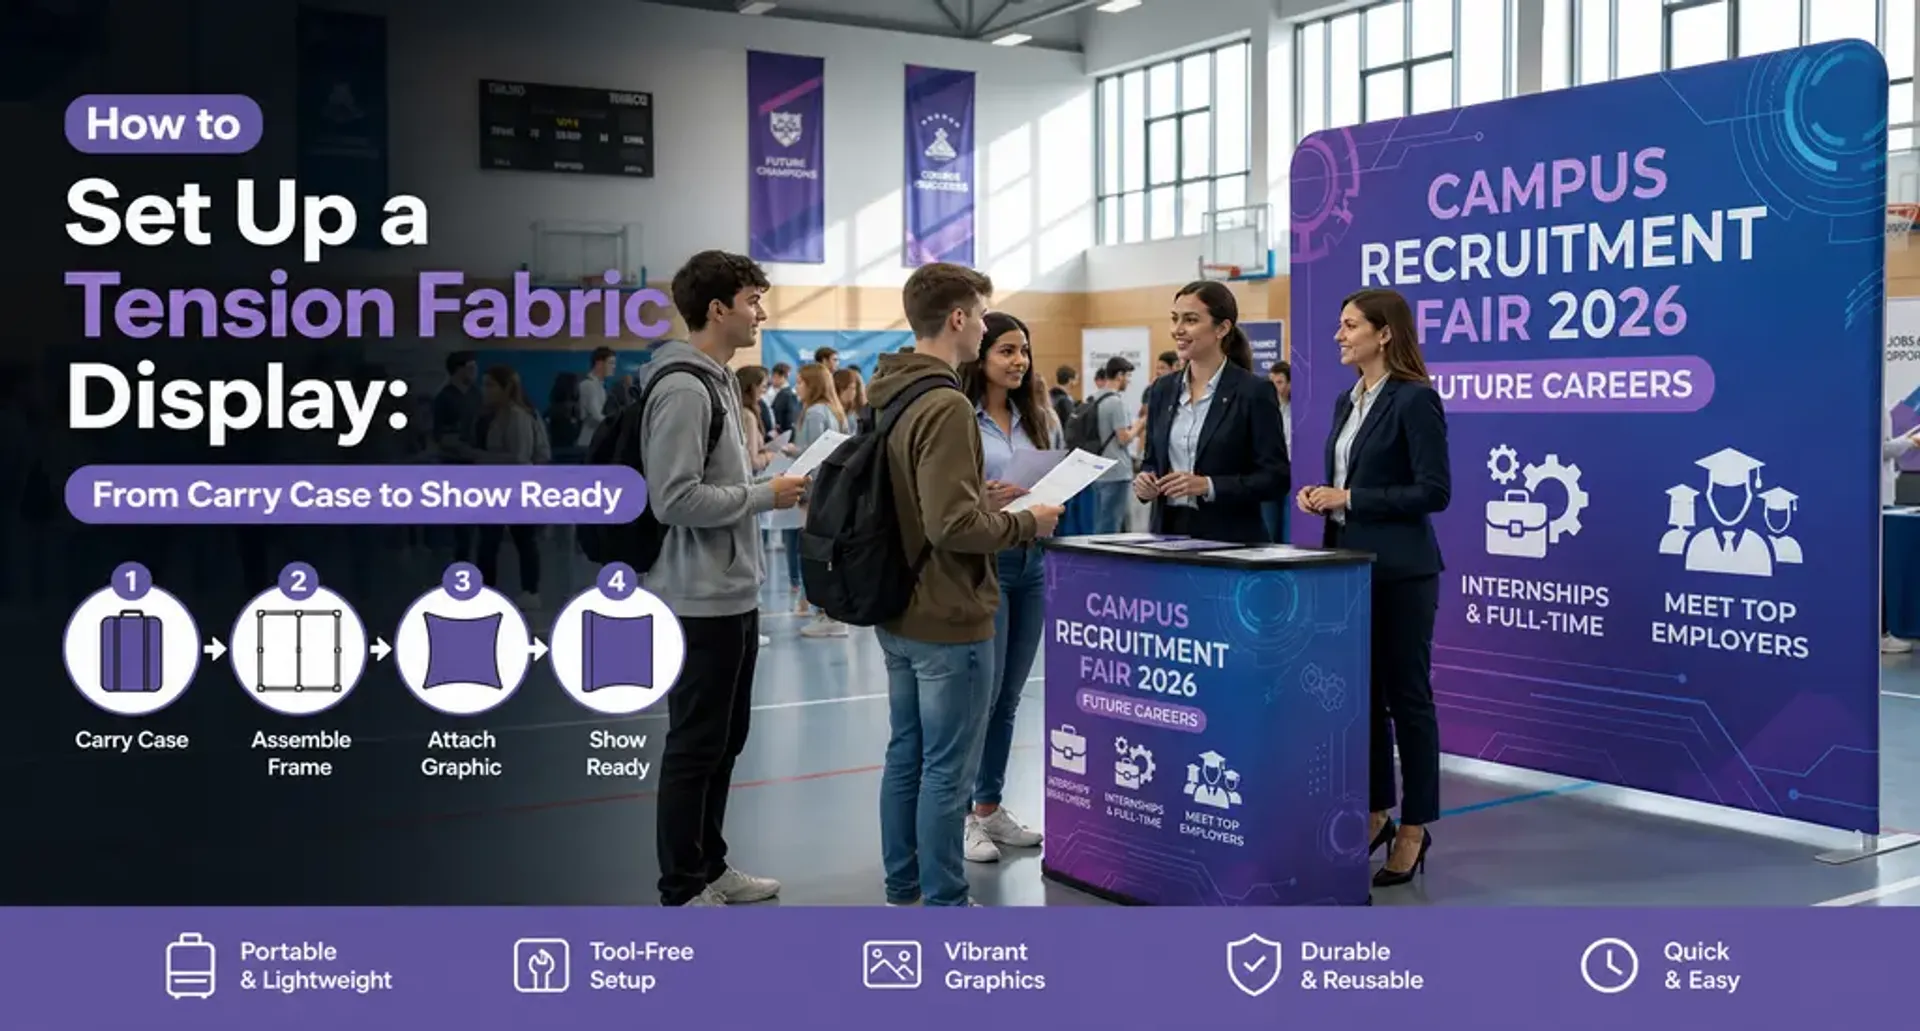
Your trade show opens in an hour, and your booth is still packed in its carry case. Fortunately, setting up a tension fabric display is usually straightforward when you follow the right sequence.
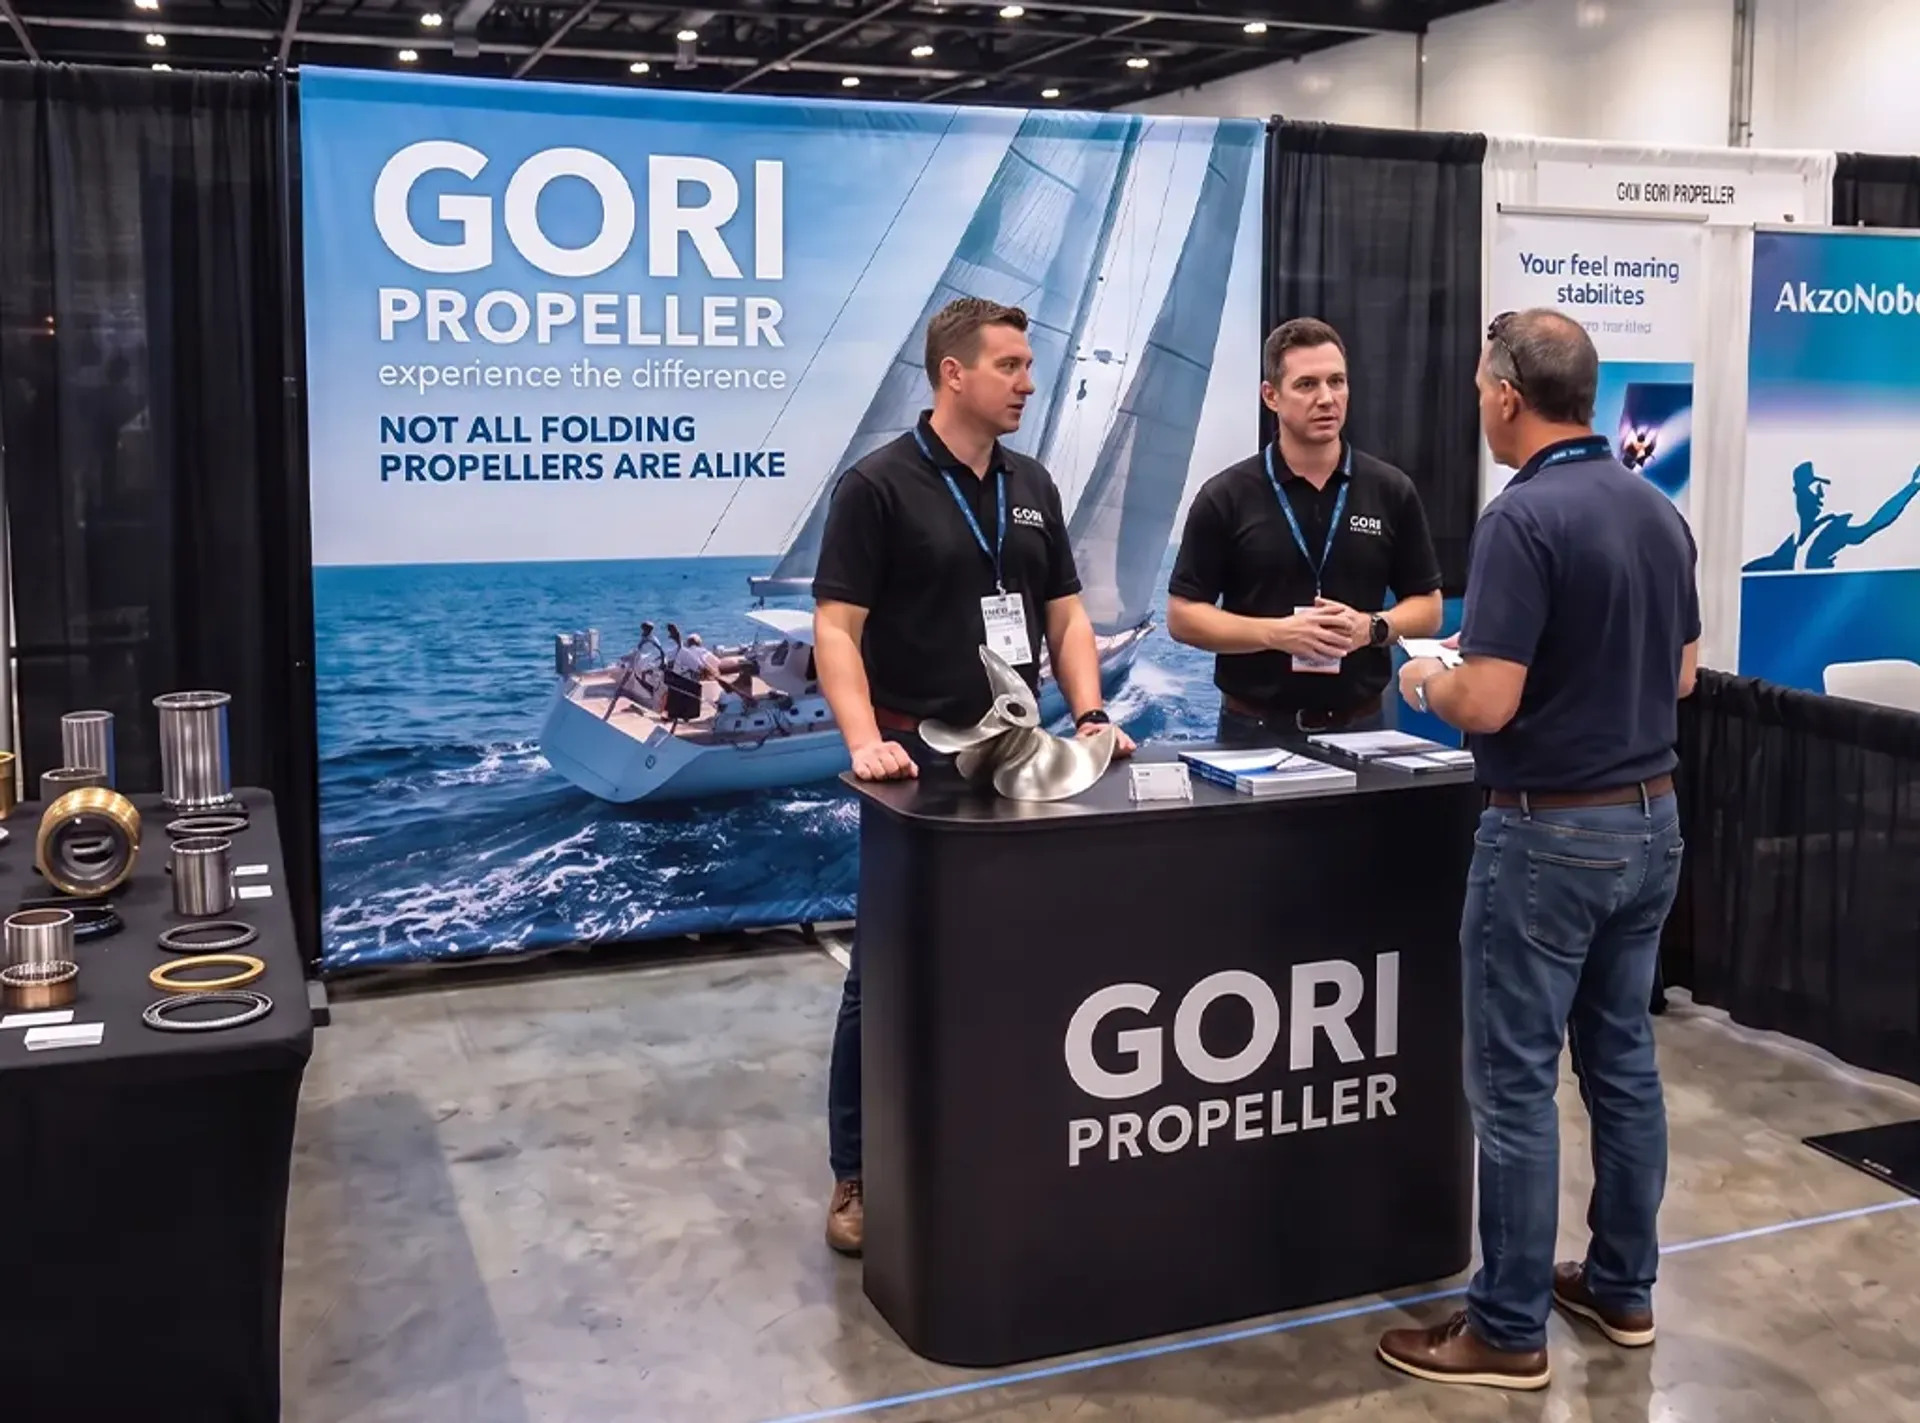
With a lightweight frame and stretch fabric graphic, tension fabric displays are designed for convenient transport, quick assembly, and a clean, professional look on the show floor. While the basic setup is similar, larger tension fabric trade show booth configurations may include additional components such as lighting.
This guide walks you through how to set up a tension fabric display, from organizing the frame components to installing the graphic and completing your final pre-show check.
Before you begin: Frame construction and graphic installation can vary by display. Always follow the assembly instructions provided with your specific product.
Before Setup: Organize the Components
Start with a clean, open area inside your booth. A clean drop cloth can help keep the graphic and frame components away from dust, debris, and the show floor.
Unpack and organize:
- Numbered frame tubes
- Metal base or feet
- Fabric graphic
- Connectors, if included
- Assembly instructions
Before assembling the frame, confirm that the graphic matches the frame configuration. Also check your booth dimensions, ceiling clearance, and available setup space.
How to Set Up a Tension Fabric Display
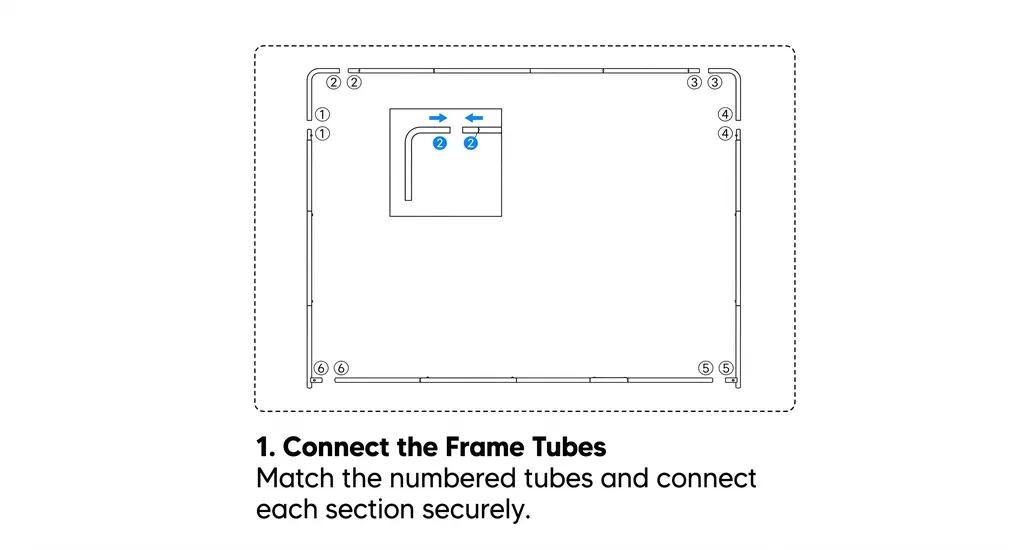
Step 1: Connect the Frame Tubes
Start by laying out the frame tubes in the order shown in the assembly instructions. Each tube is marked with a number or label to help you identify where it belongs.
Match the corresponding numbers and connect the tubes section by section. For snap-button connections, make sure each button clicks fully into place and that the joints are properly seated.
Once the frame is assembled, give each connection a quick check. If a tube does not fit easily, do not force it. Recheck the number, orientation, and connection point before continuing. Correctly assembled tubes help ensure the frame has the right shape and that the fabric graphic will fit properly.
Tip: Lay out all numbered tubes before assembly. This makes the setup process easier and helps prevent incorrect connections.
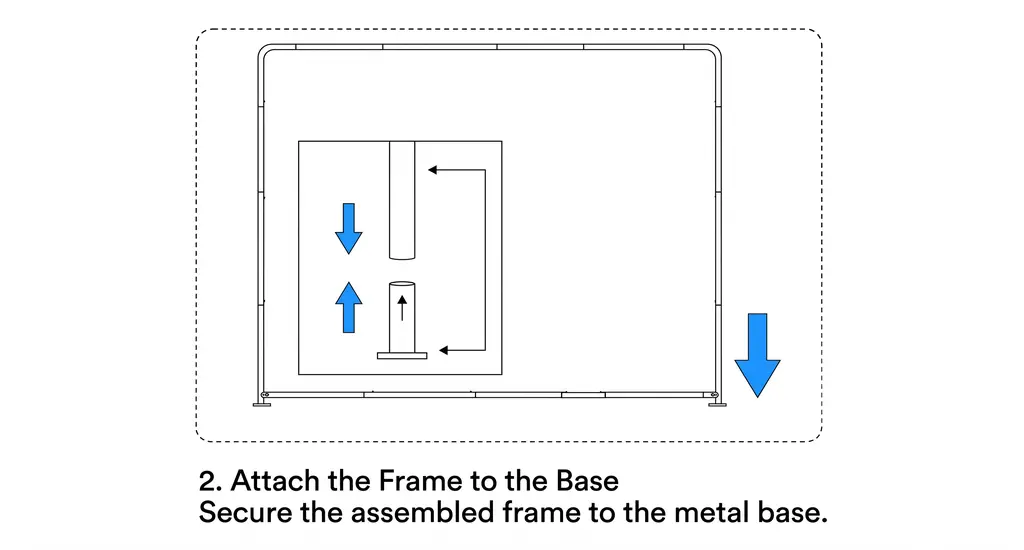
Step 2: Attach the Frame to the Base
With the frame fully assembled, attach it to the metal base according to the product instructions. Make sure the frame is properly seated and securely connected before installing the graphic.
Check the display from the front and sides to make sure it stands straight and the base is stable. For larger displays, having two people handle the frame can make this step easier and help keep the structure stable during installation.
Keep the base within your assigned booth space and make sure it does not extend into the aisle.
Tip: Make sure the frame is stable before installing the graphic. The fabric should not be used to correct an improperly assembled or unstable frame.
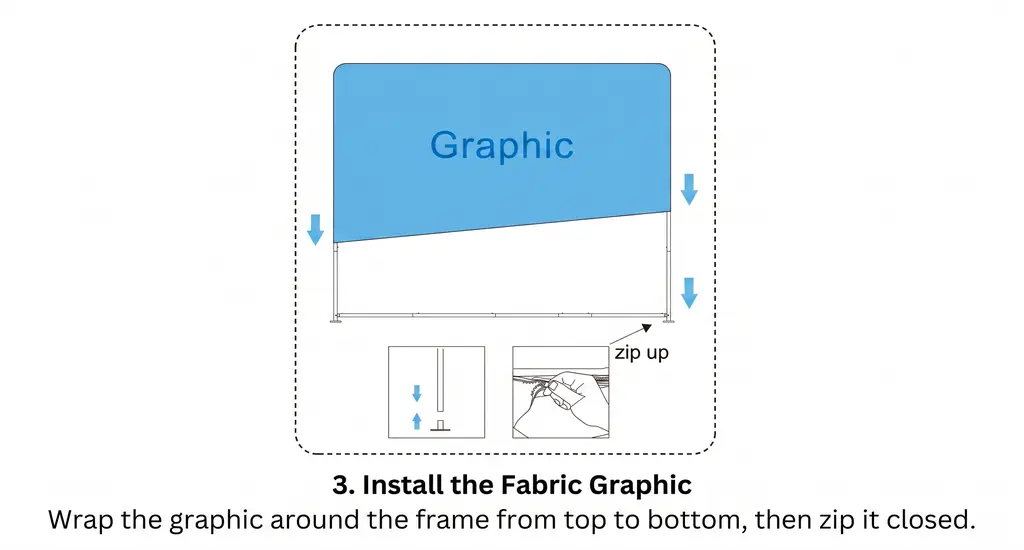
Step 3: Install the Fabric Graphic
Starting from the top, wrap the graphic evenly around the frame and work downward. Keep both sides at roughly the same height as you pull the fabric into position. Once the graphic is fully positioned, close the zipper carefully to create a smooth, taut fit. If the zipper does not close easily, stop and check that the graphic is centered, the frame is correctly assembled, and no fabric is caught on a joint.
Tip: Never use excessive force to close the zipper. A properly assembled frame and correctly positioned graphic should allow the zipper to close smoothly.
Setup Complete for Tension Fabric Displays: If you purchased a standard tension fabric display, your setup is complete after installing the fabric graphic. If you purchased a tension fabric trade show booth with lighting, continue to Step 4 to complete the booth setup.
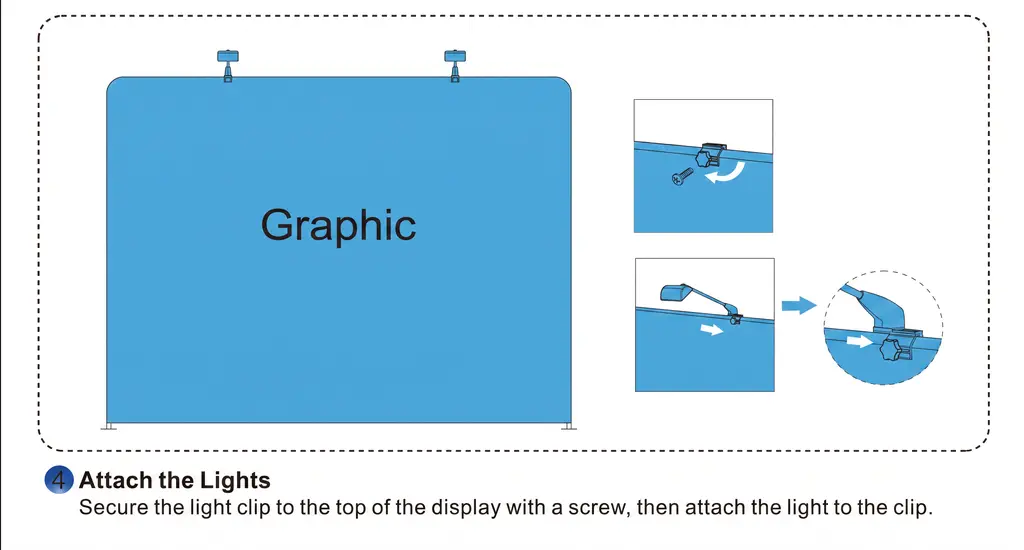
Step 4: Install Lighting for Your Trade Show Booth
If you purchased a tension fabric trade show booth with lighting, install the light clip after the fabric graphic has been positioned. Place the clip at the top of the booth and secure it with the provided screw.
Next, attach the light to the clip and adjust its position to illuminate the graphic. Make sure the light and clip are securely connected before powering on the light.
Route the power cable safely behind the booth and keep it organized to help prevent trip hazards. If your booth includes multiple lights, position them evenly to provide consistent illumination across the graphic.
Final Pre-Show Check
Before visitors arrive, take one quick look at the complete display.
Frame
- Frame is fully connected
- Display is stable and level
- Feet are positioned correctly
Graphic
- Graphic is centered
- Logo and key messaging are straight
- Fabric is not twisted or caught
- Zipper is fully closed
Accessories
- Lights are working
- Cables are secured
- Accessories are properly attached
Taking a photo of the finished display can also give your team a useful setup reference for future events.
Common Tension Fabric Display Setup Problems
Even with a simple assembly process, a few problems can occur during setup. Most can be resolved by checking the frame configuration before applying force.
The Graphic Will Not Reach the Bottom
Don't pull harder. Check whether:
- A fabric seam is caught on a frame joint
- A frame section is reversed
- A top corner is not fully seated
- The graphic and frame sizes match
Correct the frame or graphic position before trying to close the zipper again.
The Zipper Will Not Close
First, recenter the graphic and check for twists or trapped fabric. Make sure the frame is fully assembled and all corners are positioned correctly.
If the zipper still requires excessive force, stop and recheck the frame configuration rather than forcing it closed.
The Display Leans or Rocks
Place the display on a level surface and check that all frame joints are fully connected. Make sure the feet or base plates are installed correctly and that curved frame sections are oriented as instructed.
Never rely on the fabric graphic to stabilize an incorrectly assembled frame.
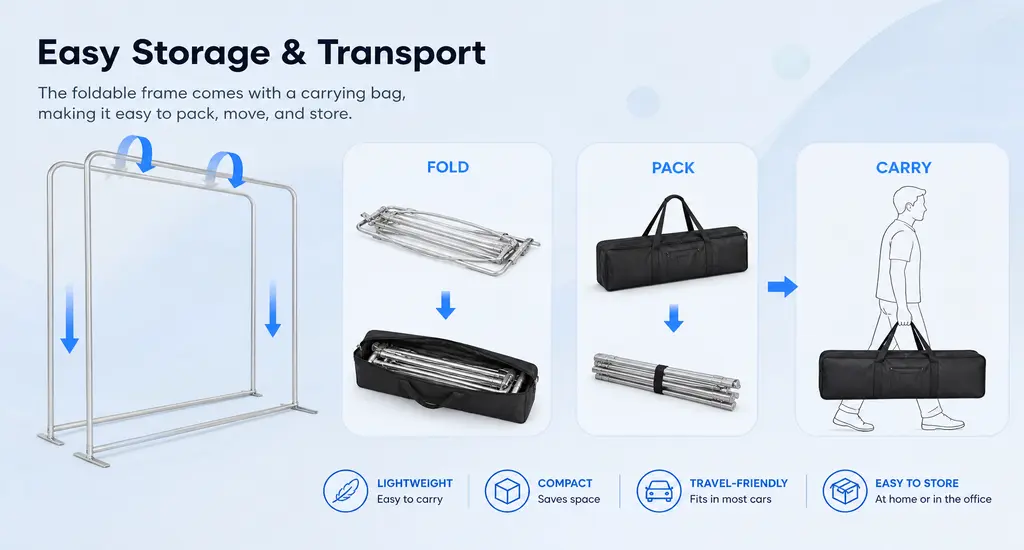
Quick Teardown Before Packing
After the show, reverse the setup sequence carefully rather than rushing through teardown.
- Disconnect power and remove lights or accessories.
- Move the display to a clean area.
- Open the zipper completely.
- Remove the graphic evenly from the frame.
- Lower the frame before removing the feet, when applicable.
- Disconnect the frame sections according to the instructions.
- Check that all components are accounted for.
Keep the graphic off dirty floors and avoid pulling it across rough surfaces.
For detailed guidance on folding, protecting, and storing your display between events, see our upcoming guide on How to Store a Tension Fabric Display.
Ready for Your Next Trade Show?
A smooth setup starts with a simple process: connect the frame, secure the base, install the graphic, and complete a quick final check. Following the same sequence at every event can help your team save setup time and avoid common issues such as twisted graphics, loose frame connections, or difficult-to-close zippers.
Need a simple branded backdrop? Explore Westshade Tension Fabric Displays. Looking for a more complete exhibit with lighting and additional booth features? Explore our Tension Fabric Trade Show Booths.
Choose the solution that fits your space, setup needs, and event goals.
Frequently Asked Questions
How should I store a tension fabric display graphic between events?
Keep the graphic clean and dry, then fold or roll it according to the manufacturer's recommendations. Store it in a dry location away from moisture, excessive heat, and sharp objects that could damage the fabric.
How long does it take to set up a tension fabric display?
Setup time depends on the display size, frame configuration, and accessories. Smaller, straightforward displays generally require less assembly, while larger or more complex configurations may take longer.
Can I use the same tension fabric display frame for different events?
Yes, when the replacement graphics are made for the same frame configuration. This allows businesses to reuse the hardware while changing the graphic for different brands, campaigns, products, or events.
What is the difference between a tension fabric display and a tension fabric trade show booth?
A tension fabric display is generally a standalone branded display, while a tension fabric trade show booth can incorporate a larger booth configuration with additional elements such as lighting or other exhibit components. The right option depends on the size and functionality you need for your event.