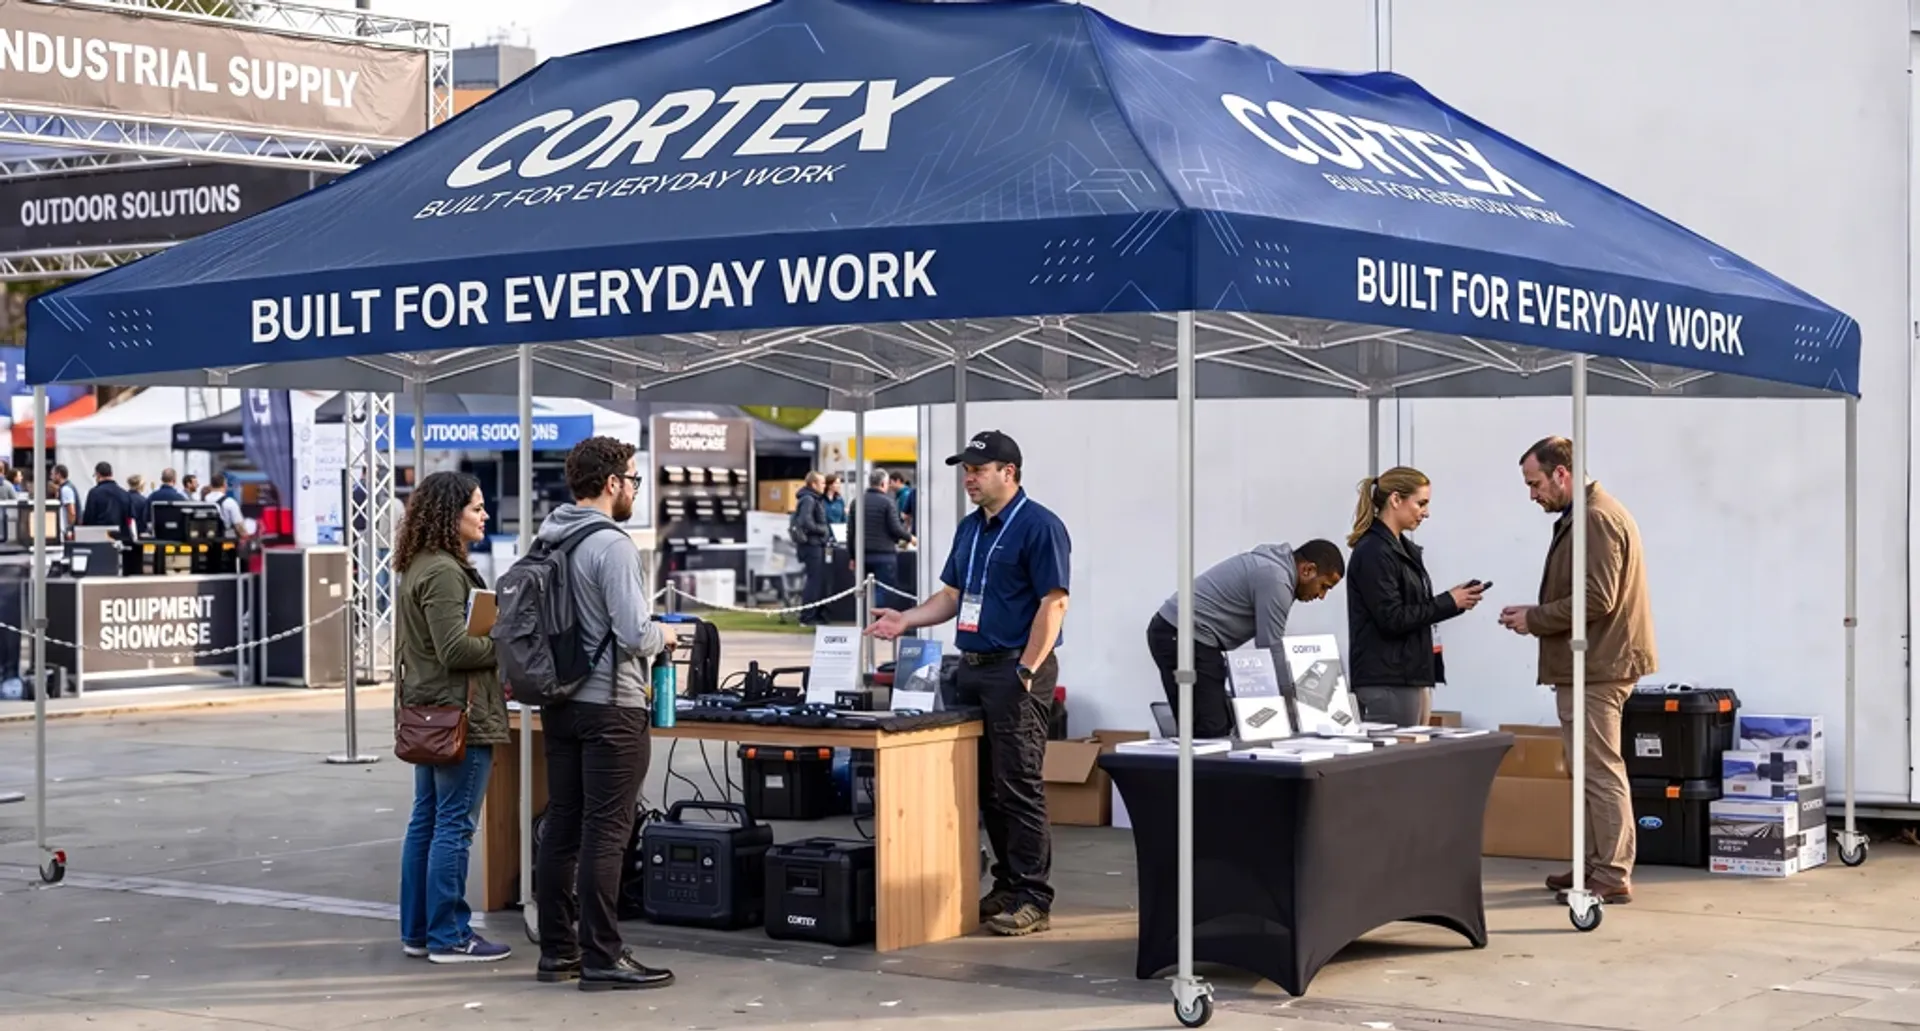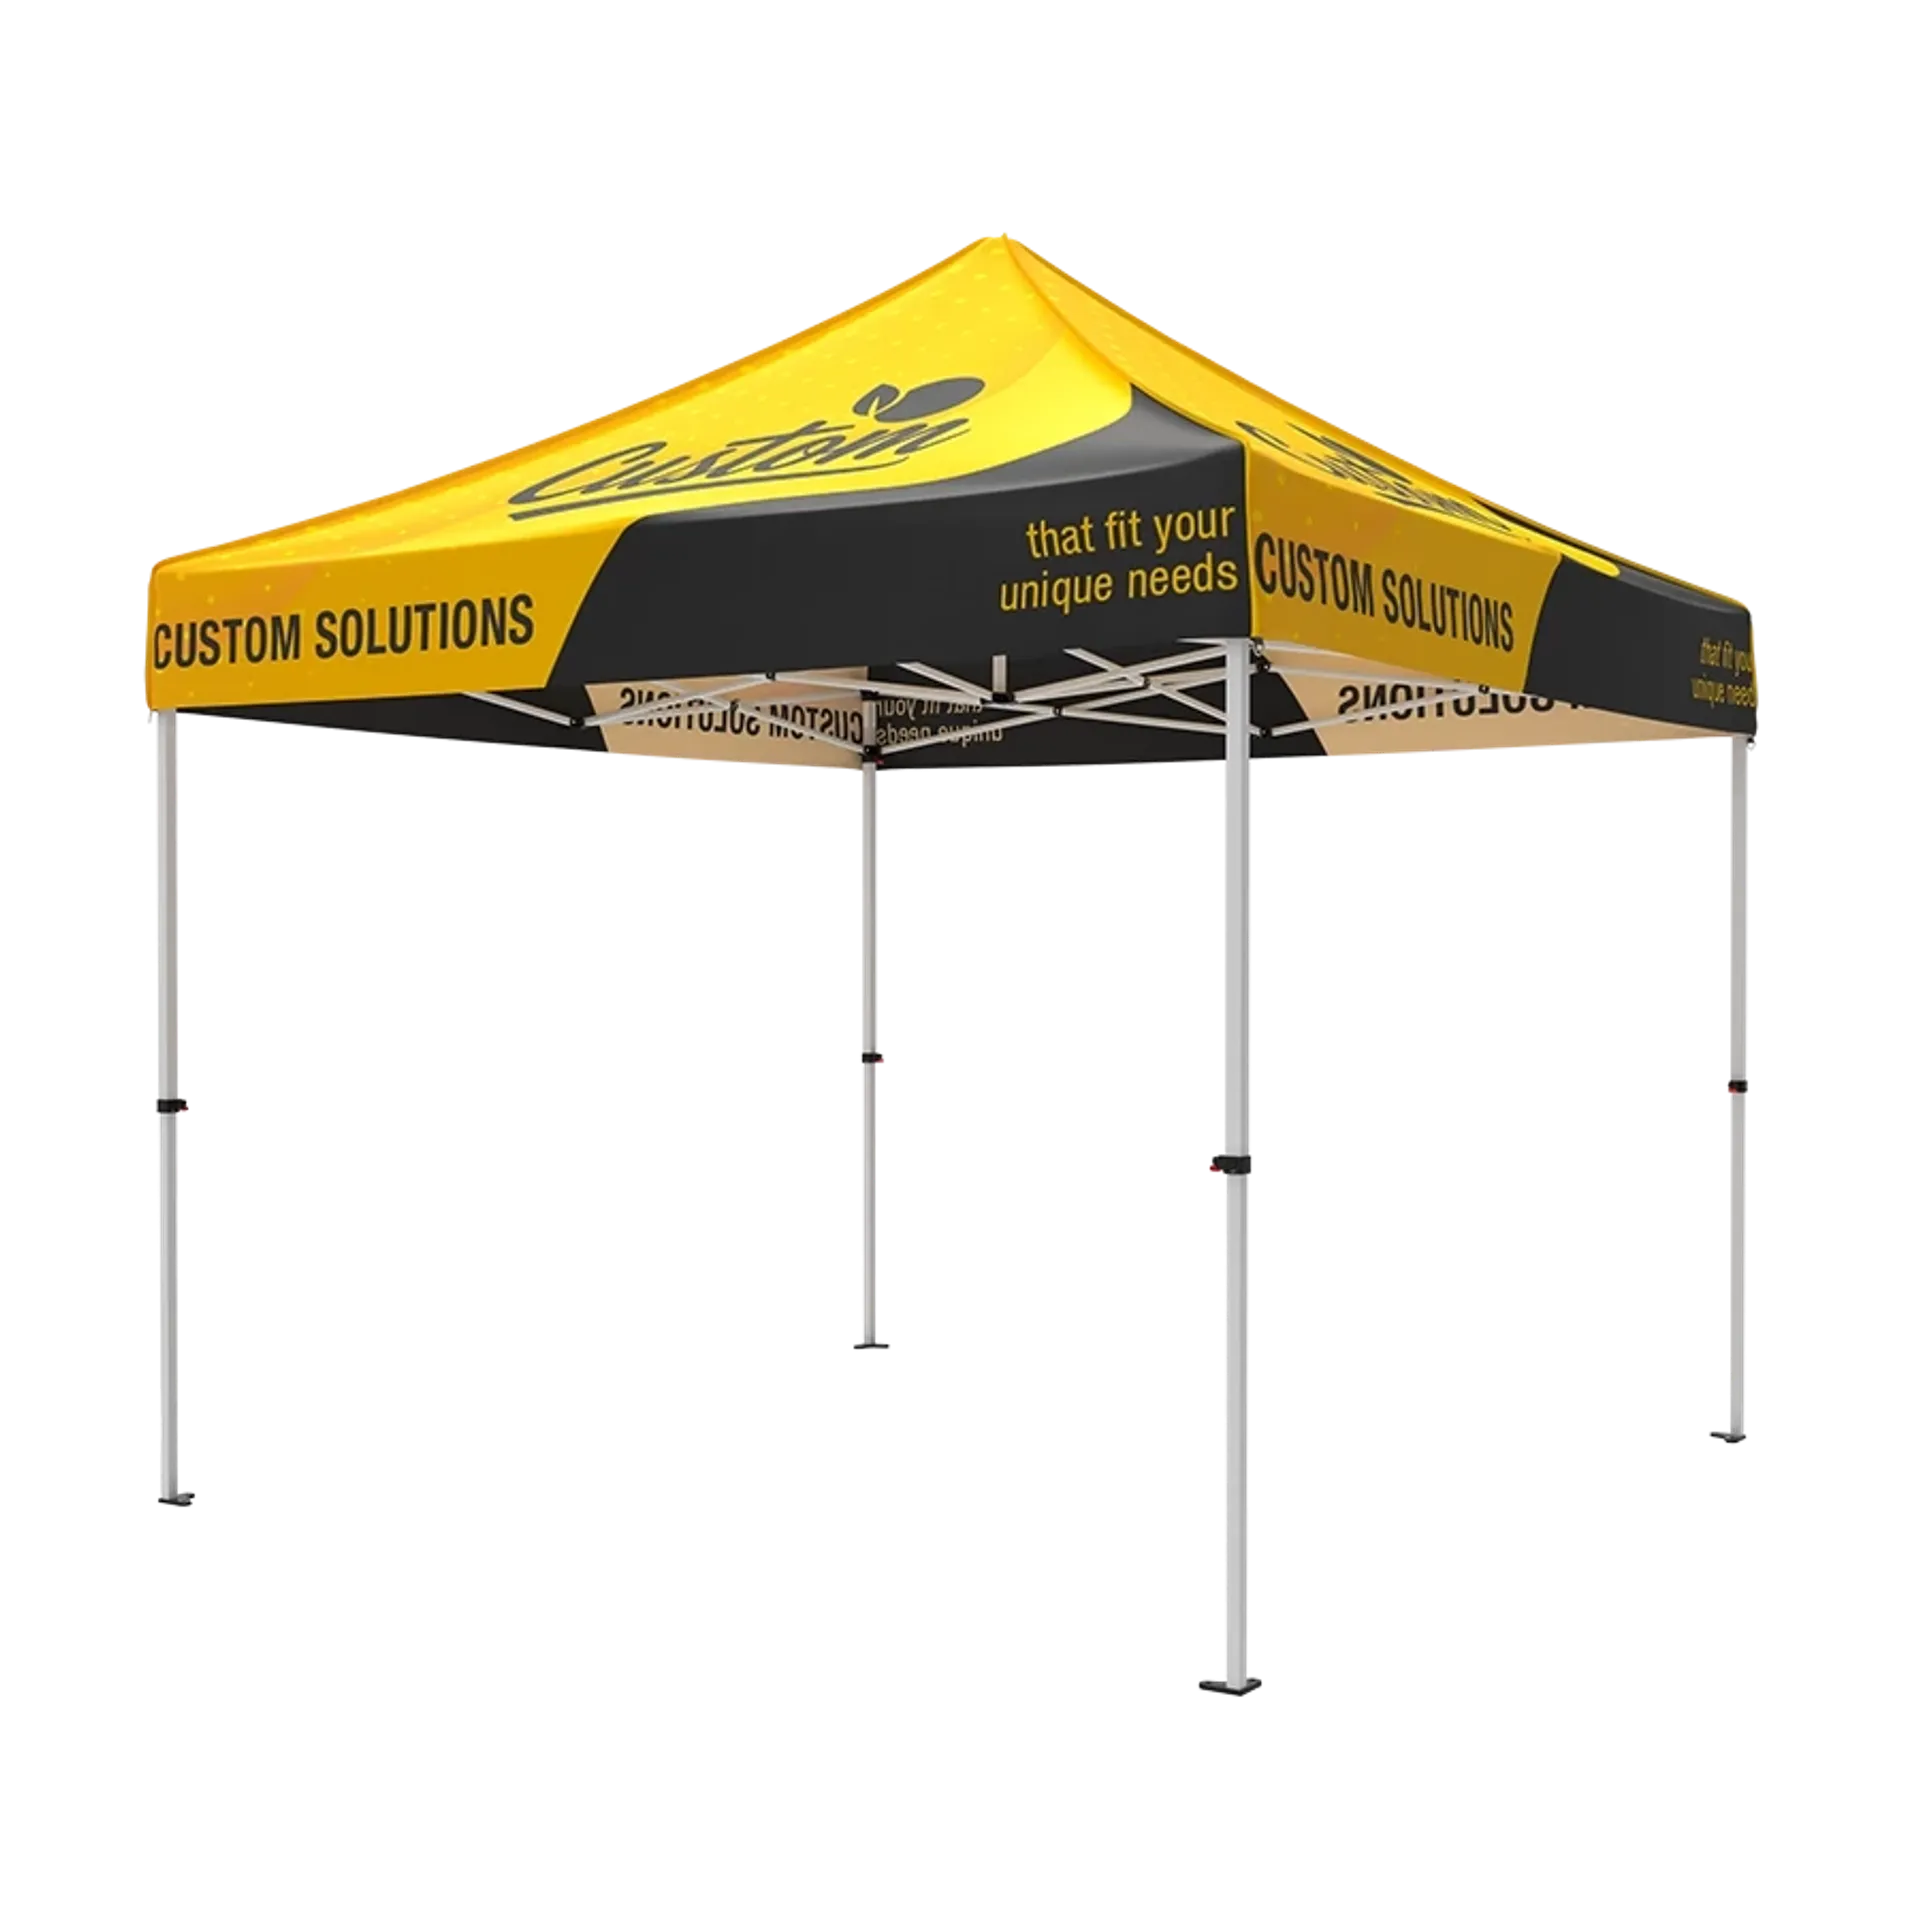







An 8x8 canopy can work for a compact vendor booth when the organizer allows that size and your complete setup fits the assigned space. Start by deciding whether customers will shop from the front or step inside. Then place the display, payment point and stock around that interaction, and rehearse the movements with your actual equipment.
The size label alone cannot tell you whether a selling arrangement will work. A useful plan shows where a customer approaches, where you stand and how you retrieve an item without blocking the next task.
Key Takeaways
- Confirm the organizer's space and canopy requirements before choosing a layout.
- Choose a front-service or walk-in arrangement around how customers need to shop.
- Test browsing, payment and restocking with the actual furniture before committing to the setup.
Confirm that an 8x8 canopy suits your event
Ask the organizer whether the canopy and complete setup are permitted in your assigned space. Your booth footprint is the ground area occupied by the complete booth setup, including equipment that must remain inside the assigned space. Mark that boundary separately from the canopy's nominal size.
Before arranging furniture, confirm how the event treats canopy legs, securing equipment, signs and walls. Find out where customers may stand and which routes must stay clear. Follow the organizer's and manufacturer's requirements for anchoring and weather decisions.
Measure the actual frame and furniture you intend to use. Include the equipment needed for the event, even when it sits outside the selling surface. This gives you a boundary to work within before a display or storage box claims the space needed for access.
Choose where customers will shop
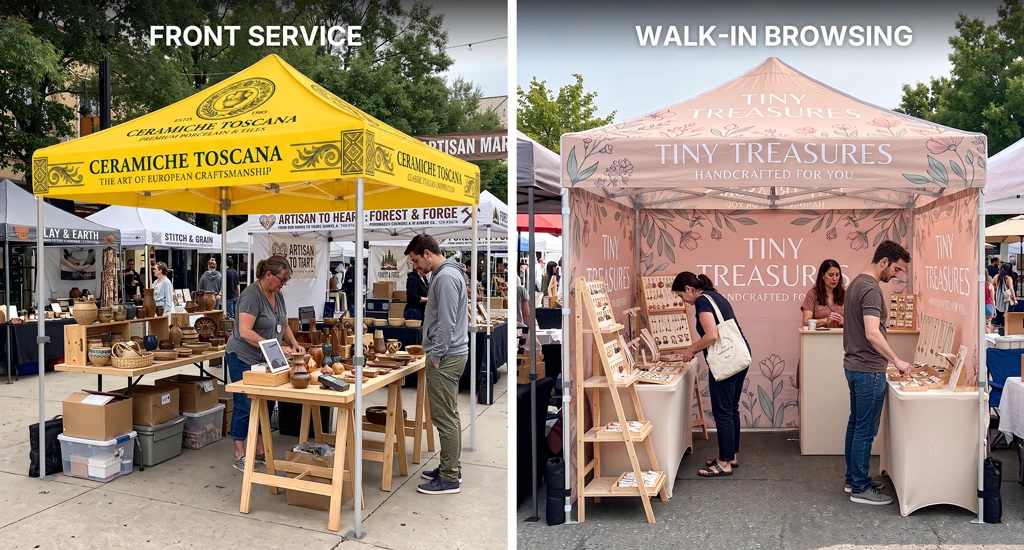
Use a front-service arrangement when shoppers will approach a selling surface. Preserve an entrance and browsing route when they need to step inside. Choose the interaction that suits your merchandise, then arrange the furniture to support it.
Front-service arrangement
Position the selling surface toward the permitted customer approach, with staff behind it. Keep payment and replenishment stock reachable from the working side. This is a useful starting sketch when you present items across a counter rather than invite customers to browse inside.
Walk-in browsing arrangement
Keep the approach open and place displays to the side if the actual equipment leaves a workable route. Put checkout where a paying customer will not occupy the entrance. Test whether someone can look at merchandise while another person approaches.
| Planning decision | Front-service example | Walk-in browsing example |
|---|---|---|
| Customer approach | Toward the selling surface | Through an open entrance |
| Staff and payment | Behind the display, with payment in reach | Beside the browsing route, away from the entry |
| Stock access | From the staff side of the display | From the working position without crossing the browsing route |
| First test | Can you serve and restock from your position? | Can a shopper enter, browse and approach checkout? |
These are schematic starting points. Their suitability depends on the furniture, merchandise and permitted customer space you actually have.
Place the display, checkout and stock
Map the furniture and working movements before adding more display pieces. On your sketch, mark the canopy legs, the selling surface and the place where you will stand. Then add the payment device and the stock you need during a transaction.
Run through a sale in order: show an item, take payment, reach a bag and replace the sold item. A storage box that fits under the display may still be awkward if opening it forces you into the customer approach. Account for drawers, chair movement and cables as well as the furniture's closed position.
Keep the main product message visible from the intended approach. Check it from a shopper's position: a tall rack or stack of stock may conceal the display you want them to notice. Include planned wall panels in this check before deciding where the equipment belongs.
Test the booth and decide whether to size up
Rehearse the setup with actual equipment and revise it when a task blocks the entrance or pushes into space outside your assignment. Mark the permitted boundary on the ground, place the furniture and walk through browsing, payment and restocking. Have someone stand in the customer's position while you work.
If the arrangement feels crowded, remove a display piece or change the service approach and test it again. If essential stock or working movements still will not fit, a canopy tent size comparison can help you evaluate a larger footprint. Carry forward the same display, staff and storage needs so you compare the space your business actually requires.
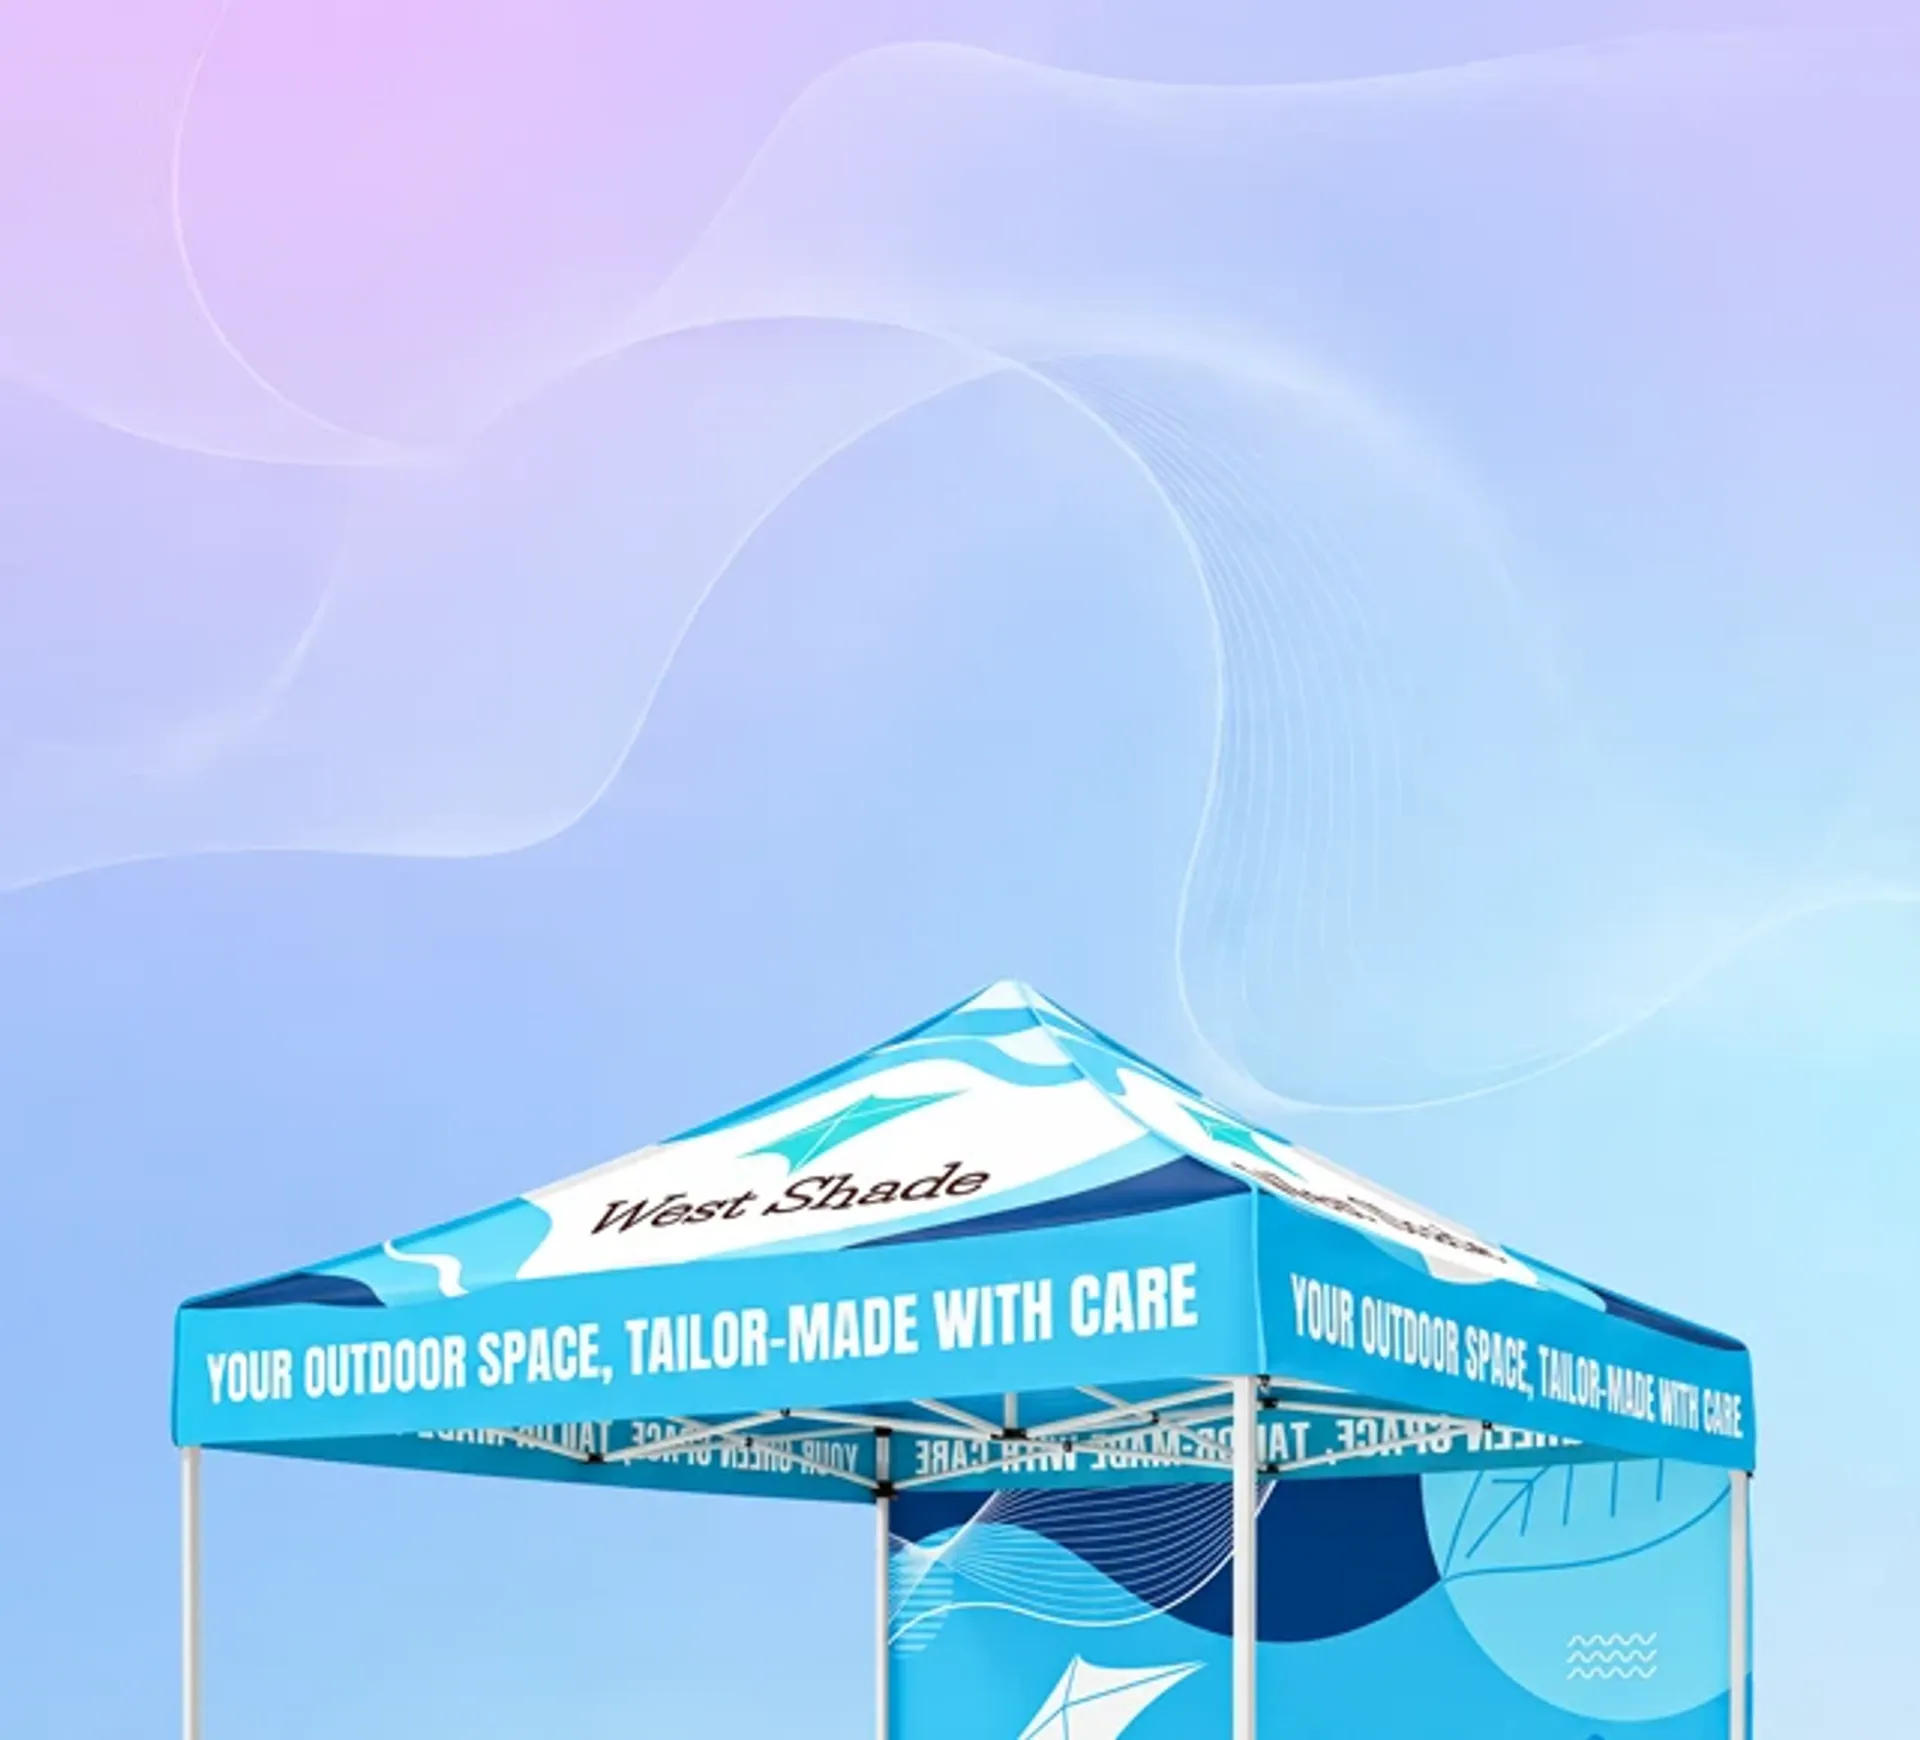
For a working 8x8 plan, compare WestShade custom canopy options with your display, entry and intended wall arrangement in mind. Bring the sketch to the product discussion so configuration questions relate to the setup you intend to use.
Frequently asked questions
How many tables fit under an 8x8 canopy?
There is no universal table count for a working vendor booth. Measure your furniture and test it with space for staff, payment, restocking and the intended customer approach. A table fitting beneath the canopy does not establish that the complete selling setup fits.
Can customers walk inside an 8x8 canopy booth?
Use a walk-in arrangement only when the event permits it and the actual equipment leaves a workable entrance and browsing route. Test the route with the setup in place, including checkout, rather than treating the canopy's size label as an occupancy rating.
Can I use an 8x8 canopy in a larger assigned vendor space?
Confirm with the organizer whether a smaller canopy is accepted and where the complete setup must sit within the assignment. Having a larger space does not remove the event's canopy, anchoring, signage or aisle requirements.
Should I add sidewalls to an 8x8 vendor booth?
Choose the wall arrangement around your planned entrance, display and working route, subject to event and manufacturer requirements. Check compatibility with the actual frame before ordering. The canopy size alone does not establish which wall configuration suits the conditions.