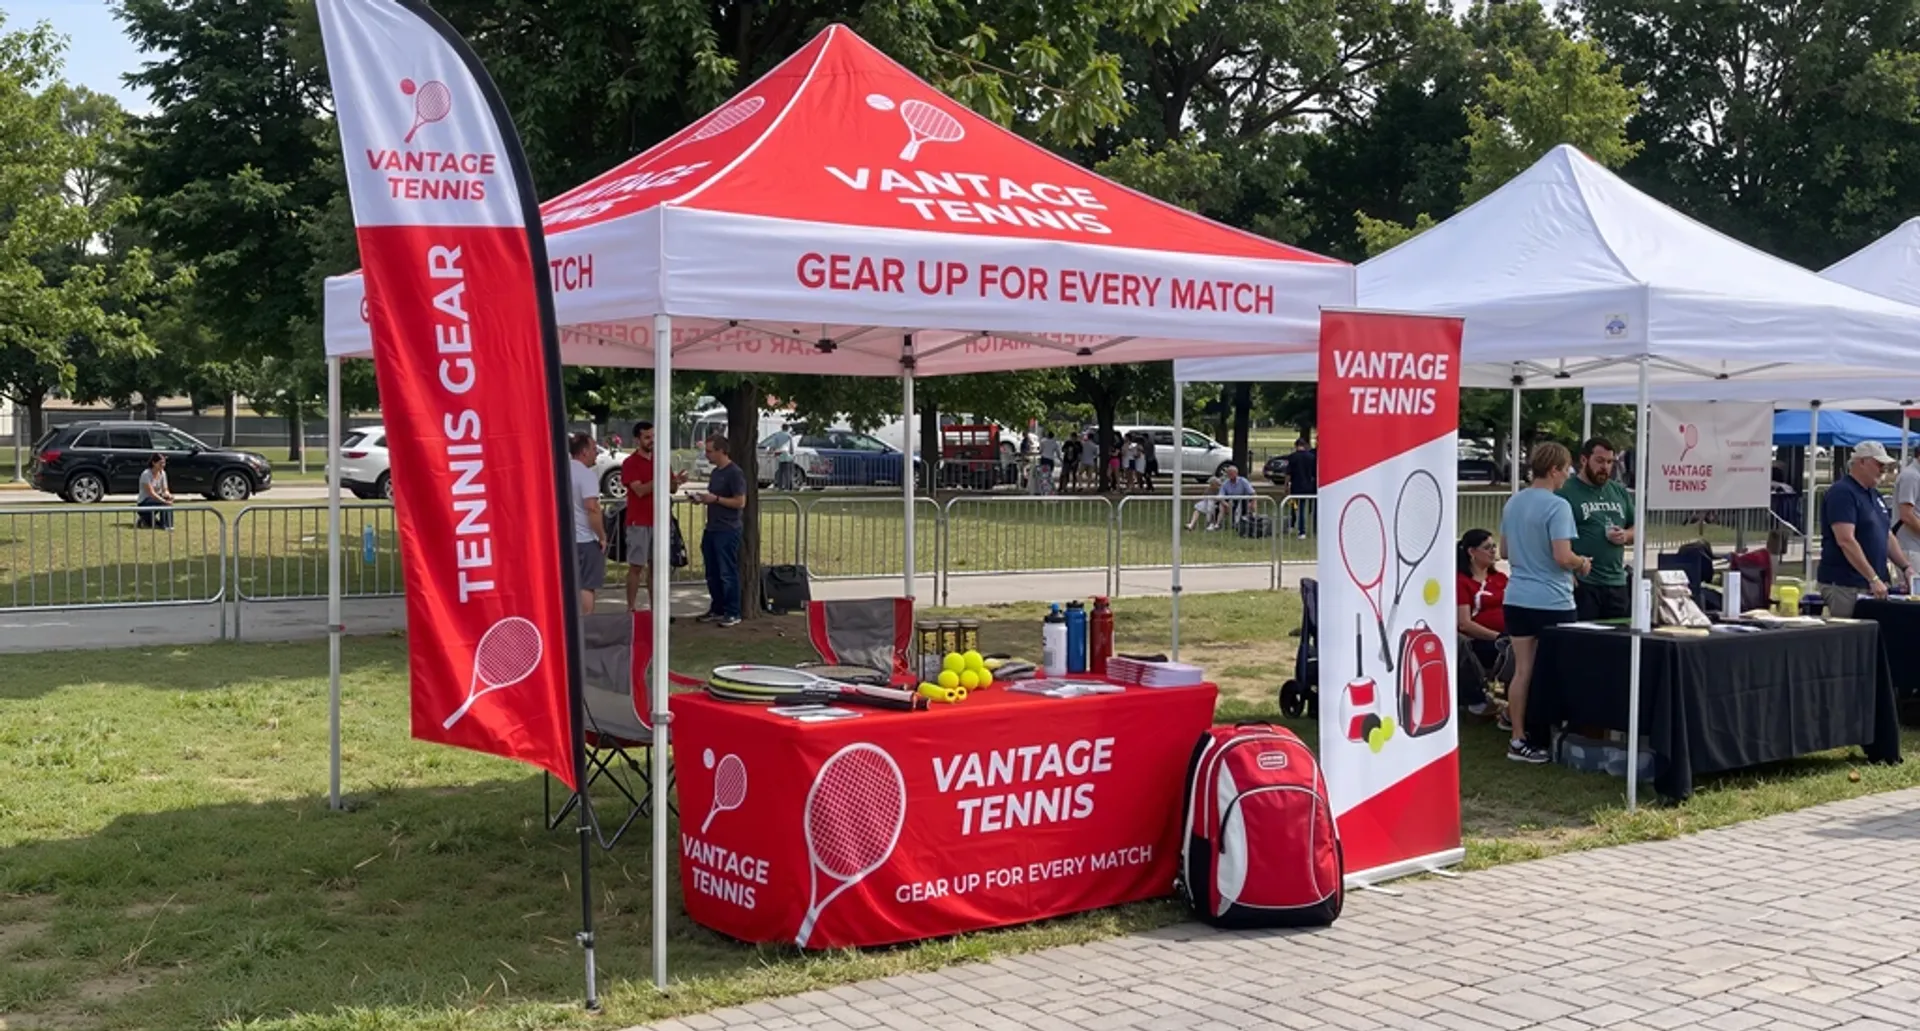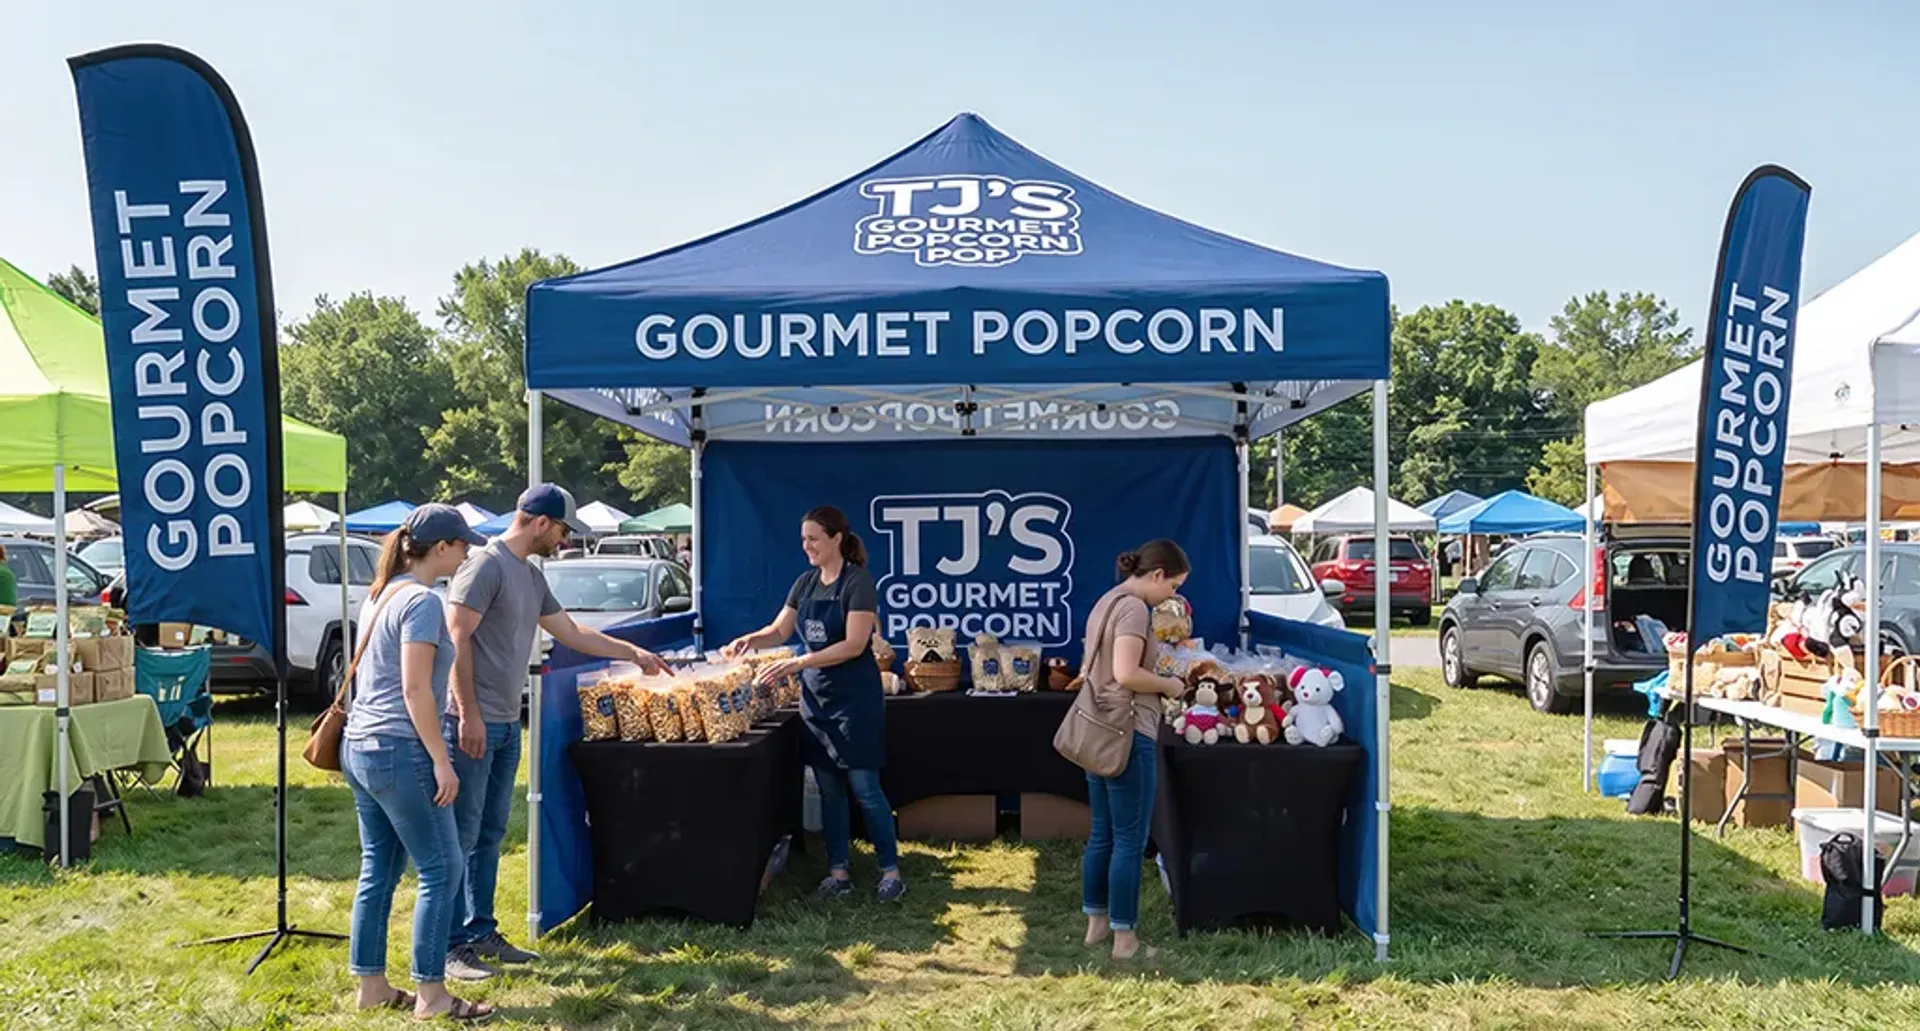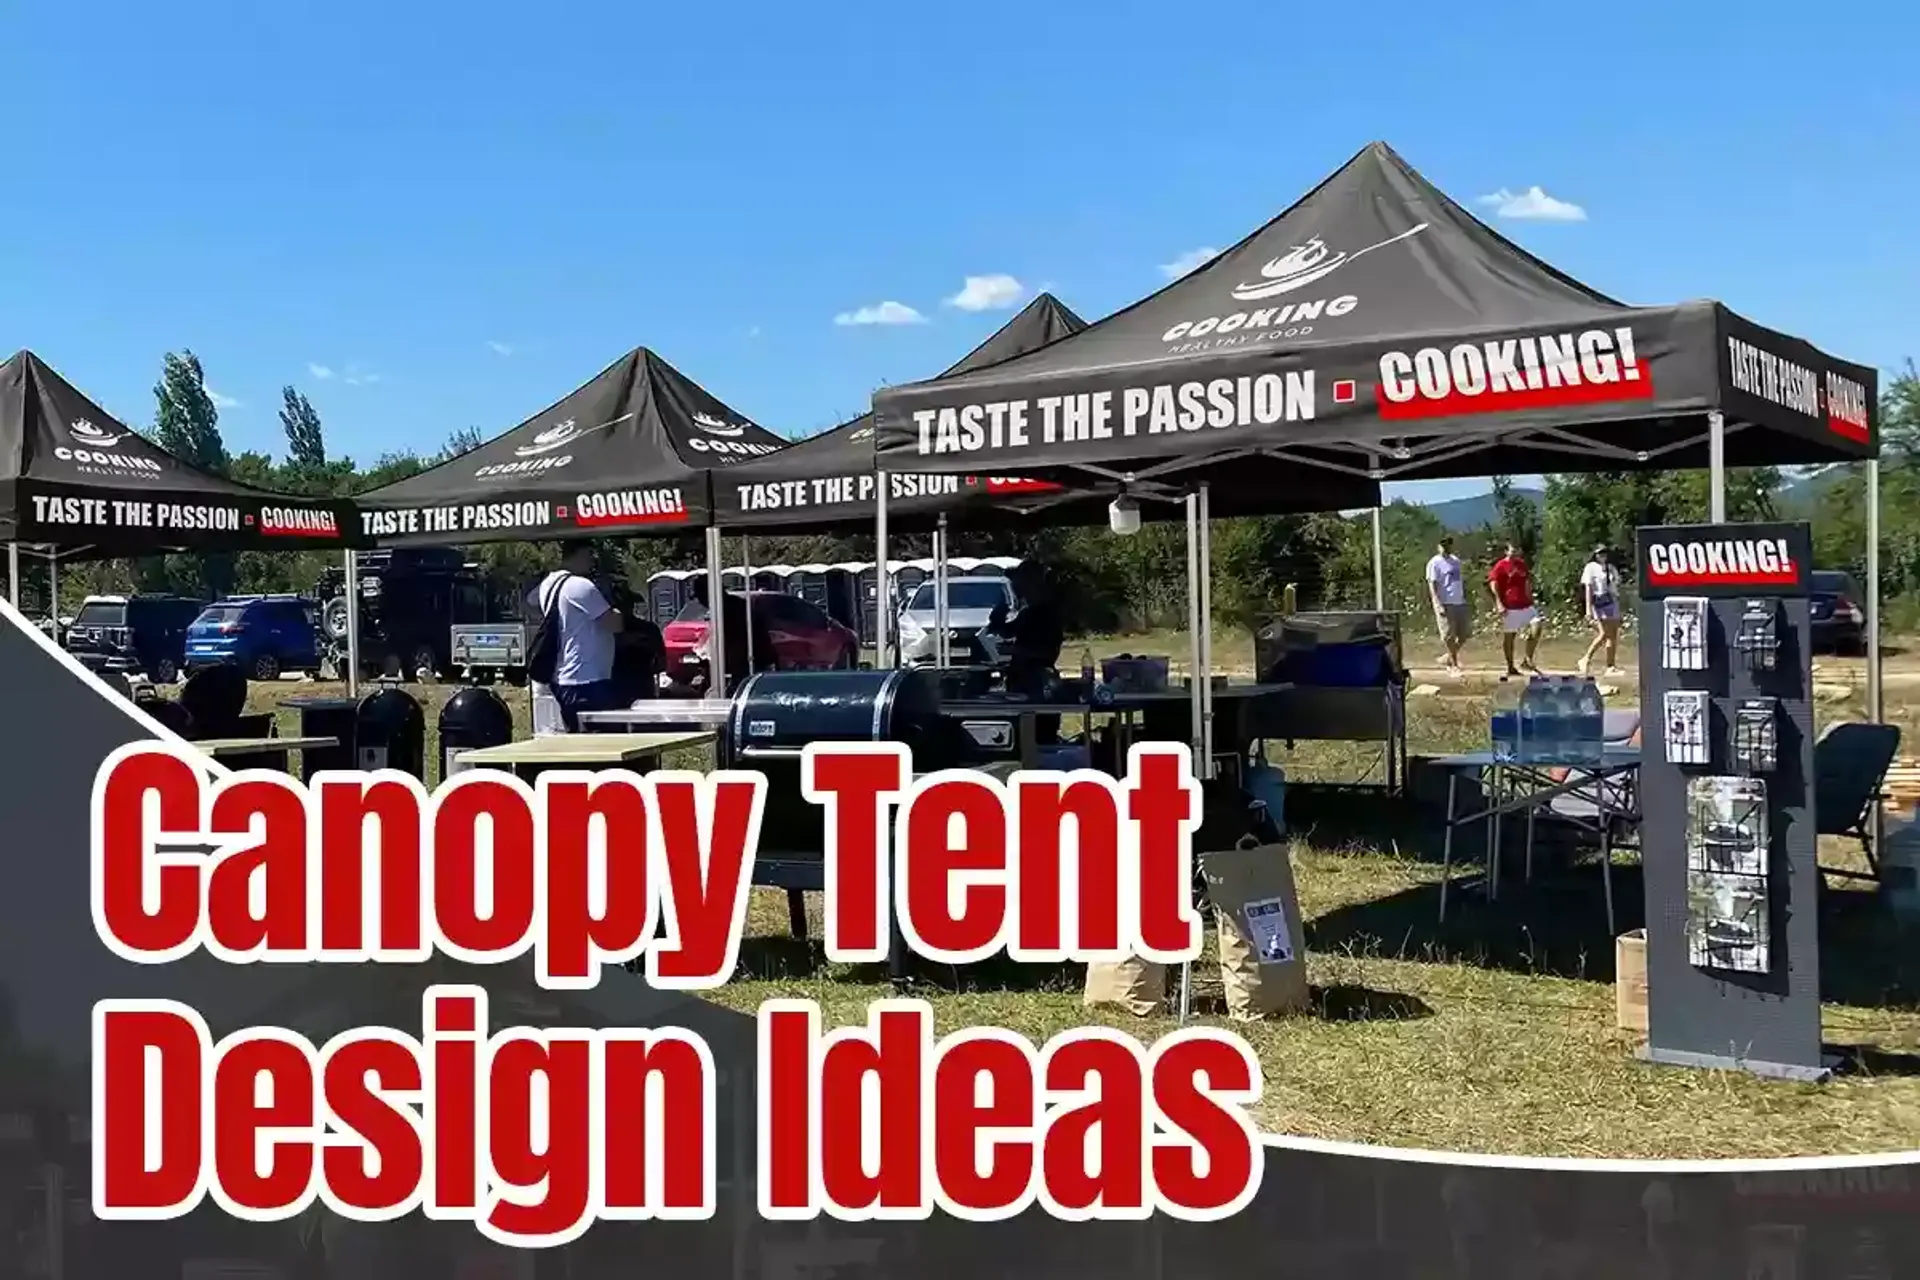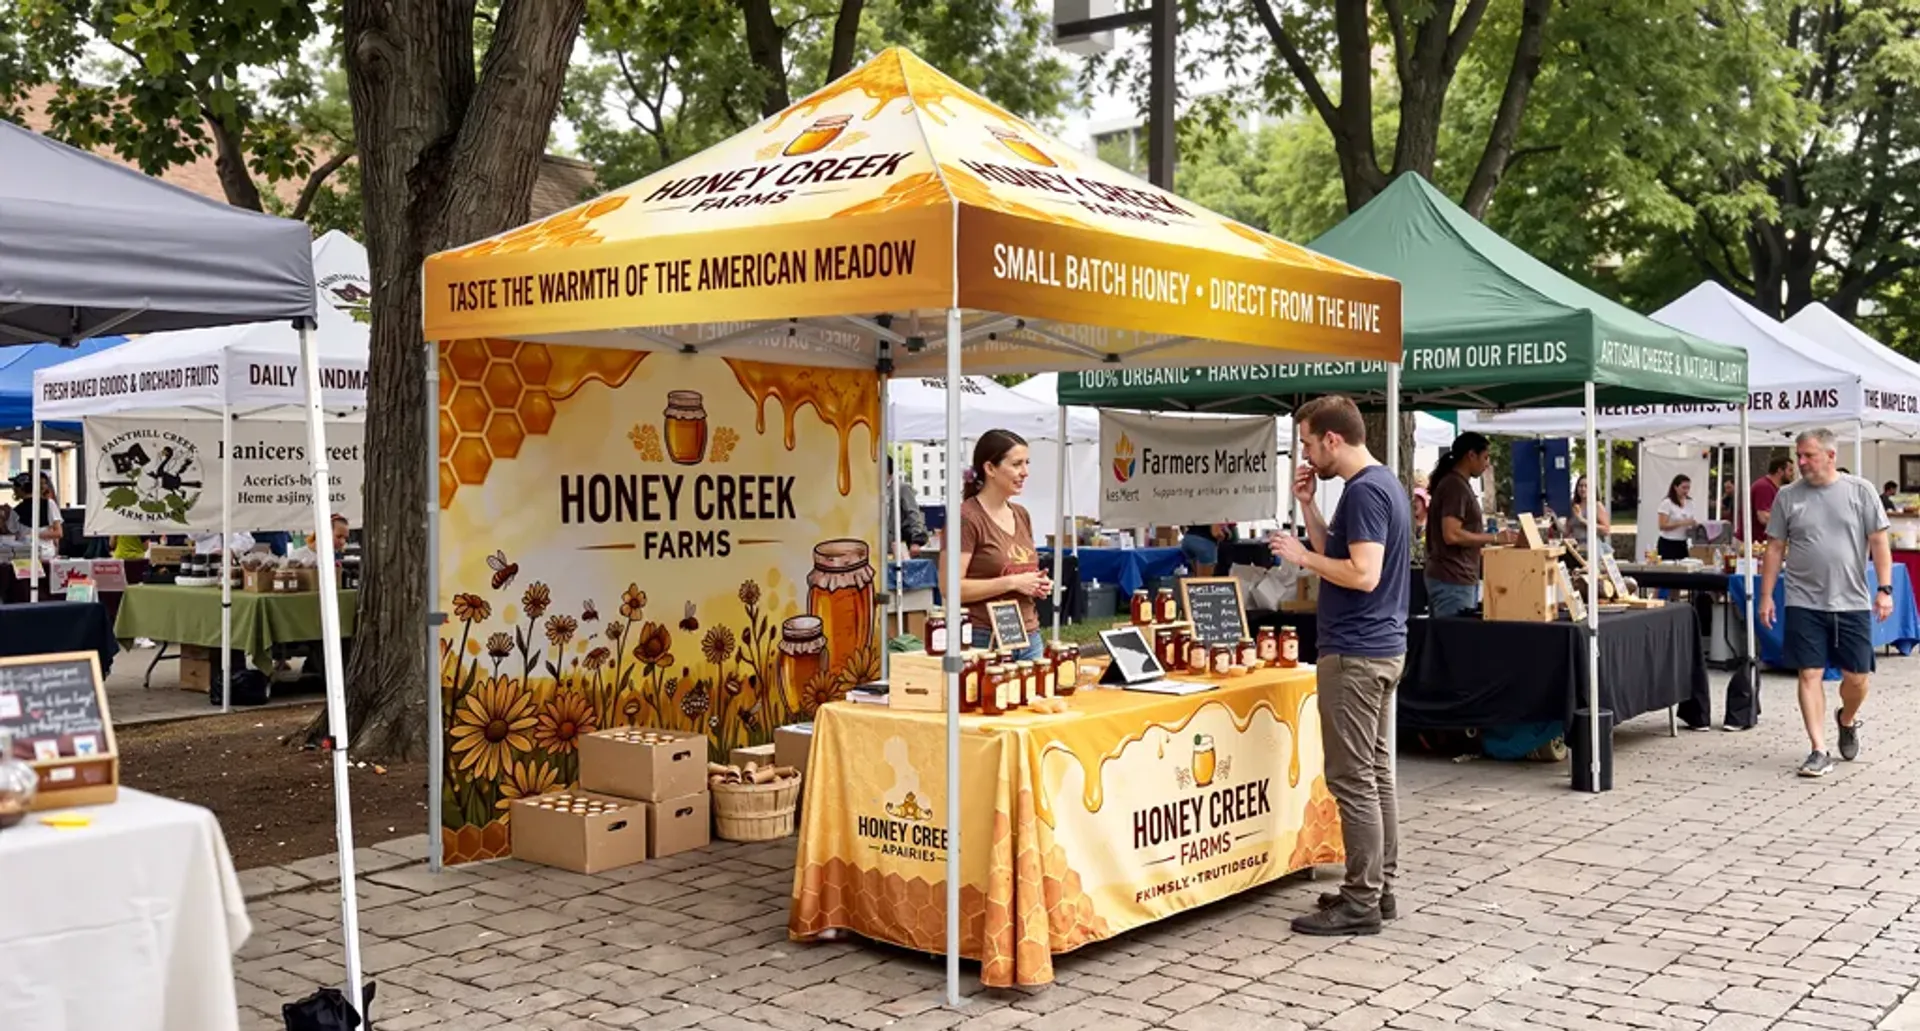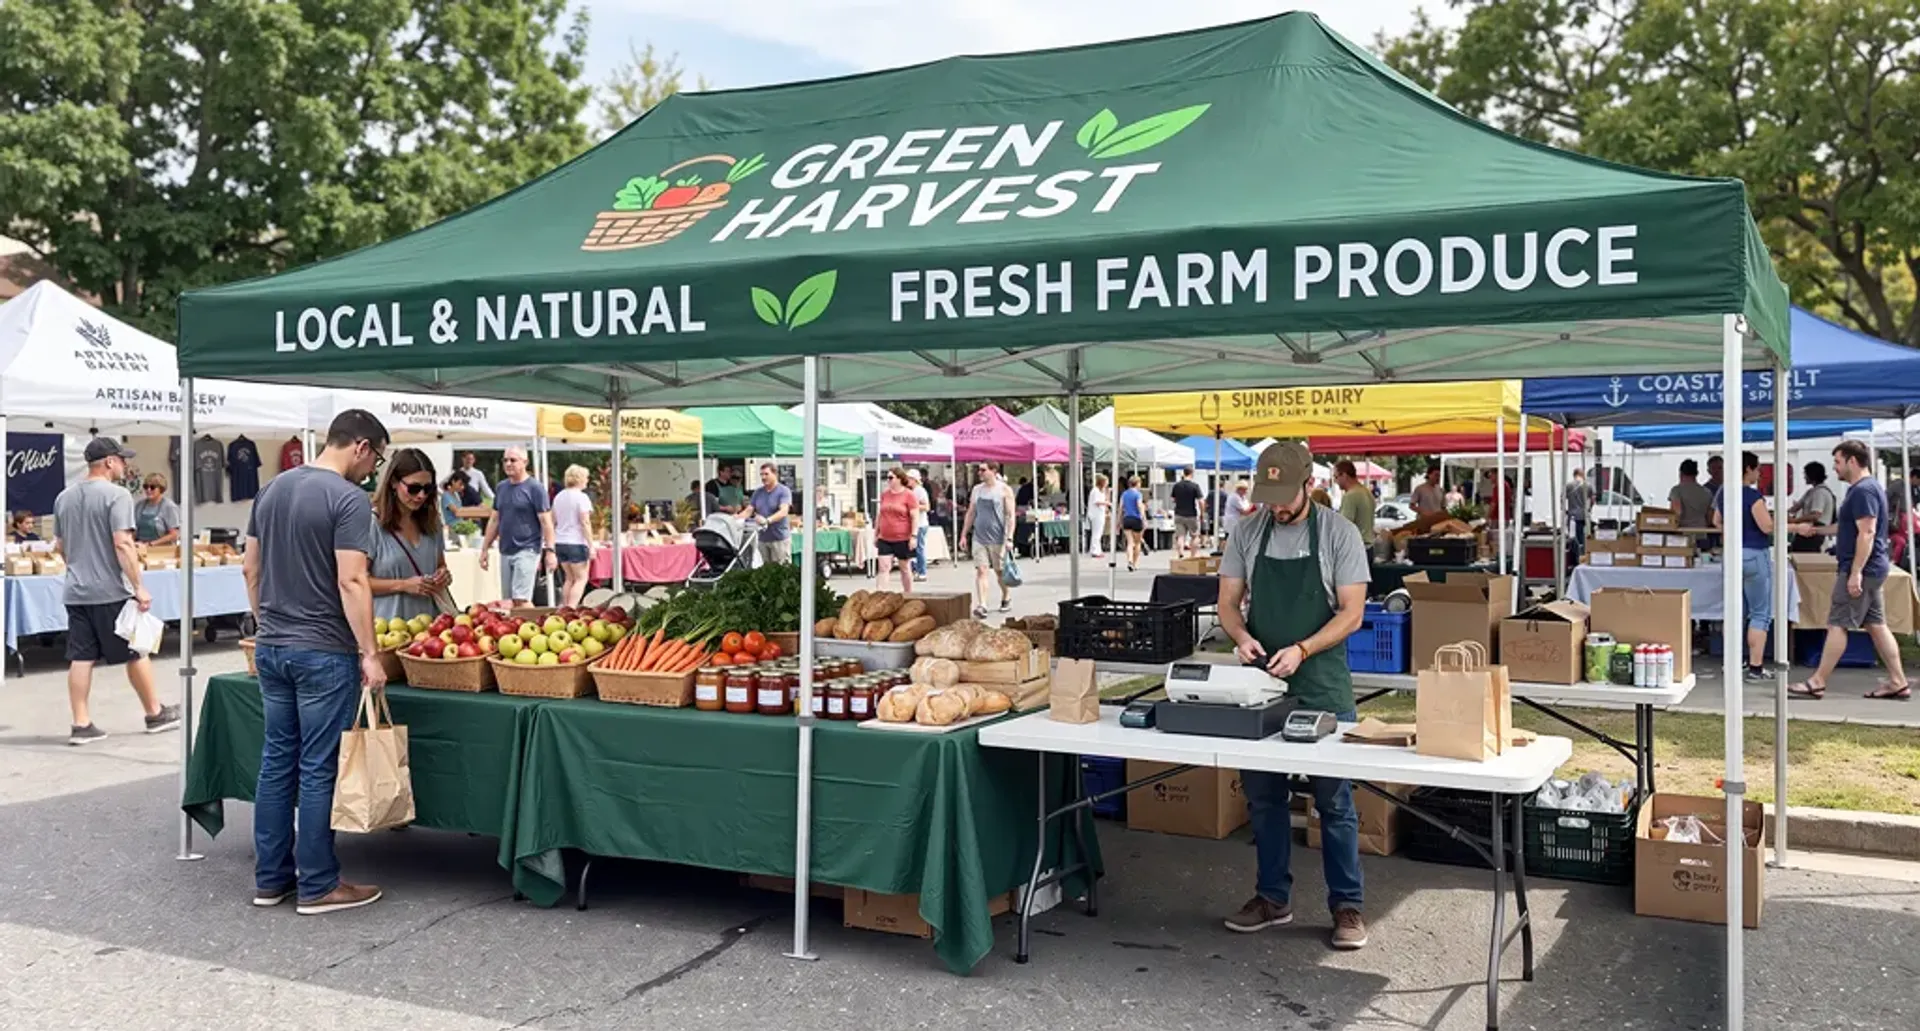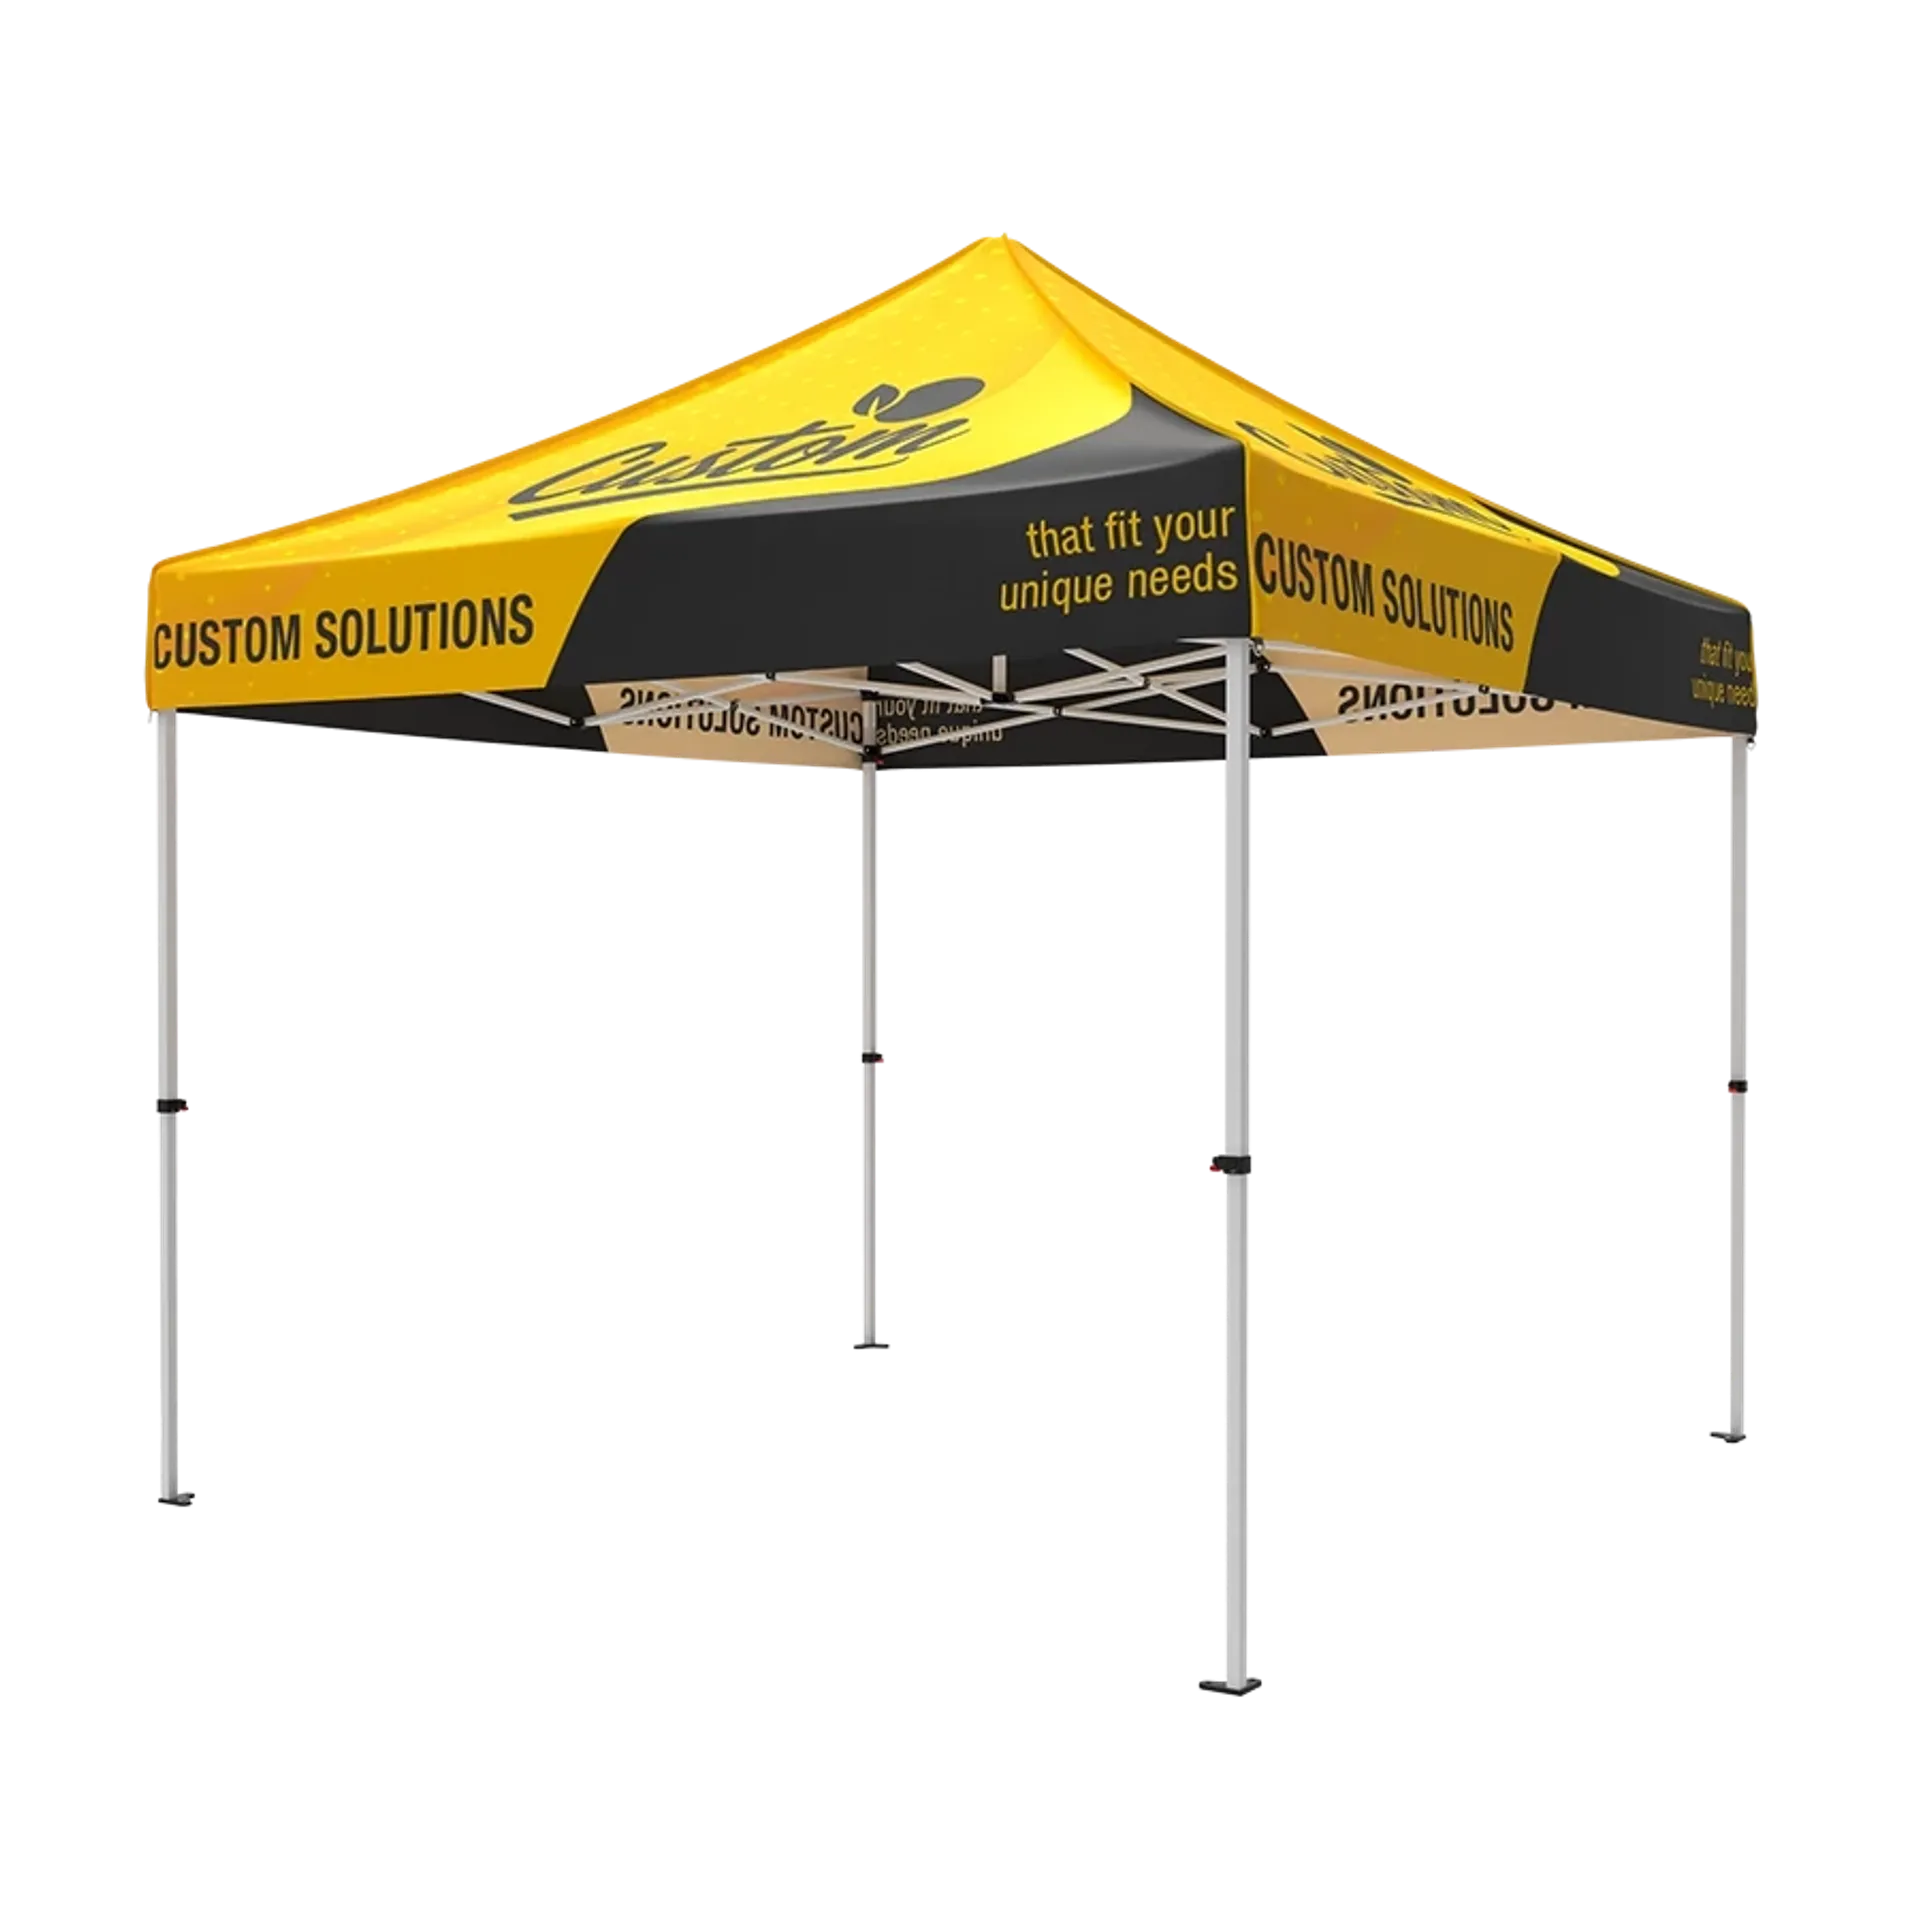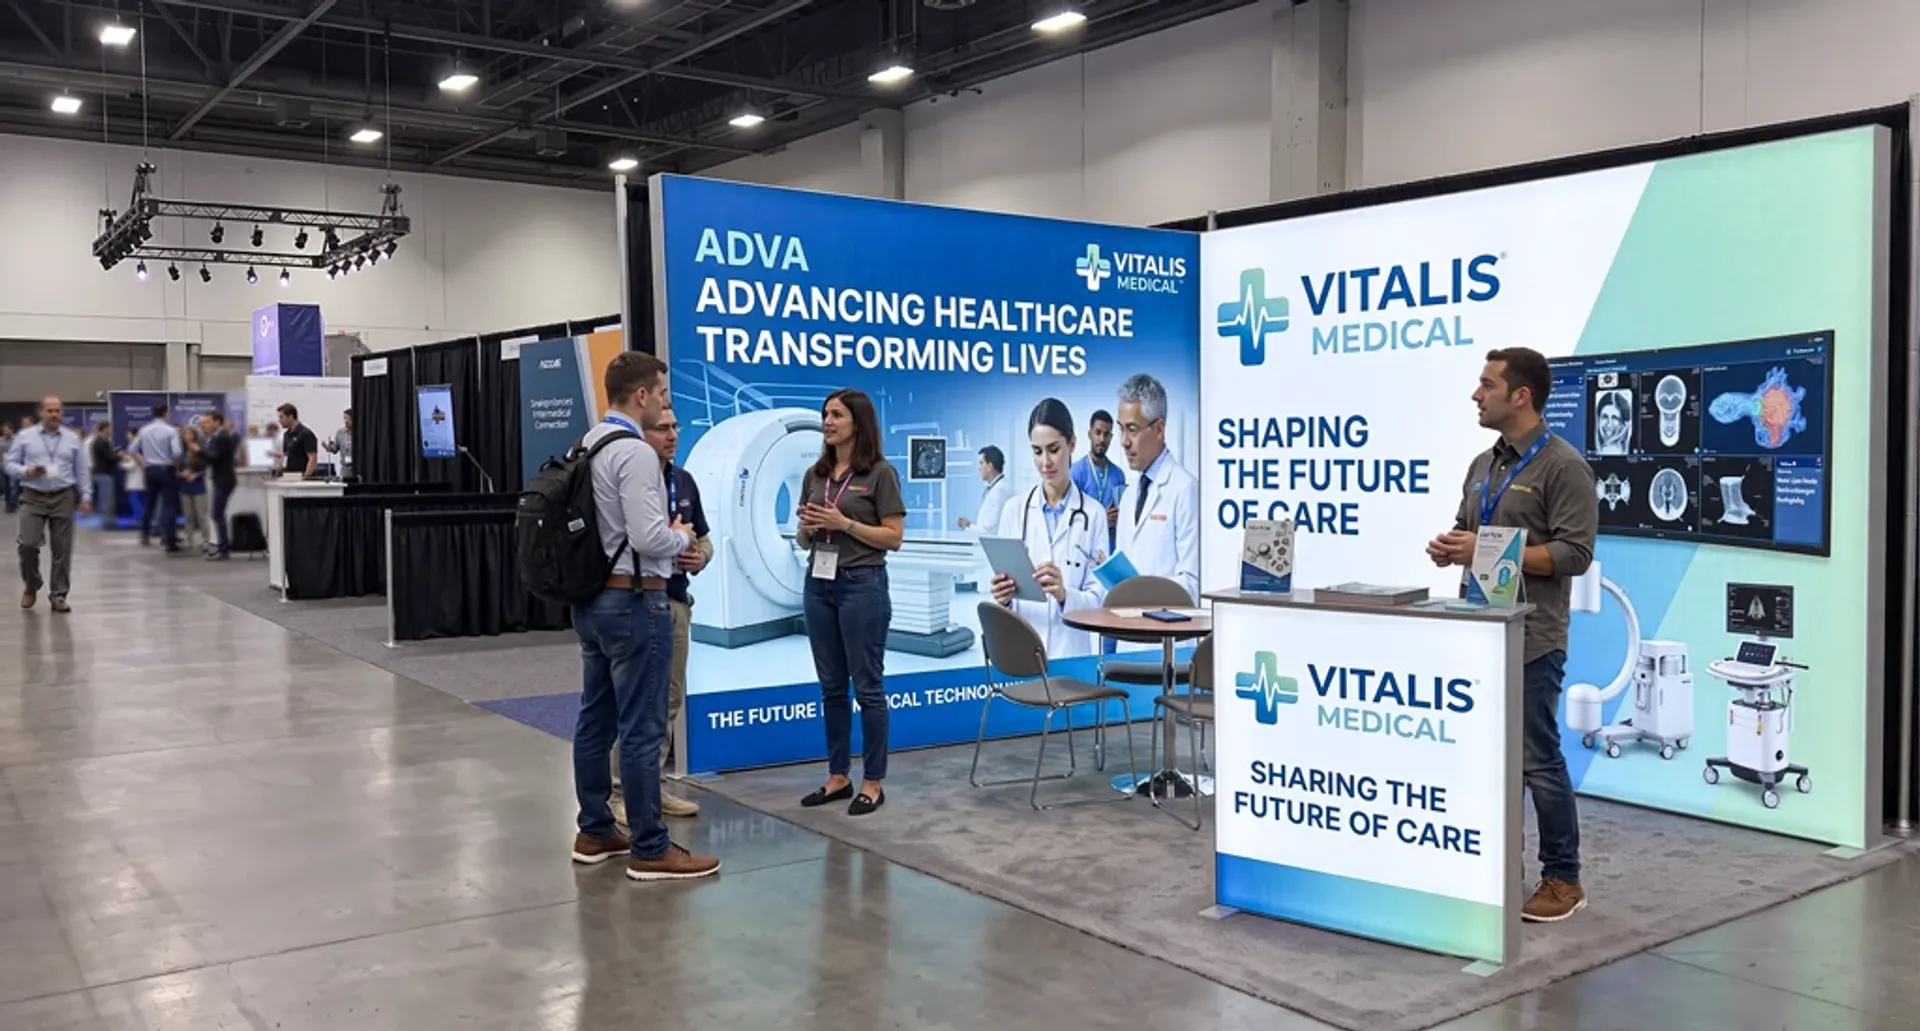






Plan a 20x20 canopy by defining what visitors and staff need to do, matching the actual structure to the venue, and then choosing openings, branding and handling arrangements. Put those decisions into an event brief before selecting a package.
A product demonstration needs space for equipment, an audience's view and staff work. A hospitality area may put conversation first. Those different jobs should shape the canopy configuration from the start, before the team commits to walls or artwork.
Key Takeaways
- Start with the event activities and equipment that the canopy must support.
- Match the selected structure drawing to the approved site before fixing equipment positions.
- Give openings, walls and printed surfaces a clear purpose for visitors or staff.
- Send the supplier a complete event brief with handling responsibilities and unresolved questions.
Decide what your 20x20 canopy needs to do
List the activities visitors and staff must complete, then identify the equipment each activity needs. That gives you a practical basis for deciding whether the proposed footprint suits the event.
WestShade lists 400 sq. ft. of covered area for its 20x20 offering. That figure describes listed coverage; supports, equipment and required access still shape the usable space and any approved occupancy. Start with the work the space must accommodate rather than assigning an audience capacity from the coverage figure.
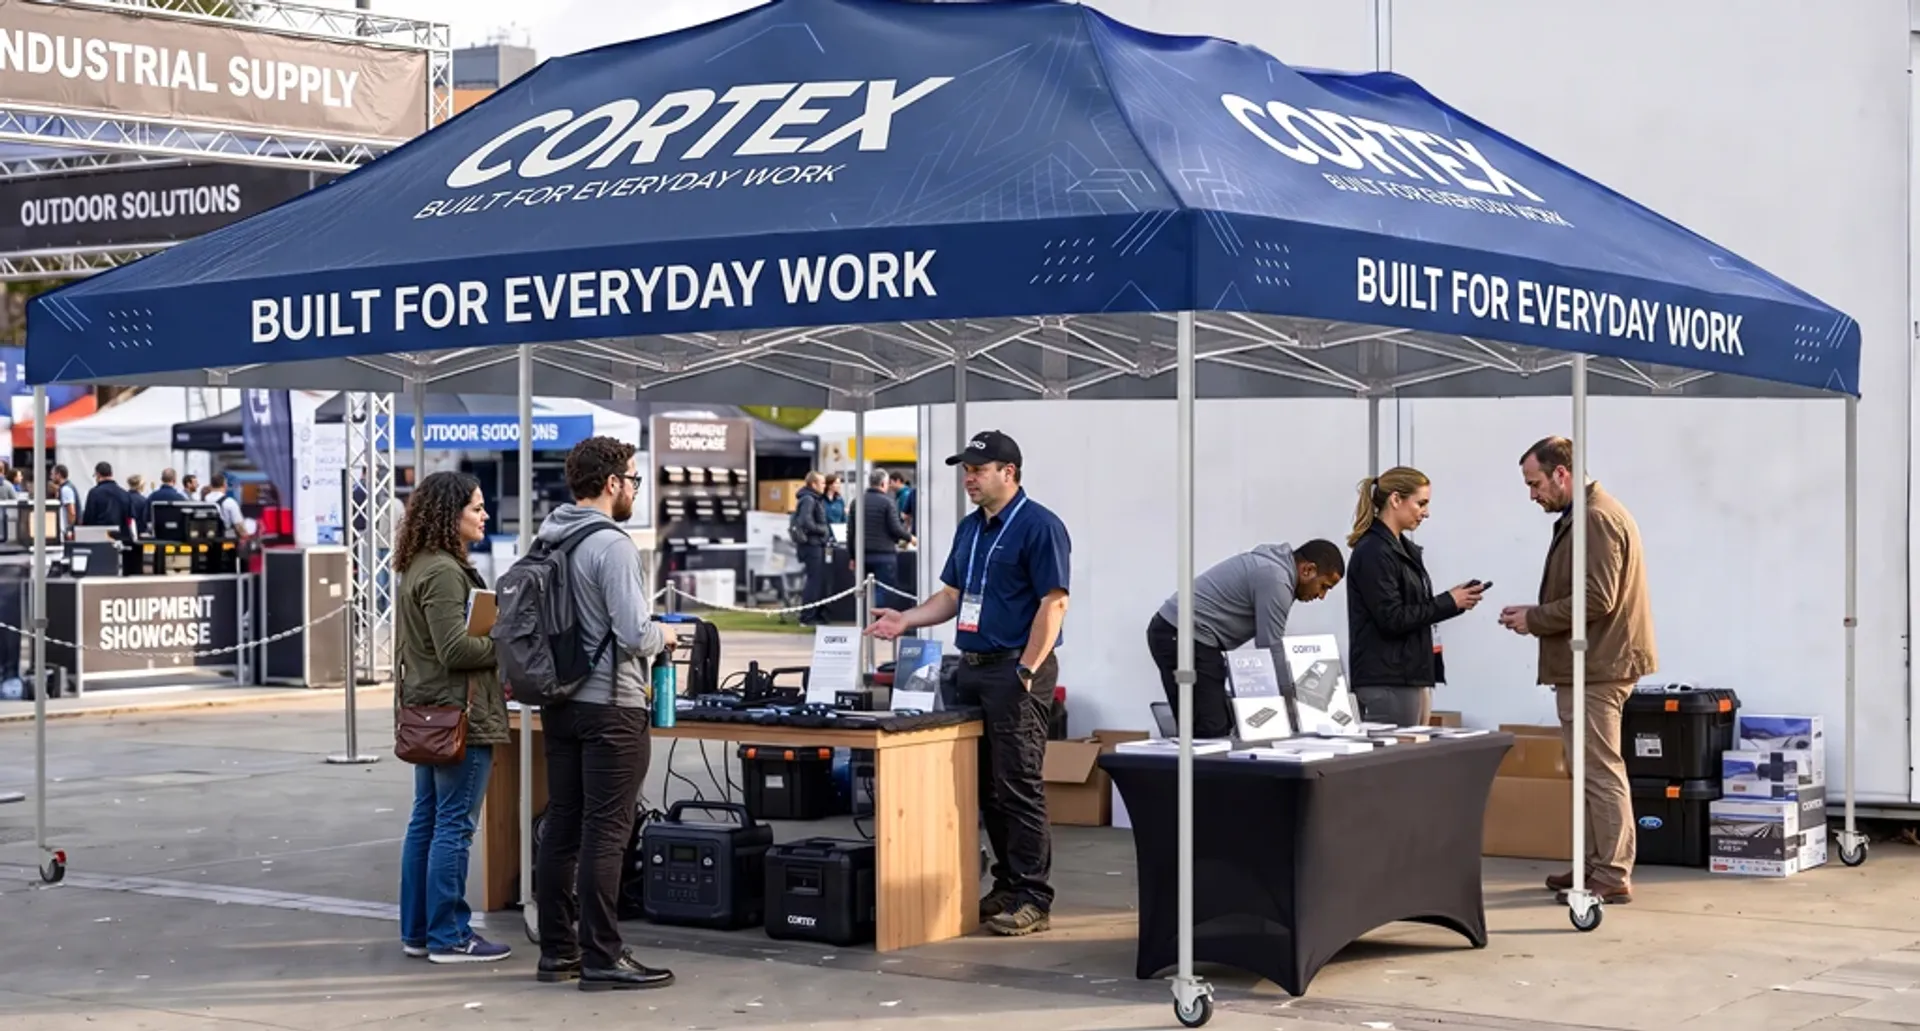
Consider an illustrative product-demo event: visitors watch an explanation, ask staff questions and collect product information. The team needs demonstration equipment, a place for follow-up conversations and somewhere to keep replenishment supplies. This example is a planning exercise and has not been tested at an event.
Mark which equipment is essential to the demonstration and which pieces are optional. If an extra display would obscure the activity or occupy needed access, drop it from the initial request. A shorter equipment list is more useful than a fully furnished sketch that cannot support the event's main job.
Check the actual frame and the site together
Match the selected structure drawing to the venue's approved site before assigning equipment positions. A 20x20 canopy frame is not identified fully by its nominal size.
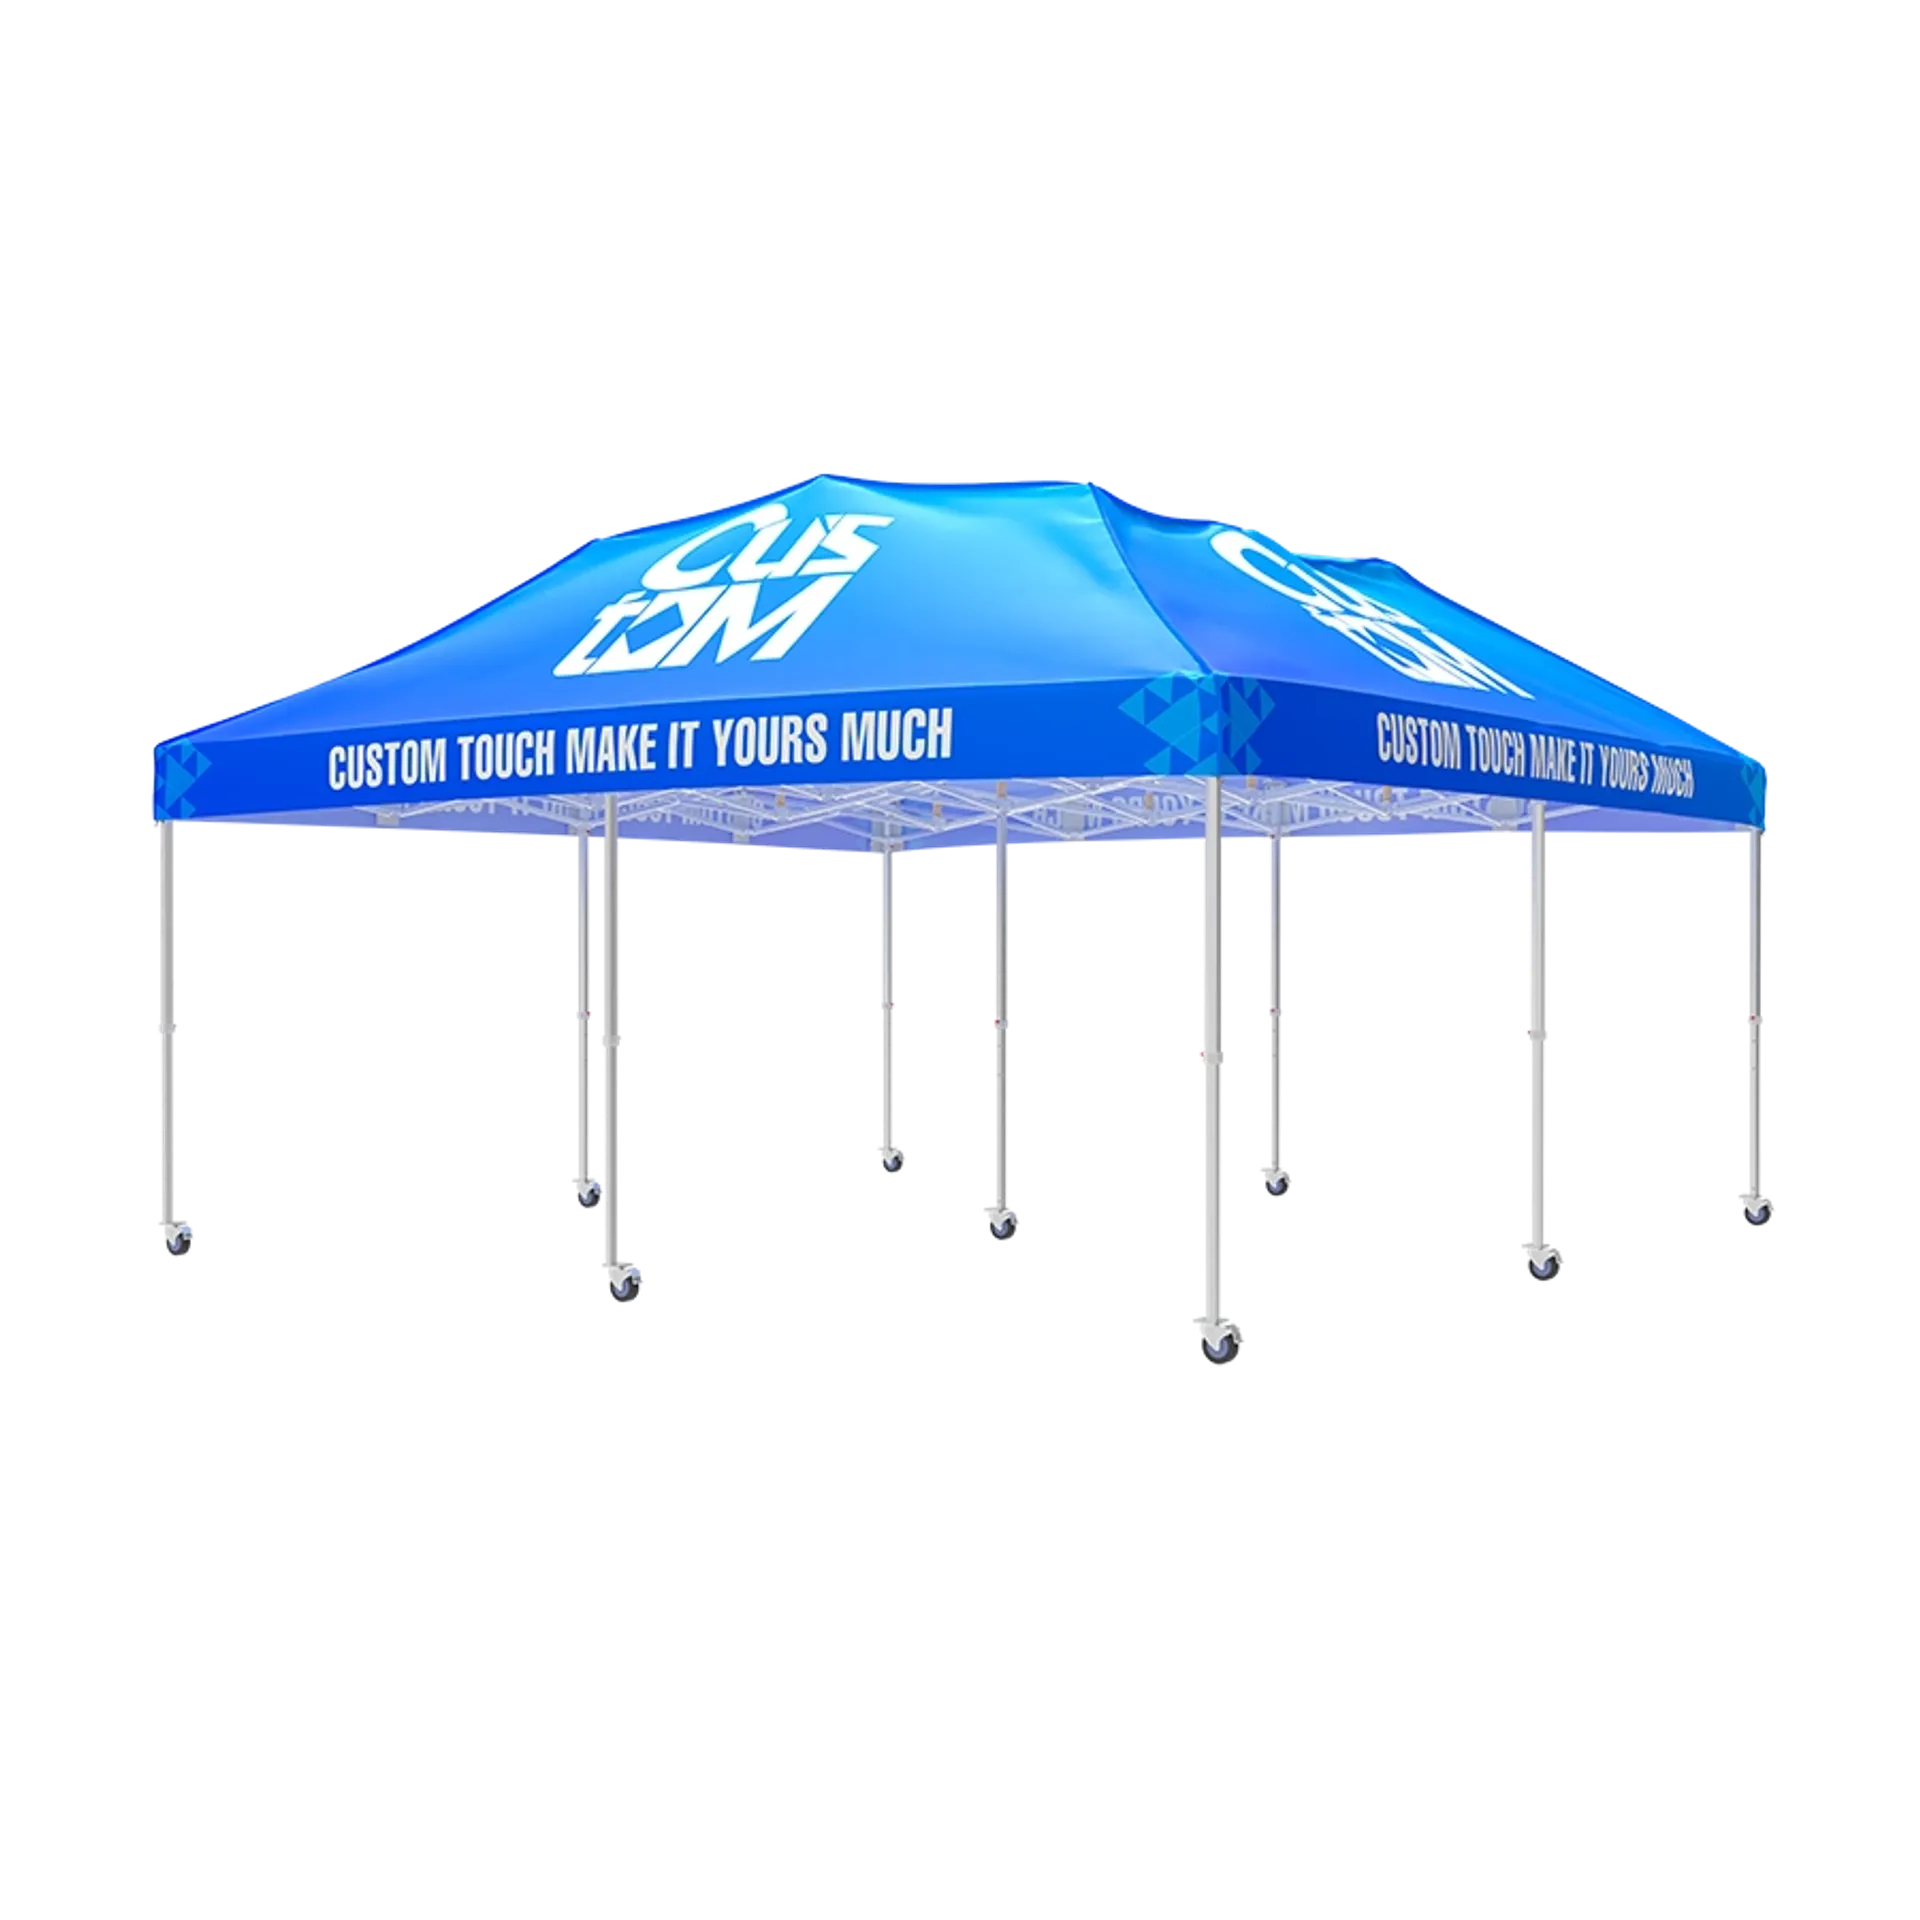
For a branded product demonstration, WestShade's 20x20 custom canopy tent is an option to evaluate. Its high-peak frame raises the roofline, and the center mast is the support for that peak. To plan the demonstration and a separate staff work area, use the selected configuration's drawing to check where supports meet the ground and how much usable clearance remains.
A pole tent vs frame tent comparison helps explain why support systems and anchoring methods matter. For the event itself, the selected configuration's drawing and installation instructions determine what you need to plan around. Match them with the approved plot, ground surface, public approach, load-in access and overhead restrictions. Installation and anchoring must follow the selected configuration's instructions and venue requirements.
For the demonstration, show how the bulky equipment will enter and where it will operate. Resolve a conflict with a support or required access route before choosing its final position. Keep the structure information and venue notes on the same working plan so the supplier can assess them together.
Choose openings and walls around the event job
Keep the approved visitor approach and staff access usable, then assign each wall a specific function. A backdrop, a display surface and a screened work area serve different purposes.
For the demonstration, place the welcome side toward the approved public aisle so arriving visitors can understand what is happening. Give the backdrop behind the activity a clear brand or product message. If a proposed wall would hide the demonstration from that approach, leave the approach open or move the message to another selected surface.
Plan staff replenishment separately from the welcome activity. Record where supplies arrive and which opening staff will use, so the team does not have to carry stock through the demonstration audience. This is an access decision to resolve with the event plan, without assuming a standard opening width.
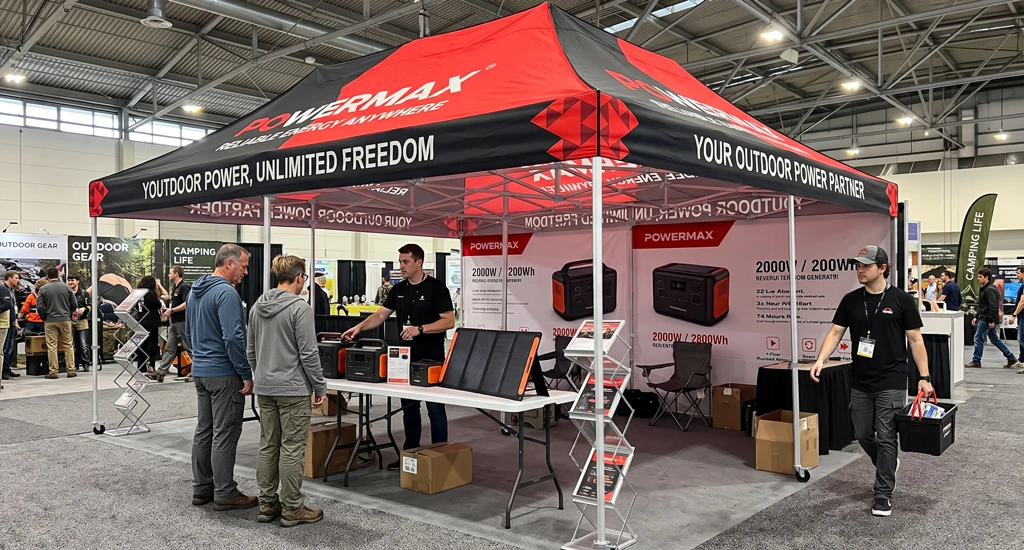
Write an opening and wall schedule in plain language: which side, what it does and who uses it. Include the requested arrangement in the configuration review. Walls should support the event's work; they are not a substitute for the selected installation and operating requirements.
Prepare artwork for the approaches visitors will use
Set the message for each visible approach after settling openings and walls. Give the brand identifier a surface visible from the approved aisle, and place closer-view product information near the demonstration or conversation point.
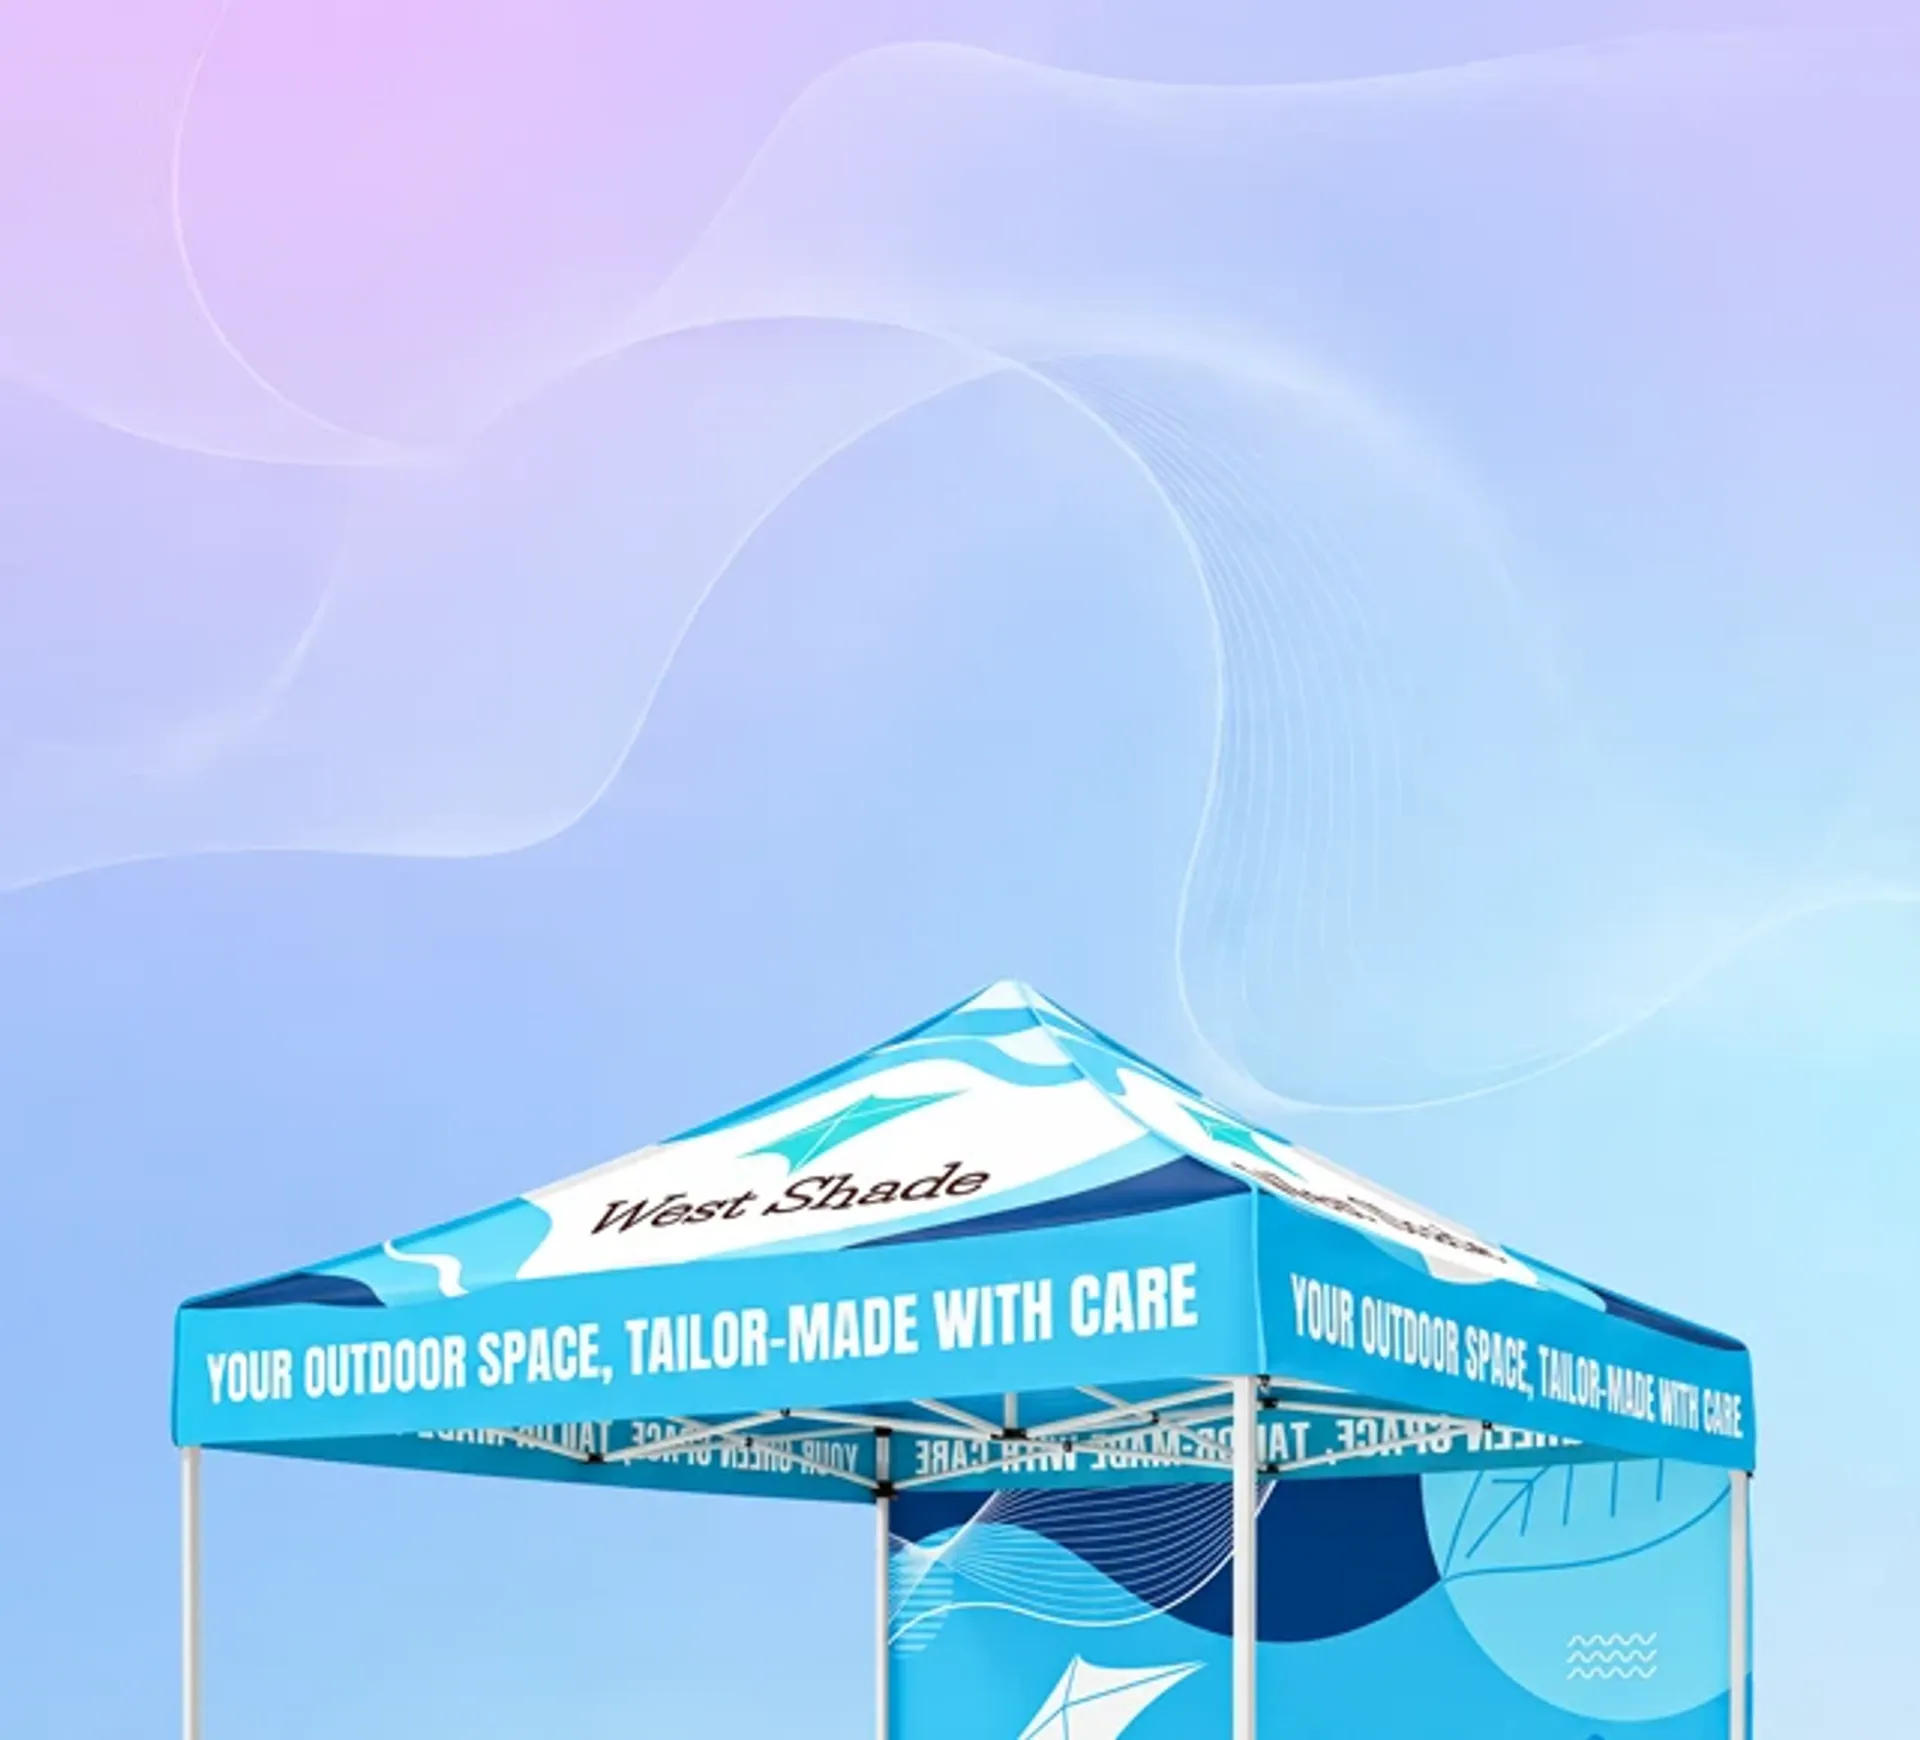
Choose canopy tent design ideas that support that message hierarchy. A visitor approaching the booth needs to recognize the brand and activity; someone speaking with staff can spend more time with product detail. Carry the same visual identity across the selected roof and wall surfaces without repeating fine print everywhere.
For the illustrative demo, keep the aisle-facing message focused on the brand and the activity. Let the backdrop reinforce the product story once visitors are watching. If a printed wall moves or an opening changes, revisit which message remains visible before approving artwork.
Request the current artwork template for the selected package and name the person who approves the proof. Record which design goes on each surface, its orientation and the intended logo placement. That gives the artwork reviewer a concrete check against the event brief instead of approving graphics in isolation.
Assign transport, load-in and packout responsibilities
Name who transports, installs, checks and removes the canopy and event equipment before ordering. Use the selected configuration's handling information to choose the vehicle, access route and handling equipment.
Request packed dimensions, component weights and handling requirements together. Give them to the logistics lead alongside the venue's load-in arrangements. A vehicle choice should account for the actual packed components and the route from unloading to the approved plot.
Assign the remaining work explicitly:
- Installation lead: Holds the supplier instructions and coordinates installation and checks.
- Event lead: Owns operating decisions, the weather contact and the handoff between crews.
- Packout team: Removes equipment and canopy components, then follows the product care instructions for cleaning, drying and storage.
Keep the venue schedule and supplier instructions with this responsibility list. Put unresolved handling questions beside the person who will close them, before the order is finalized. Crew requirements and setup time must come from the actual configuration and event plan; a general estimate can leave the team without the people or access it needs.
Send a complete event brief before choosing a package
Send the activities, approved site, structure information, wall and artwork choices, and responsibilities together. The supplier can then compare the proposed configuration with what the event must accomplish.
Copy the fields below into your planning document and replace the example with your event details. The demonstration column continues the illustrative planning exercise; it records both choices the team can make and information still to obtain.
| Brief field | What to record | Illustrative product-demo example |
|---|---|---|
| Event purpose and activities | Activities and the equipment they need. | Visitors watch a product explanation, ask staff questions and collect information. |
| Venue and approved plot | Site, surface, approaches, restrictions and venue contact. | Welcome visitors from the approved public aisle; record staff load-in access separately. |
| Actual structure | Supplier configuration drawing and installation requirements. | Obtain the exact structure drawing before finalizing equipment positions. |
| Equipment and access | Equipment dimensions and access needs against the structure drawing. | Keep the demonstration visible from the welcome side; replenish supplies away from that approach. |
| Walls and openings | The purpose of each requested wall and opening. | Place a backdrop behind the demonstration and retain the approved visitor opening; submit the arrangement for configuration review. |
| Artwork and proof | Message by approach, current package template and proof owner. | Brand identifier faces the aisle; product detail sits near the demo. Marketing lead approves the proof. |
| Transport and installation | Packed specifications, handling plan, load-in and installation owner. | Logistics lead chooses the vehicle and route from packed specifications; installation lead holds supplier instructions. |
| Operation and packout | Inspection, operating/weather contact and removal/care owner. | Event lead owns operating decisions and handoff; packout team follows care instructions for storage. |
| Unresolved items | Questions and the person responsible for closing each one. | Assign the outstanding structure-clearance and handling questions to an owner before final approval. |
Compare the proposed structure, walls and printed surfaces with the requirements in your completed brief, and send any remaining questions to the supplier with that document. Keep the agreed configuration drawing, artwork proof and handling instructions together for the event handoff.
Frequently Asked Questions
Use the selected configuration and approved event plan to resolve space, wall and setup questions. The nominal canopy size alone cannot answer them.
Does a 20x20 canopy provide 400 sq. ft. of usable event space?
The product listing gives 400 sq. ft. of covered area. Usable event space also depends on the actual supports, equipment and required access. Check the selected drawing against your activity list and venue requirements before assigning positions or an audience capacity.
Are all 20x20 canopy frames the same?
No. Nominal size alone does not identify the structural system. The current offering describes a high-peak frame and center mast, so obtain its configuration drawing and installation instructions before planning equipment around supports or clearances.
Should a branded event use full walls or open sides?
Keep the approved visitor approaches and staff access usable, then give walls a backdrop, display or work-area function. If a wall would conceal the demonstration from arriving visitors, reconsider that placement. Review the final arrangement against the supplier and venue requirements.
What should I confirm about transport and setup before ordering?
Request the selected configuration's instructions, packed dimensions, weights and handling requirements. Assign load-in, installation, checks, operation and packout to named people. Use the actual configuration and event schedule to establish crew and time needs before committing to the order.