





A useful 10x20 canopy layout begins with the entrance your event organizer allows, not with a table arrangement you saw elsewhere. Mark the assigned space, the actual canopy legs, and the route a customer should take. Then place display, checkout, and storage around that route. A drawing becomes a workable plan only after you compare it with the current event rules and the equipment you will bring.
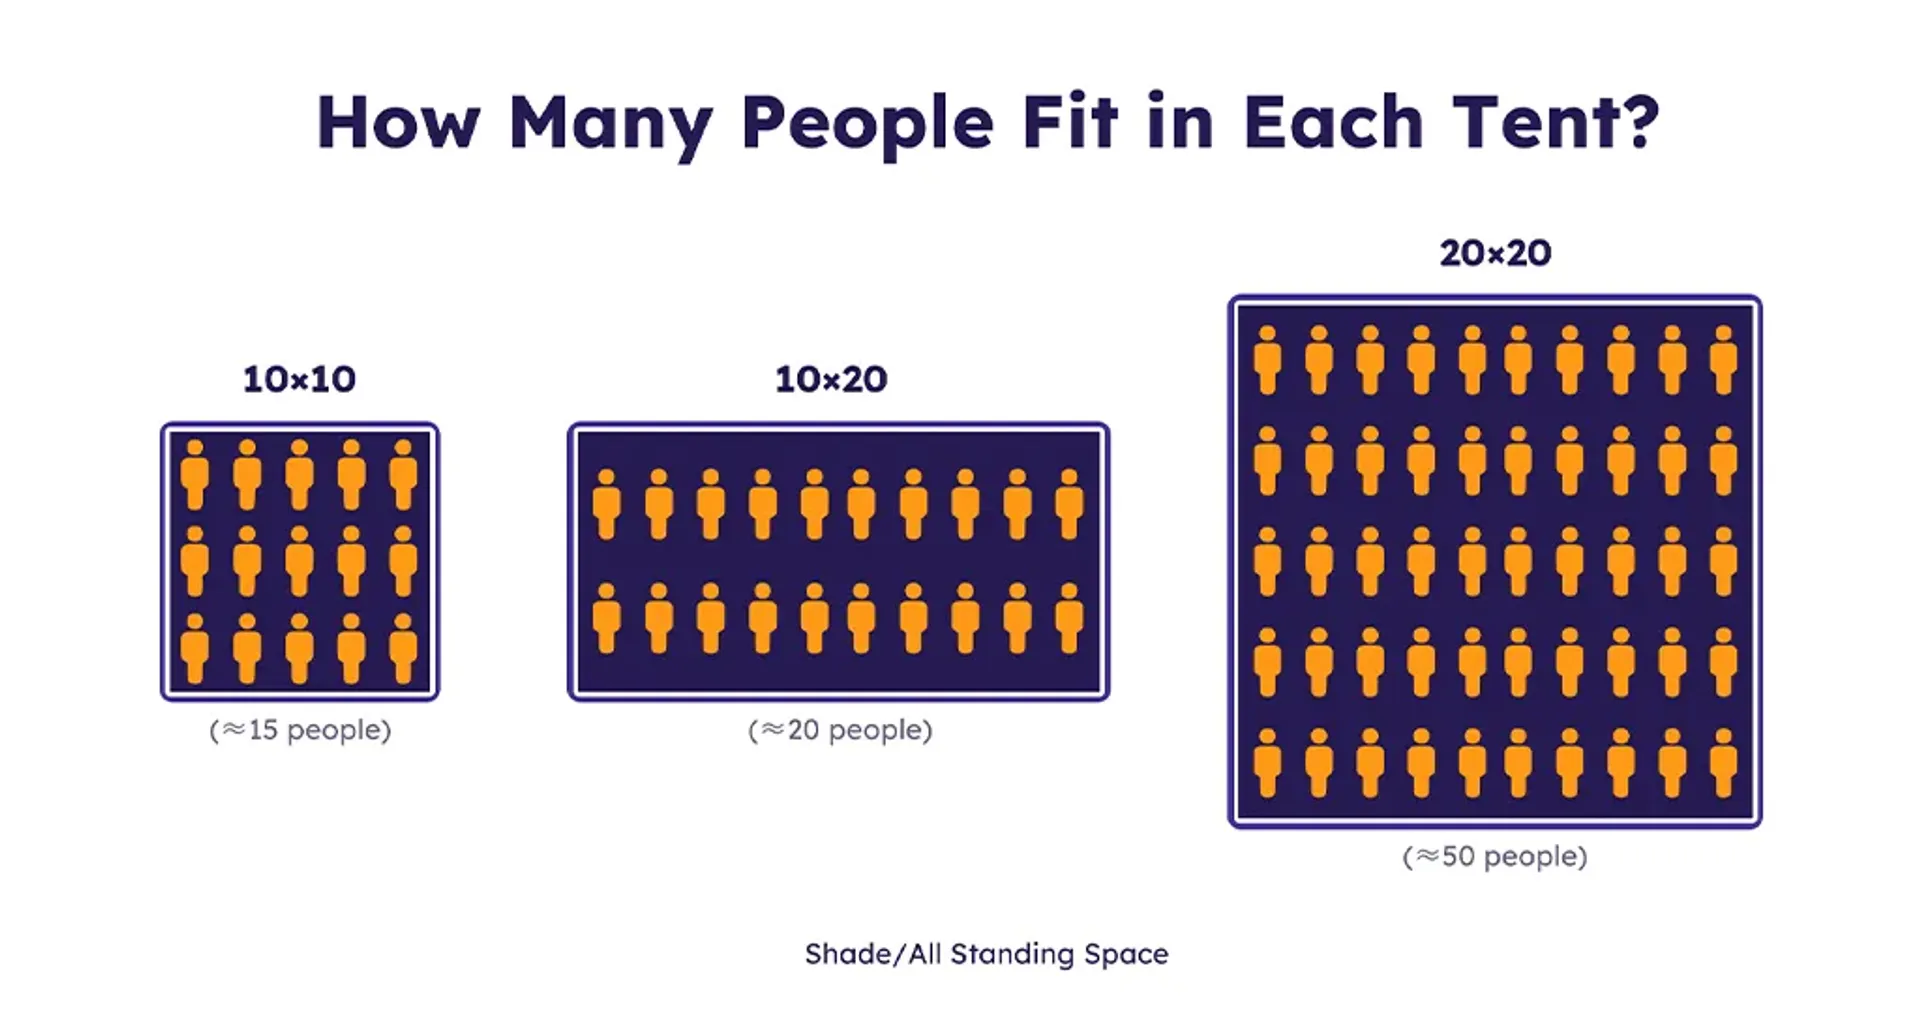
The nominal 10x20 size identifies a canopy category, not usable interior clearance or permitted capacity. Use the worksheet and illustrative routes below as sketches to test against your own equipment and event rules.
What Should You Confirm Before Planning a 10x20 Booth?
The assigned booth footprint is the ground area the organizer gives you for the setup. Confirm its edges and allowed opening before drawing a customer path. An event map may show a nominal booth size, while the organizer's current instructions determine where your canopy, walls, queue, and equipment may actually go.
Which Side Is the Customer Entrance?
Start with the side customers can approach. Mark neighboring booths, any permitted aisle opening, and the direction people are likely to arrive from. If the event has not assigned an opening, ask before committing to a front-facing counter or a wall that closes a potential entrance. A booth with an open front calls for a different path than one reached from a corner.
Draw an arrow for the expected approach and mark where a person would first stop. This catches placement conflicts before loading; it does not predict foot traffic.
What Do the Organizer Rules Permit?
Ask the organizer for the current site map and instructions on walls, anchoring, utilities, sales queues, loading, and teardown. The answers may depend on your assigned location and the type of event. A rule from a different market can illustrate why you should ask, but it cannot approve your layout here.
Mark unresolved items beside the sketch, such as "confirm wall permission." Locate any required utility or service area before placing checkout. Keep assumptions visible until the organizer answers.
How Do You Sketch a 10x20 Canopy Layout and Movement Zones?
Sketch the actual frame and fixed constraints before placing merchandise. Use a nominal 10x20 outline as a labeled starting template, then replace its generic leg marks with the geometry of the canopy configuration you intend to use. The diagram should show decisions that another person can check against the equipment and event instructions.
Mark the Frame and Fixed Obstacles
Draw the approved boundary, entrance, canopy legs, walls you may use, utility points, and any obstacle or neighboring edge that affects access. Leave the leg positions provisional until you have the selected frame's current dimensions. Do not calculate a universal aisle width by subtracting a remembered leg size from the nominal footprint.
Use movable blocks for display, checkout, storage, and service equipment. Label them with the actual items and check their dimensions before approving the drawing.
| Worksheet field | What to mark or confirm |
|---|---|
| Assigned space and opening | Current event map, permitted customer approach, and open questions |
| Frame and walls | Selected canopy legs, allowed wall positions, and any utility location |
| Customer route | Entry, first display or order point, checkout or pickup, and exit |
| Staff route | Access to checkout, supplies, service equipment, and packout |
| Movable items | Actual tables, display, counter, inventory, and their confirmed sizes |
| Verification owner | Organizer, equipment owner, or vendor team member who will resolve each unknown |
Draw Customer and Staff Paths
Trace the customer's route from the approved opening to the display or order point, then to checkout or pickup and back out. Draw the staff route separately, including how someone reaches supplies without crossing the transaction point. If the two paths intersect in a way that would interrupt service, move a block and redraw the route.
Mark a queue only if the organizer permits its location. A line crossing the booth edge is an unresolved issue, not usable space.
Which Layout Fits an Open-Front Booth or a Service Line?
Choose the example that matches how customers receive what you offer. An open-front browsing route suits a visitor who looks before deciding. A service-line route separates ordering from pickup when the event and your operating process allow it. Neither sketch guarantees a certain capacity, speed, or sales result.
Open-Front Browsing Example
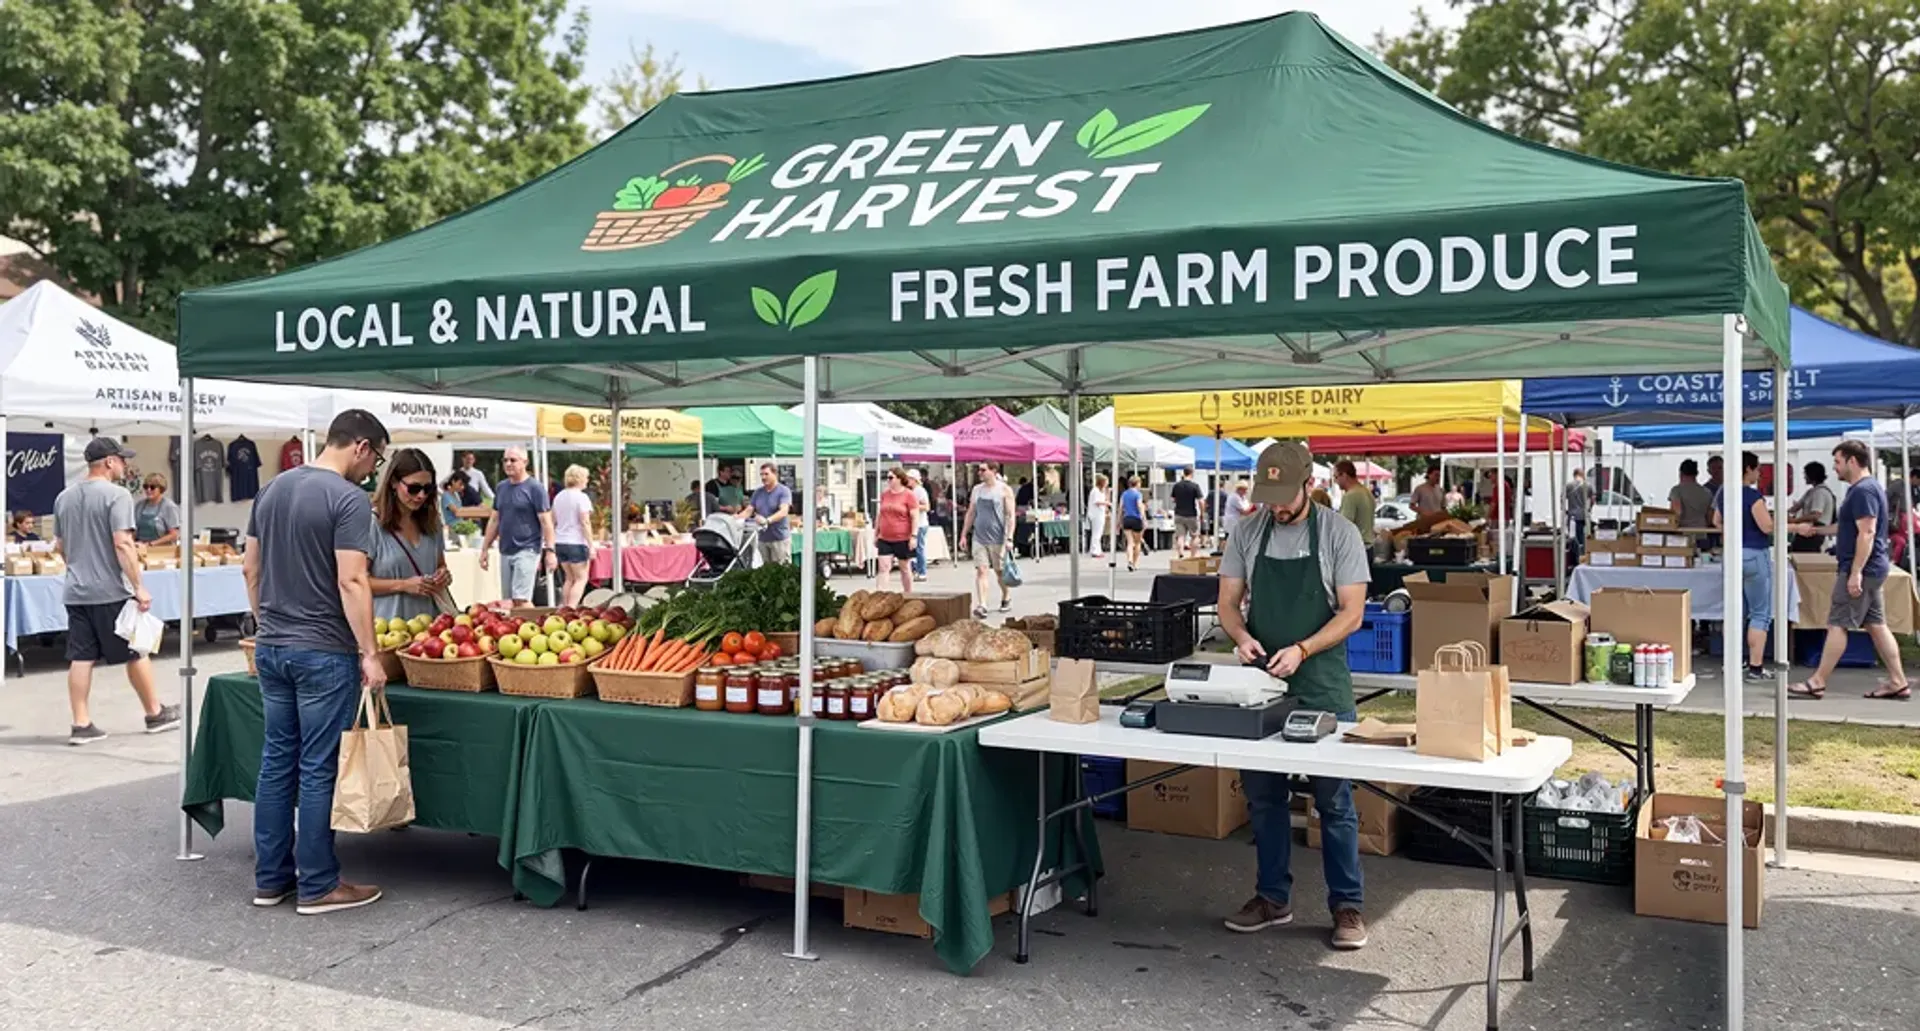
Keep the organizer-approved face visually open. Place the first display where an arriving visitor can understand the offer, then position checkout so staff can see the route and reach the stock they need. Put less frequently handled inventory away from the main customer path. If a back wall is permitted, it can carry a message or provide a visual boundary, but confirm the selected wall option before including it in a supplier request.
Walk the browsing, question, payment, and exit sequence. If it crosses behind staff or squeezes between tables, redraw it. No arrangement is universal.
Illustrative filled worksheet: a craft vendor with an approved open front. Suppose the organizer confirms the long face as the customer opening. On the sketch, put a display just inside the left side of that opening, checkout on the right, and stock behind checkout on the staff side. These are movable labels, not fixed measurements or a claim that the arrangement fits a particular frame.
| Worksheet mark | Illustrative entry to test |
|---|---|
| Customer path | Open face to left display, across to right checkout, then back through the approved opening. |
| Staff path | Stock behind checkout to the back of the transaction point, without crossing the browsing path. |
| Conflict and revision | The first sketch put stock behind the left display, forcing restocking across the customer path. Move stock behind checkout, redraw the staff path, and check both routes with the actual tables and frame. |
If the revised stock position blocks the staff route or a required utility point, move the blocks again and ask the organizer about any rule that affects the opening. Keep the unresolved fit question on the worksheet until the real equipment is checked.
Service-Line Example
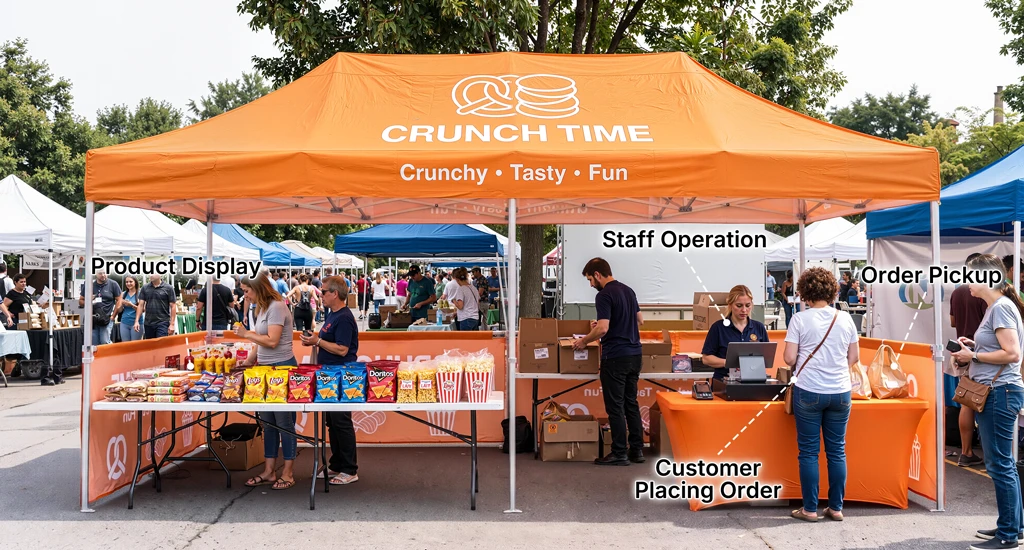
For a permitted service workflow, mark where a customer orders, where staff work, and where a completed order is collected. Keep the staff route to supplies separate from the customer route where your equipment and approved space allow. If the organizer restricts utilities, food preparation, queue placement, or walls, redraw the sequence around those conditions before you treat the sketch as usable.
Test both routes with actual equipment. Watch where customers and staff would meet, wait, or reach supplies. This recommended rehearsal is not a reported field test or a performance claim.
Where Do Tables, Checkout, and Storage Go?
Place each item according to the route you selected, then check it against the actual frame. A table can be a browsing surface, service counter, or physical divider; its job determines its position. Keep checkout connected to the customer path and give staff a plausible route to supplies. Do not assume a table count or mandatory clearance from the nominal canopy size.
Keep Checkout Connected to the Customer Route
Mark the point where a visitor is ready to transact. If the table blocks the approved opening, move it or change the route. If staff must repeatedly pass through the customer line to reach inventory, move storage or rethink the service sequence. Leave a place on the worksheet for equipment dimensions and organizer feedback so a neat drawing does not hide an unresolved fit issue.
Check the same route during packout. Stored boxes can block staff access, so rehearse with the items you will actually keep behind the display.
Compare a Smaller Footprint
If you are comparing a 10x10 canopy tent with a nominal 10x20 setup, begin with the furniture and routes you actually need. A 10x10 canopy layout is the smaller-footprint exercise for table placement and movement: put the same table, checkout, storage, and customer and staff route blocks on both sketches. Check where the 10x10 arrangement first becomes awkward for your selected furniture or service sequence, then repeat the test in the larger outline.
The linked article supplies a smaller-size example, not a universal table count. Record which route or equipment conflict led you to the larger plan.
Where Should Branding Appear in the Layout?
Place the main message where the intended visitor approaches, then give other surfaces a supporting job. The diagram should show what a passerby can see from the approved entrance and what someone inside the booth needs to understand. Graphic placement is a design choice to test, not a measured attention or conversion result.
Decide What a Passerby Sees
Write the offer in plain words before assigning it to a surface. On the sketch, mark the approach direction and the point where a visitor would first see a roof edge, wall, or display. If a table or neighbor blocks that view, move the message or adjust the plan. Ask for a proof of the selected artwork on the actual canopy option before production.
Separate Back-Wall and Roof-Edge Jobs
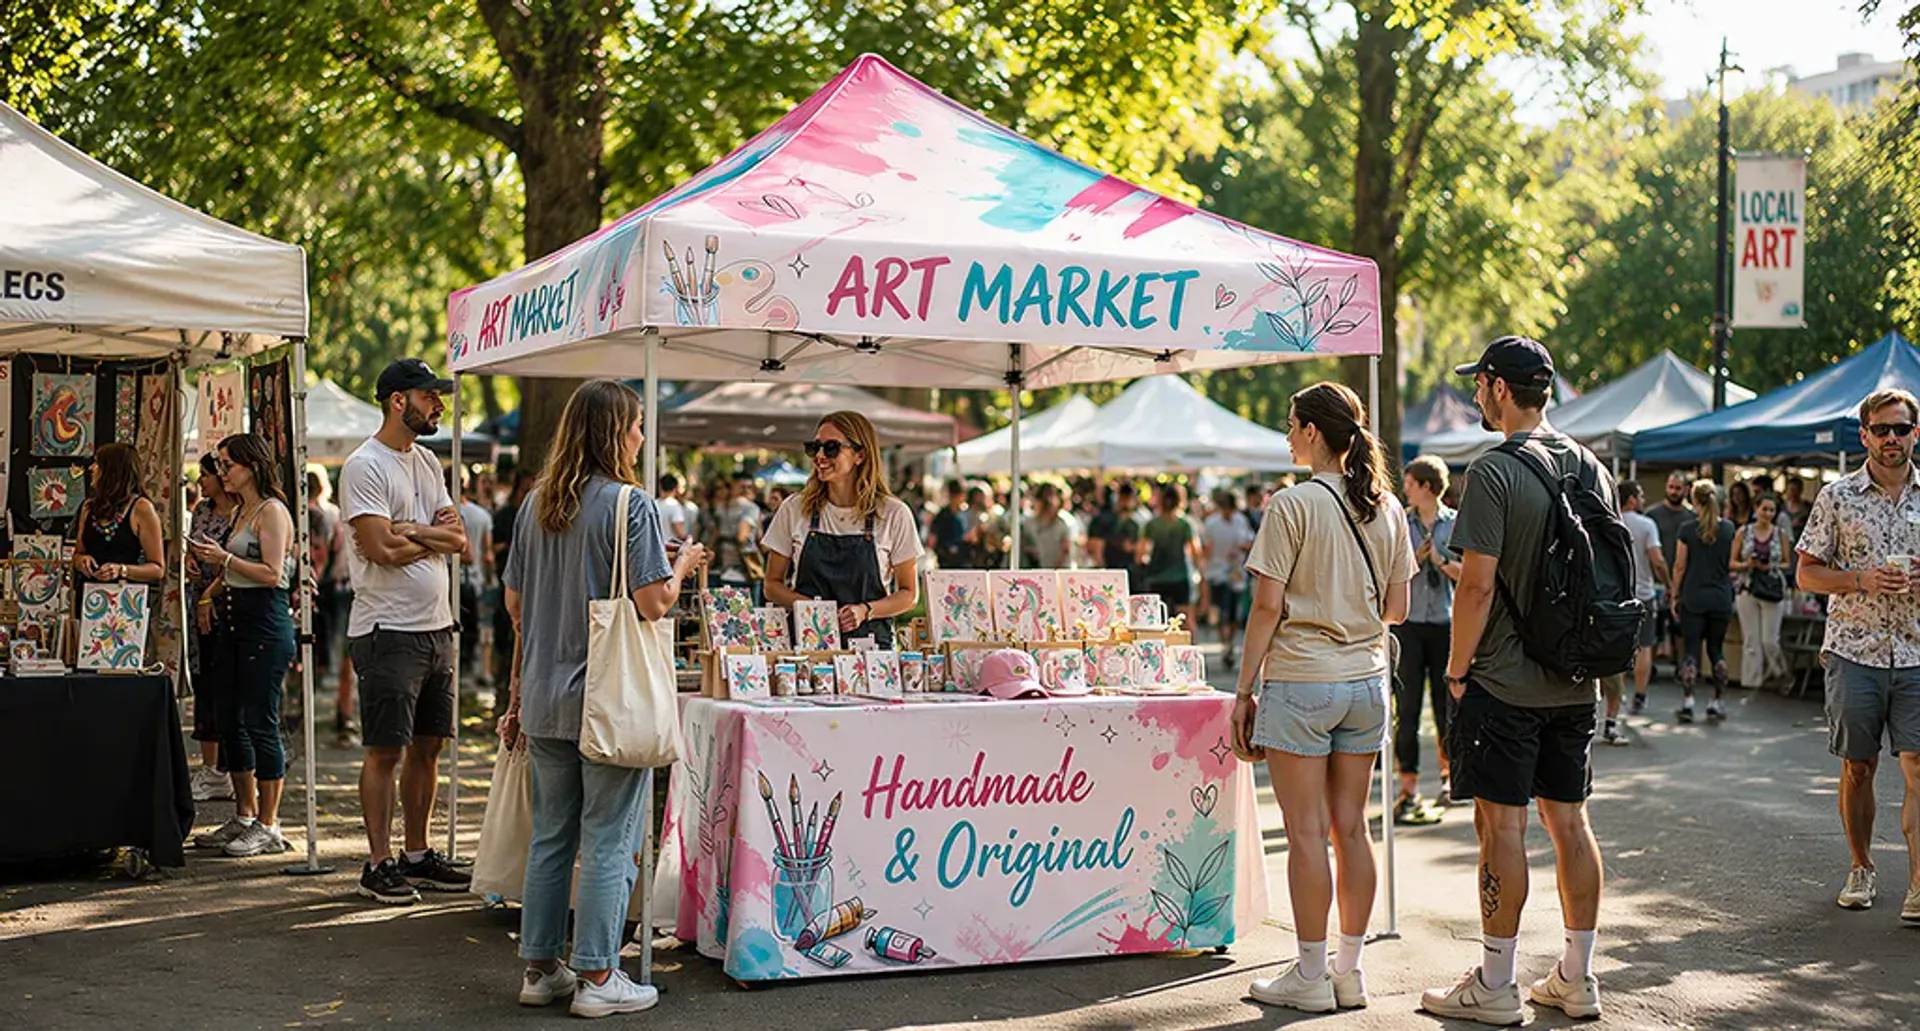
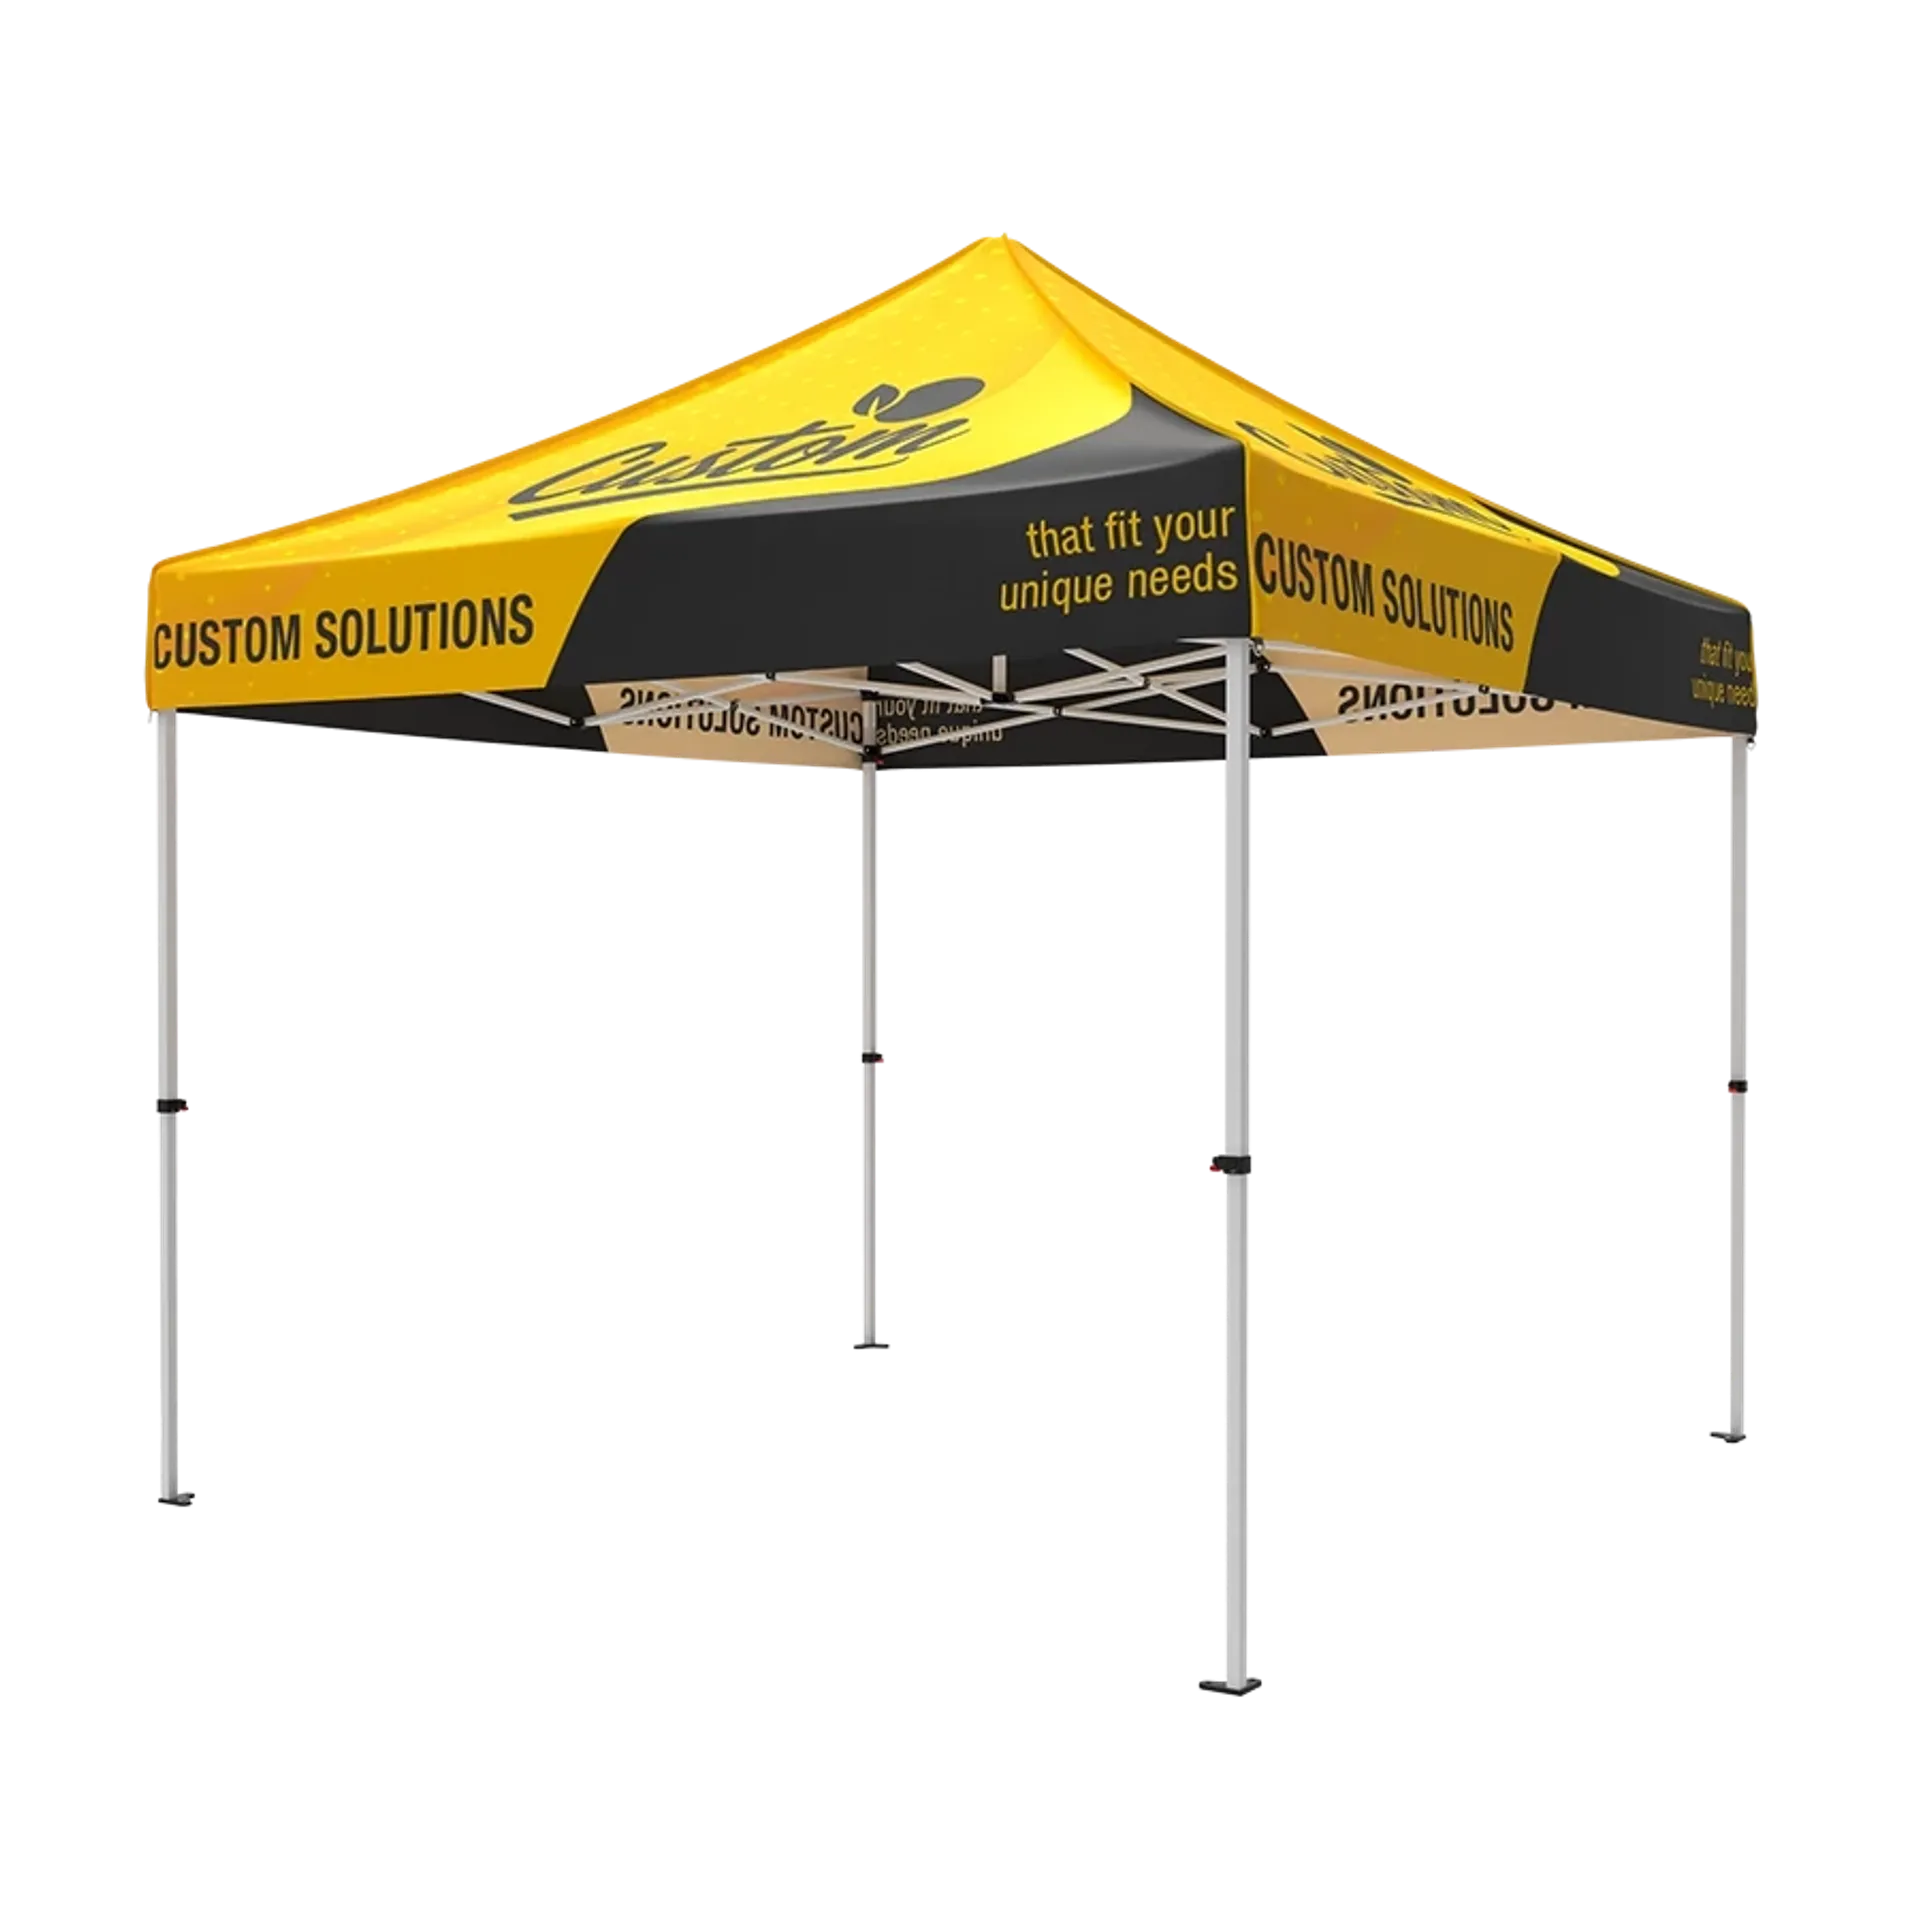
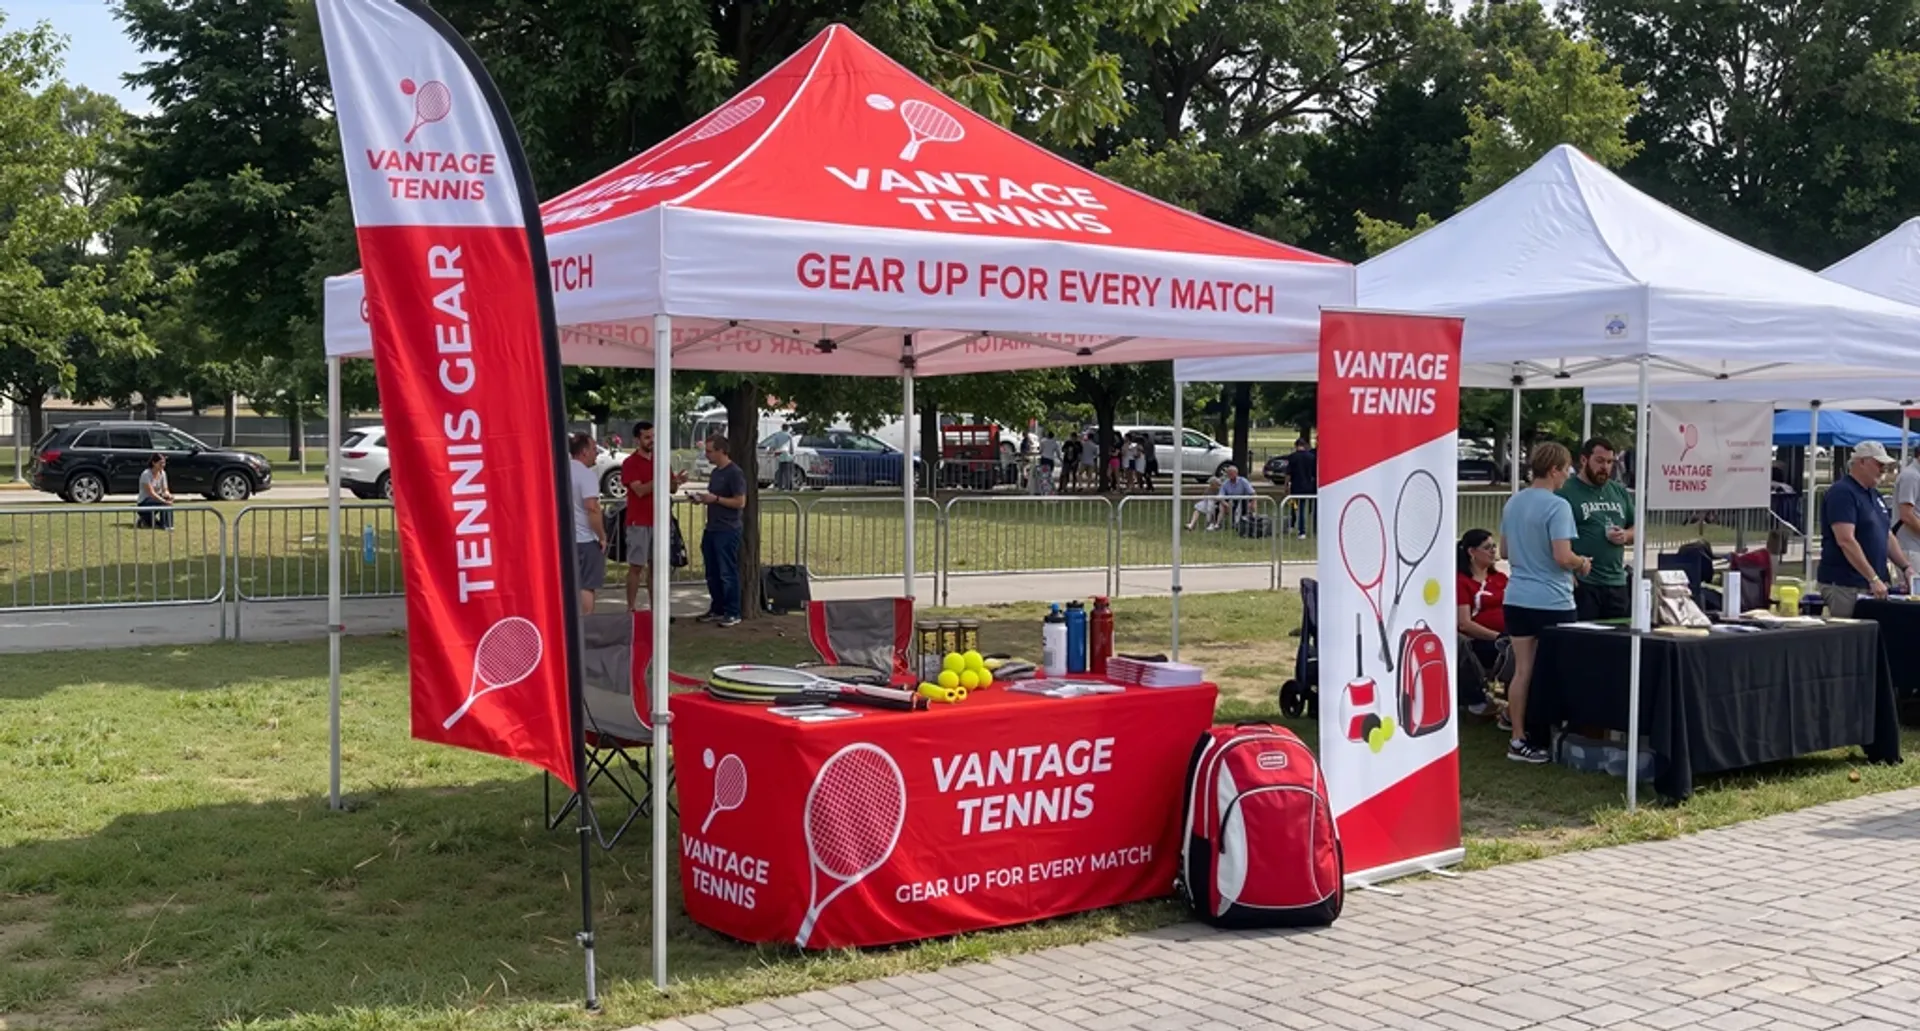
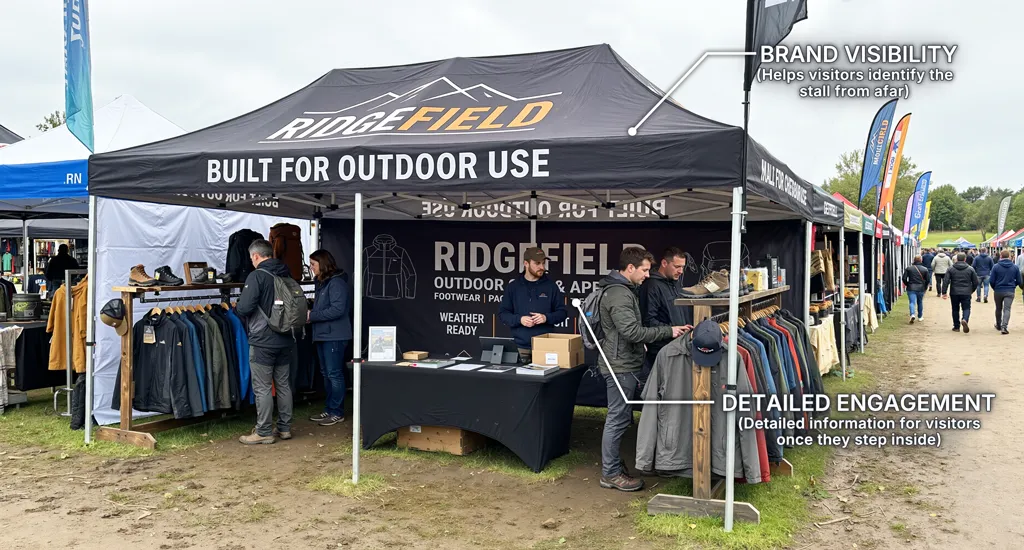
A branded canopy tent can use the roof edge to identify the booth from the approach and a permitted back wall for detail seen after a visitor enters. Those surfaces do different work, so one crowded graphic need not be repeated everywhere. The linked design examples can help you compare treatments, but they do not prove that one placement improves sales.
If the planned wall is not permitted, use an approved display surface and update both the graphic brief and layout sketch.
How Do You Test Setup and Packout Before the Event?
A layout is ready for supplier review when the actual frame, furniture, inventory, and event instructions still allow the planned routes. Do a dry run if you can access the equipment, then revise the worksheet to reflect what you observed. If the frame or wall option is still being selected, keep its exact geometry marked as pending.
Walk the Route With Real Equipment
Set out the tables and stock you plan to use, or measure the actual items against a scaled floor sketch. Walk the customer path and staff path in the sequence your team expects to follow. Note where a person would stop to browse, order, pay, or pick up, and where staff would reach supplies. Move the blocks when a planned movement is awkward.
Update the sketch with the selected configuration and equipment. The rehearsal can expose a conflict but cannot certify compliance with accessibility, fire, or venue rules.
Check the Organizer's Loading Window
Ask when and where the team may unload, assemble, and remove equipment. Work backward from the permitted setup sequence to decide which items should be accessible first and where packed goods can wait. If the organizer provides a specific route or handling instruction, put it on the event plan rather than turning it into a general rule for other markets.
During packout, confirm that the route stays usable as items are packed. Avoid an unverified setup time, vehicle fit, or staffing claim.
Which 10x20 Canopy Configuration Fits the Plan?
Use the finished layout to identify the opening and wall arrangement you need to compare. The nominal size is a starting category; current package options, actual frame geometry, and event rules decide whether a particular configuration fits. Keep the worksheet with you when reviewing product choices so a visual preference does not displace the route you already tested.
Match Openings and Walls to the Route
On the plan, label the side that must stay open and any wall that the organizer permits. A full sidewall is a wall panel option shown with current 10x20 canopy packages that closes one side of a selected configuration. Check which package actually provides the arrangement you drew; do not assume every frame or wall option is interchangeable.
If the front needs to stay open for browsing, compare that requirement with the package's available openings. If a service workflow needs a back boundary, confirm both organizer permission and the current wall option. The drawing should lead the shopping decision, not the other way around.
Compare Options on the Product Page
For a custom canopy tent in the nominal 10x20 category, use the route sketch to list the roof, wall, and opening choices you need. The 10x20 custom canopy tent collection is the size-specific place to compare current package options against that list. Bring the worksheet and open questions to the 10x20 product comparison. Check the selected frame and wall configuration before treating a diagram as a product specification.
Do not copy price, delivery, warranty, capacity, or weather claims from a snippet. Confirm critical missing facts for the selected product and event before ordering.
Frequently Asked Questions
Where Should Checkout Go in a 10x20 Vendor Booth?
Put checkout on the customer route after you confirm the approved entrance and how people will browse or order. Give staff a separate way to reach supplies, then test both movements with the actual tables and frame. If the proposed position blocks an opening or an organizer-required path, move checkout and redraw the sketch. There is no universal checkout corner for every event.
Can a 10x20 Canopy Have an Open Front and a Back Wall?
Current 10x20 canopy options show roof and wall configurations, but the arrangement you can use depends on the selected package and the event's rules. Mark the front you want open and the back wall you hope to use, then confirm both with the organizer and the current product details. Do not treat the example sketch as a clearance or safety approval.
How Do I Compare a 10x20 Layout With a 10x10 Layout?
Draw the same real tables, stock, checkout, and customer and staff routes inside both nominal outlines. Note where a route becomes awkward or an item no longer fits the chosen arrangement, then check actual frame dimensions and event limits. A smaller-footprint example can guide the exercise, but a fixed table count from another setup cannot decide your own layout.
What Should I Ask the Event Organizer Before Drawing a Layout?
Ask for the assigned space, permitted customer opening, wall and anchoring rules, utility locations, and any limits on queues or service activity. Request the current loading, setup, and teardown instructions for your specific event. Keep unanswered items marked on the worksheet until the organizer responds; a published rule from another venue does not approve your booth here.