Content
Before You Start: The Essential Checklist
Common Setup Mistakes to Avoid
Conclusion

How to Set Up a Custom Inflatable Dome Tent for Your Event?

Nov 12, 2025
8 Minutes Read
0 Views
PC-basic-2Full-Wall+2Awning+1Tunnel-880X499

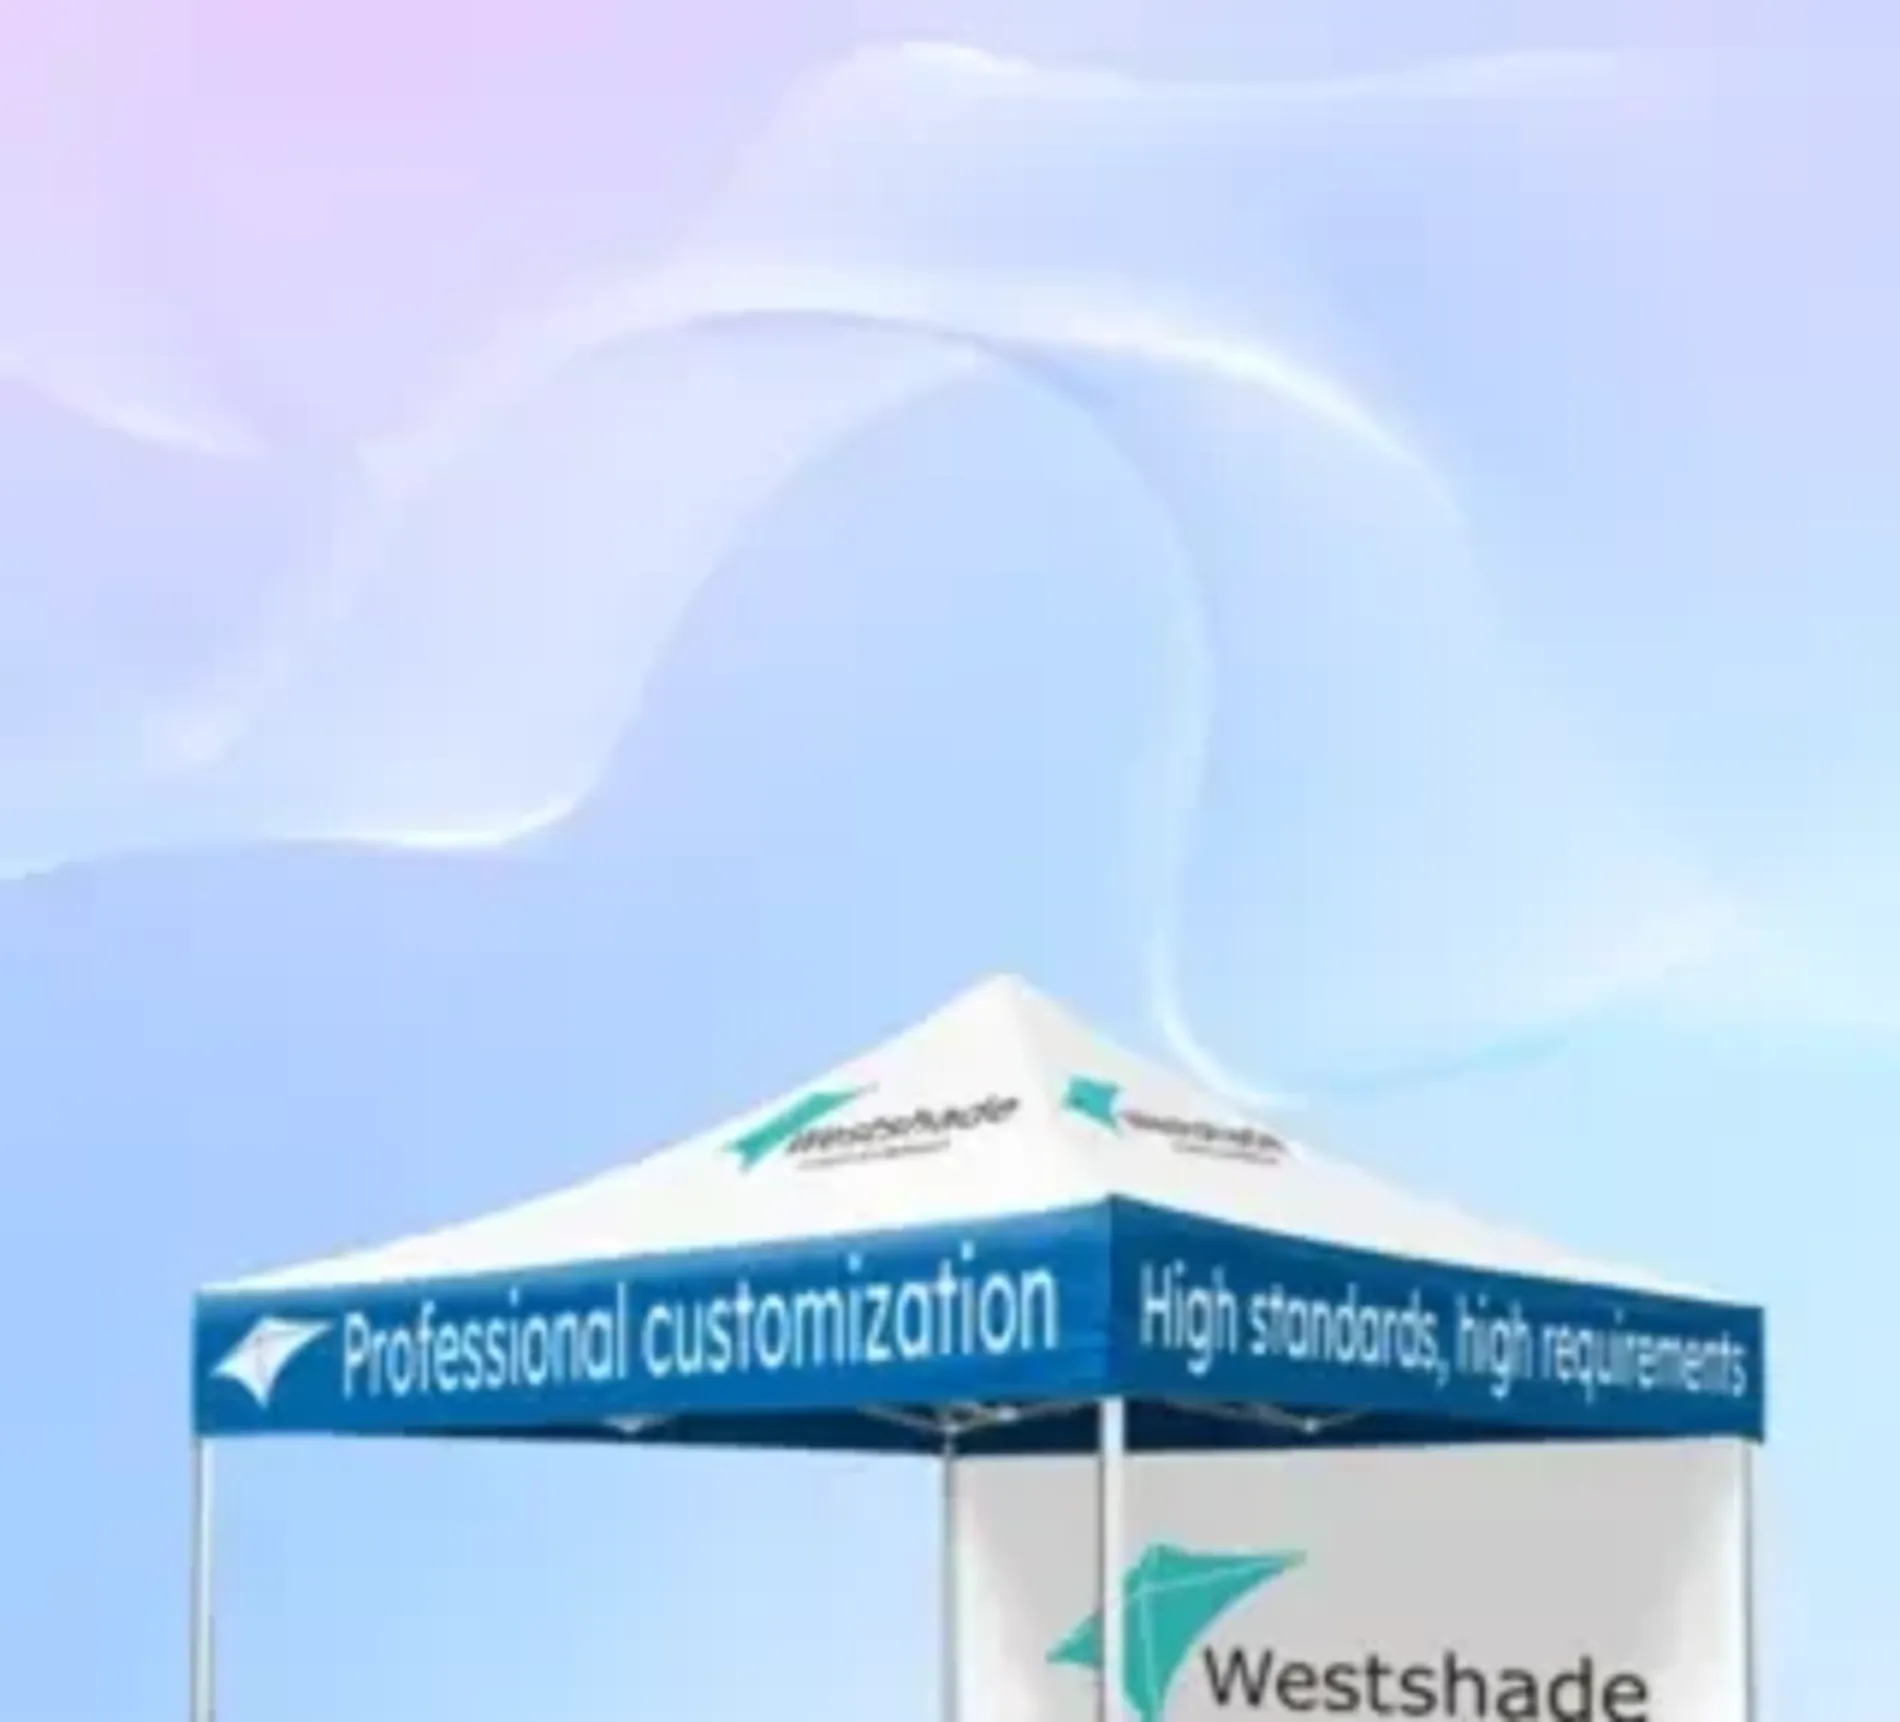
If you’ve ever struggled with setting up a traditional frame tent, you’ll love how easy an inflatable dome tent can make your event setup. These air tents inflate quickly with minimal effort, creating a stunning, professional-looking space in minutes.

In this guide, we’ll provide a step-by-step guide on setting up, securing, and packing up your branded air dome quickly and safely, ensuring your event runs smoothly from start to finish.

Before You Start: The Essential Checklist

Before inflating your dome tent, it’s important to prepare properly. Here’s your quick checklist to make sure everything goes smoothly:

  • Choose the right location: A flat, clean surface free of sharp objects is ideal to avoid damage. Although inflatable tents are made of durable, tear-resistant fabric, it’s still important to avoid sharp objects that could puncture or tear the material, especially under heavy pressure.
  • Check weather conditions: Avoid setting up in extreme wind or rain for safety.
  • Gather the tools: You’ll need an electric blower or pump, a reliable power source, anchor ropes or straps, and sandbags or stakes to secure the tent.
  • Inspect the tent and equipment: Look for any damage or wear, especially around seams and valves.
  • Review the user manual: If you’re using a Westshade custom inflatable dome, all necessary accessories and instructions are included to guide you step-by-step.

Taking these steps before setup ensures a safe, efficient inflation process and protects your investment.

The Rapid Setup: Inflate in 5 Easy Steps

Setting up your inflatable dome tent is easier than you might think. Get your team ready! This part goes fast.

1. Position the Dome

Lay the entire structure flat on the ground. Take a moment to unfold the legs/tubes completely, ensuring the dome is oriented exactly where you want it to stand.

2. Zip It Up (If Applicable)

If your dome includes attachable walls, windows, or awnings, connect them now while the fabric is slack and easy to manage. Most accessories attach via heavy-duty zippers.

3. Locate the Valves

Identify the primary inflation valve, typically a large, secure one-way valve. This prevents air loss when the pump is disconnected.

4. Connect the Pump & Go

Securely connect the pump (electric or manual). The electric pump is highly recommended for achieving maximum rigidity quickly, but the manual pump can be used if power access is an issue. Start inflating and watch the structure rise.

Modern commercial domes often use airtight tubes (TPU bladders) and, once inflated, do not require a constant air supply. They maintain pressure for the entire event.

5. Monitor Pressure

Listen to the pump sound. It will change as the dome reaches optimum pressure. Stop the pump immediately once the structure is fully rigid.

If your dome is equipped with an overpressure valve (like a Westshade inflatable tent), it automatically vents excess air upon full inflation, preventing dangerous bursts and ensuring a stress-free setup.

You can also check out our inflatable tent setup video for a visual guide.

Anchor Down the Inflatable Tent

A secured dome is a safe event. Never skip the anchoring process.

Immediate Grounding

Hard Surfaces (Concrete): Use heavy-duty water barrels or sandbags. Never use insufficient weight.

Soft Surfaces (Grass/Beach): Drive in the ground stakes/pegs through the dome's base loops.

Tension the Ropes

Attach the guy ropes to the top anchor points and tension them outward at a 45-degree angle to maximize stability against wind forces.

347e0431-4713-45b6-8a8e-ce940a3eefb4

After the Event: Take Down Your Tent Quickly

When your event wraps up, follow these tips for fast, hassle-free takedown:

1. Disconnect and Deflate

Remove Anchoring: Remove all anchoring ropes and weights first.

Open Valves: Open the main air valve(s) to begin the rapid deflation process.

2. The Clean Squeeze

As the dome collapses, start tightly rolling or folding the dome from the edges inward, working toward the open valve. This action efficiently squeezes out all remaining trapped air.

3. Store Smart

Ensure the dome is 100% dry before storing. Even slight dampness will lead to mold, mildew, and fabric damage. If your tent gets wet, you must dry it out within 24 hours.

Fold neatly and return the dome to its compact carrying bag. Store in a cool, dry location, away from potential rodent or insect damage.

Common Setup Mistakes to Avoid

Avoid these pitfalls to keep your inflatable event tent in top shape:

  • Improper setup location: Avoid setting up on uneven or rough surfaces, as this increases the risk of punctures or fabric wear.
  • Leaving zippers open: Ensure all access zippers are fully closed during inflation and when the dome is secured to maintain internal pressure and structural integrity.
  • Anchoring at the wrong angle: Setting guy ropes straight up and down (vertically) provides almost no stability against wind. Use the 45-degree technique for optimal safety.
  • Over-inflating in heat: Extreme heat causes internal air pressure to rise. If you inflate to max pressure in the cool morning, use the over-pressure valve (if available) or vent slightly during the hottest part of the day.

FAQs

How long does it take to set up an inflatable tent?

Most inflatable tents can be fully set up in 5–10 minutes, depending on the size and the pump you’re using. A high-speed electric air pump can inflate a 10x10 tent in about five minutes. Once connected to the pump, the structure inflates quickly, and the rest is just anchoring and adjusting.

Do inflatable tents need constant air for events?

Most inflatable event tents do not require continuous inflation. Modern commercial inflatable domes use airtight TPU bladders. Once inflated, they maintain pressure for the entire duration of your event.

How do inflatable tents hold up in the wind?

Inflatable tents are good in wind. Their curved, air-supported structure allows gusts to flow over them instead of pushing against rigid poles. When properly anchored at the recommended 45-degree angle, high-quality inflatable domes can withstand moderate to strong winds. Always follow the manufacturer’s anchoring guidelines and avoid using any tent in extreme weather conditions.

Can one person set up an inflatable tent?

Absolutely! In most cases, one person can set up an inflatable tent thanks to the simplified, pole-free design. The inflation process itself is easy and hands-free once the pump is running. However, for larger tents or windy conditions, having two people is recommended to help with positioning, anchoring, and ensuring the tent is perfectly aligned.

Conclusion

Setting up a custom inflatable dome tent is one of the fastest, most stress-free ways to prepare for an event. With no poles to assemble and a quick inflation process, you can create a professional, eye-catching branded space in just minutes. By choosing the right location, following proper inflation and anchoring techniques, you’ll ensure your dome stays safe, stable, and looking great throughout your event.

Ready to elevate your event setup? Explore Westshade’s custom inflatable tents and bring your brand to life with a structure that’s as effortless as it is eye-catching. If you have questions about accessories, like choosing the right sidewalls or adding interior lighting, also contact us. We are here to help you create the perfect setup.

Related articles
Design Your Canopy Tent with Westshade
Experience high quality materials and various custom options.
We offer the perfect canopy tent tailored to your needs.
newsletter
Newsletter
Join the newsletter to receive the latest updates in your inbox.
Quick Sharing
facebook
mail
twitter
pinterest