Content
How to Set Up a Canopy Tent by Yourself: Step-by-Step Guide
Disassembling and Storage
Conclusion

How to Set Up a Canopy Tent by Yourself: A Complete Guide

Dec 26, 2024
6 Minutes Read
0 Views
how to set up a canopy tent by yourself

Whether you’re preparing a tent for an outdoor event, a farmers market booth, or just want some shade in your backyard, you need to learn how to put up a canopy tent. Setting up a canopy tent alone seems like a daunting task, especially if you are a beginner. However, with proper canopy tent instructions, this task can be quick, easy, and stress-free.

This guide will help you master how to set up a canopy tent by yourself. From preparation to takedown, we’ll guide you through every step. Ready to put up a tent on your own? Let’s get started!
Preparation Before Setting Up

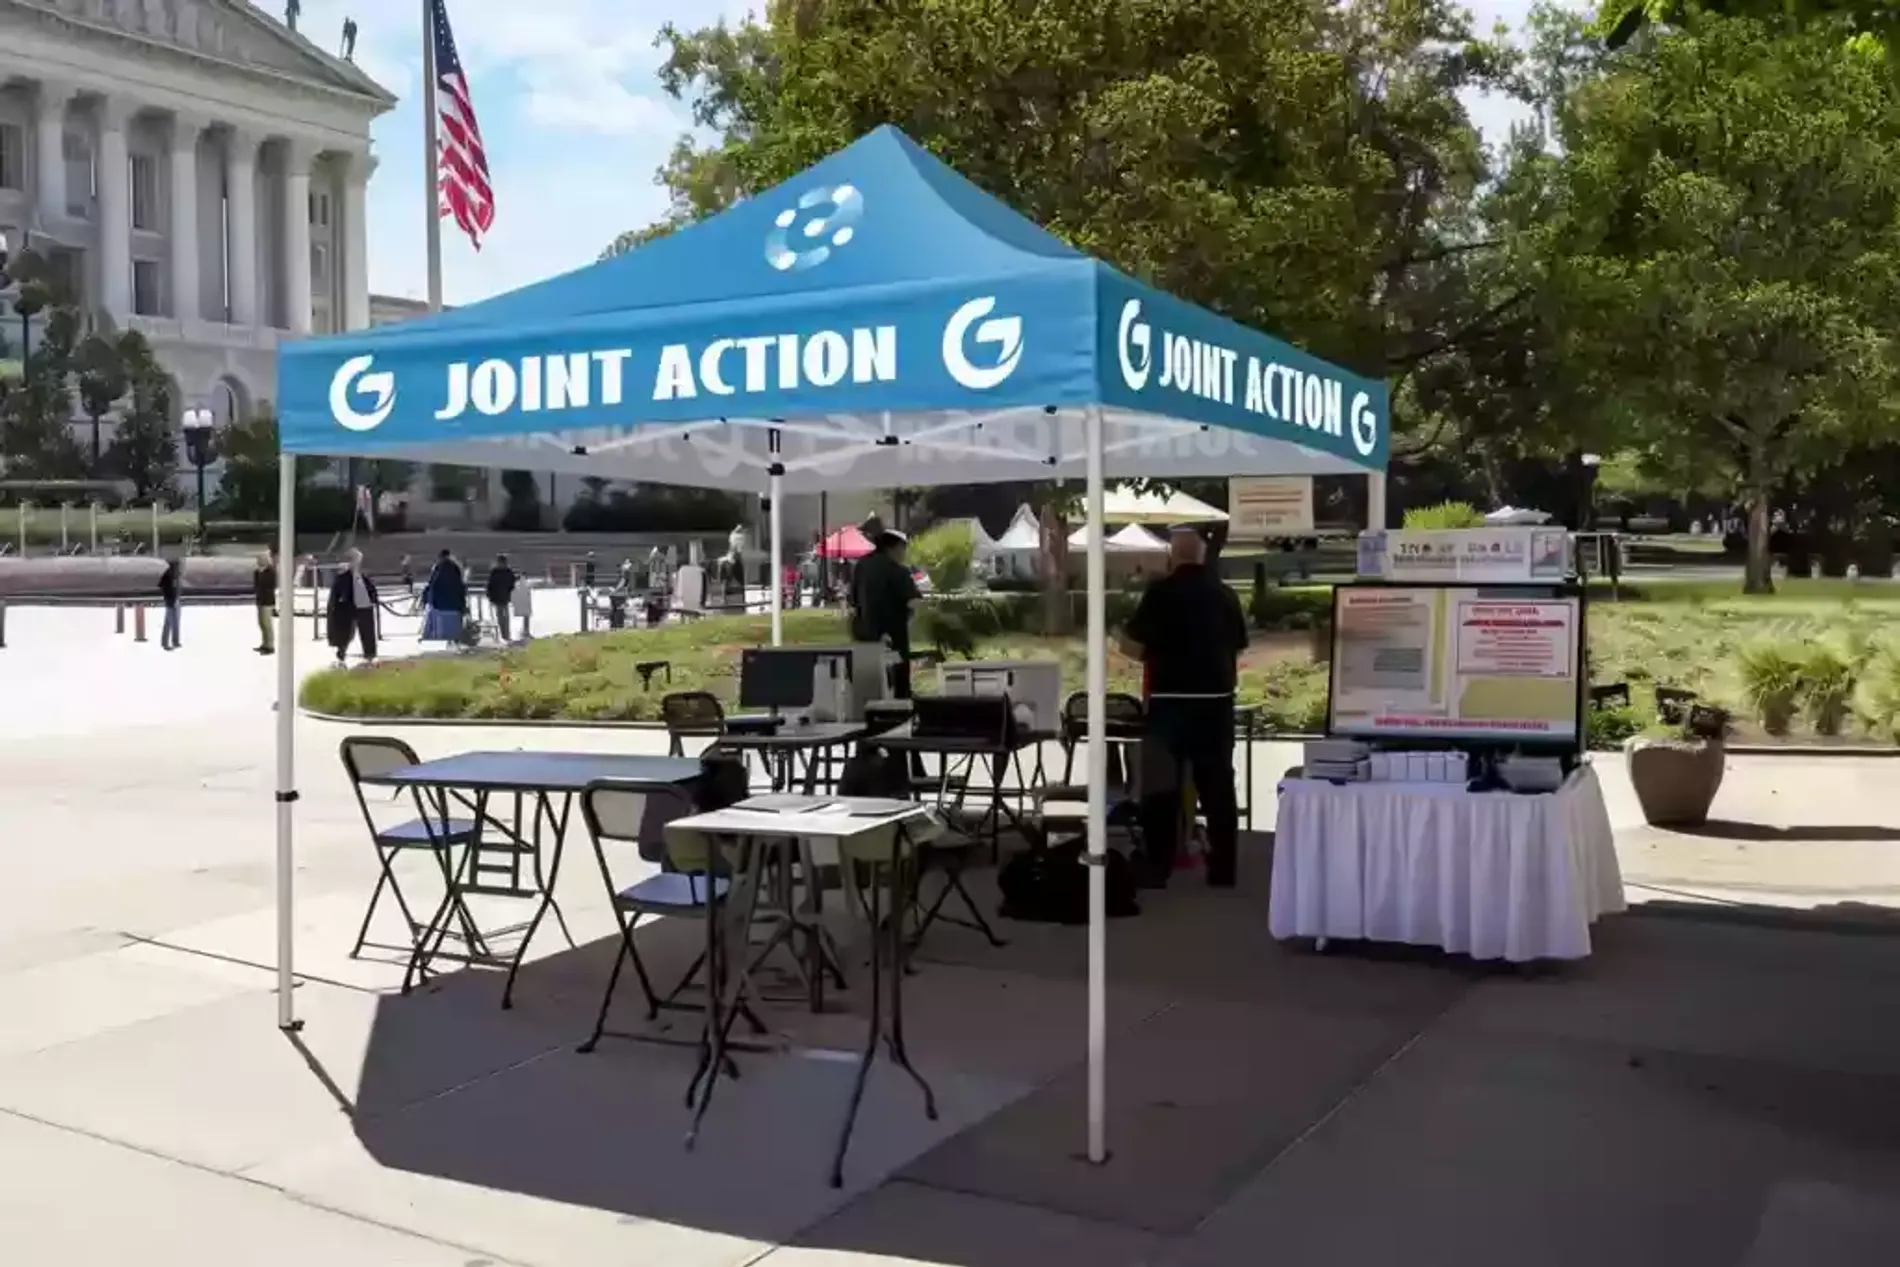
Before you start the setup process, a well-done preparation is key to a smooth setup. Here’s a checklist of things to do before you take action:

Select a good location

Choose a flat surface to set up your tent

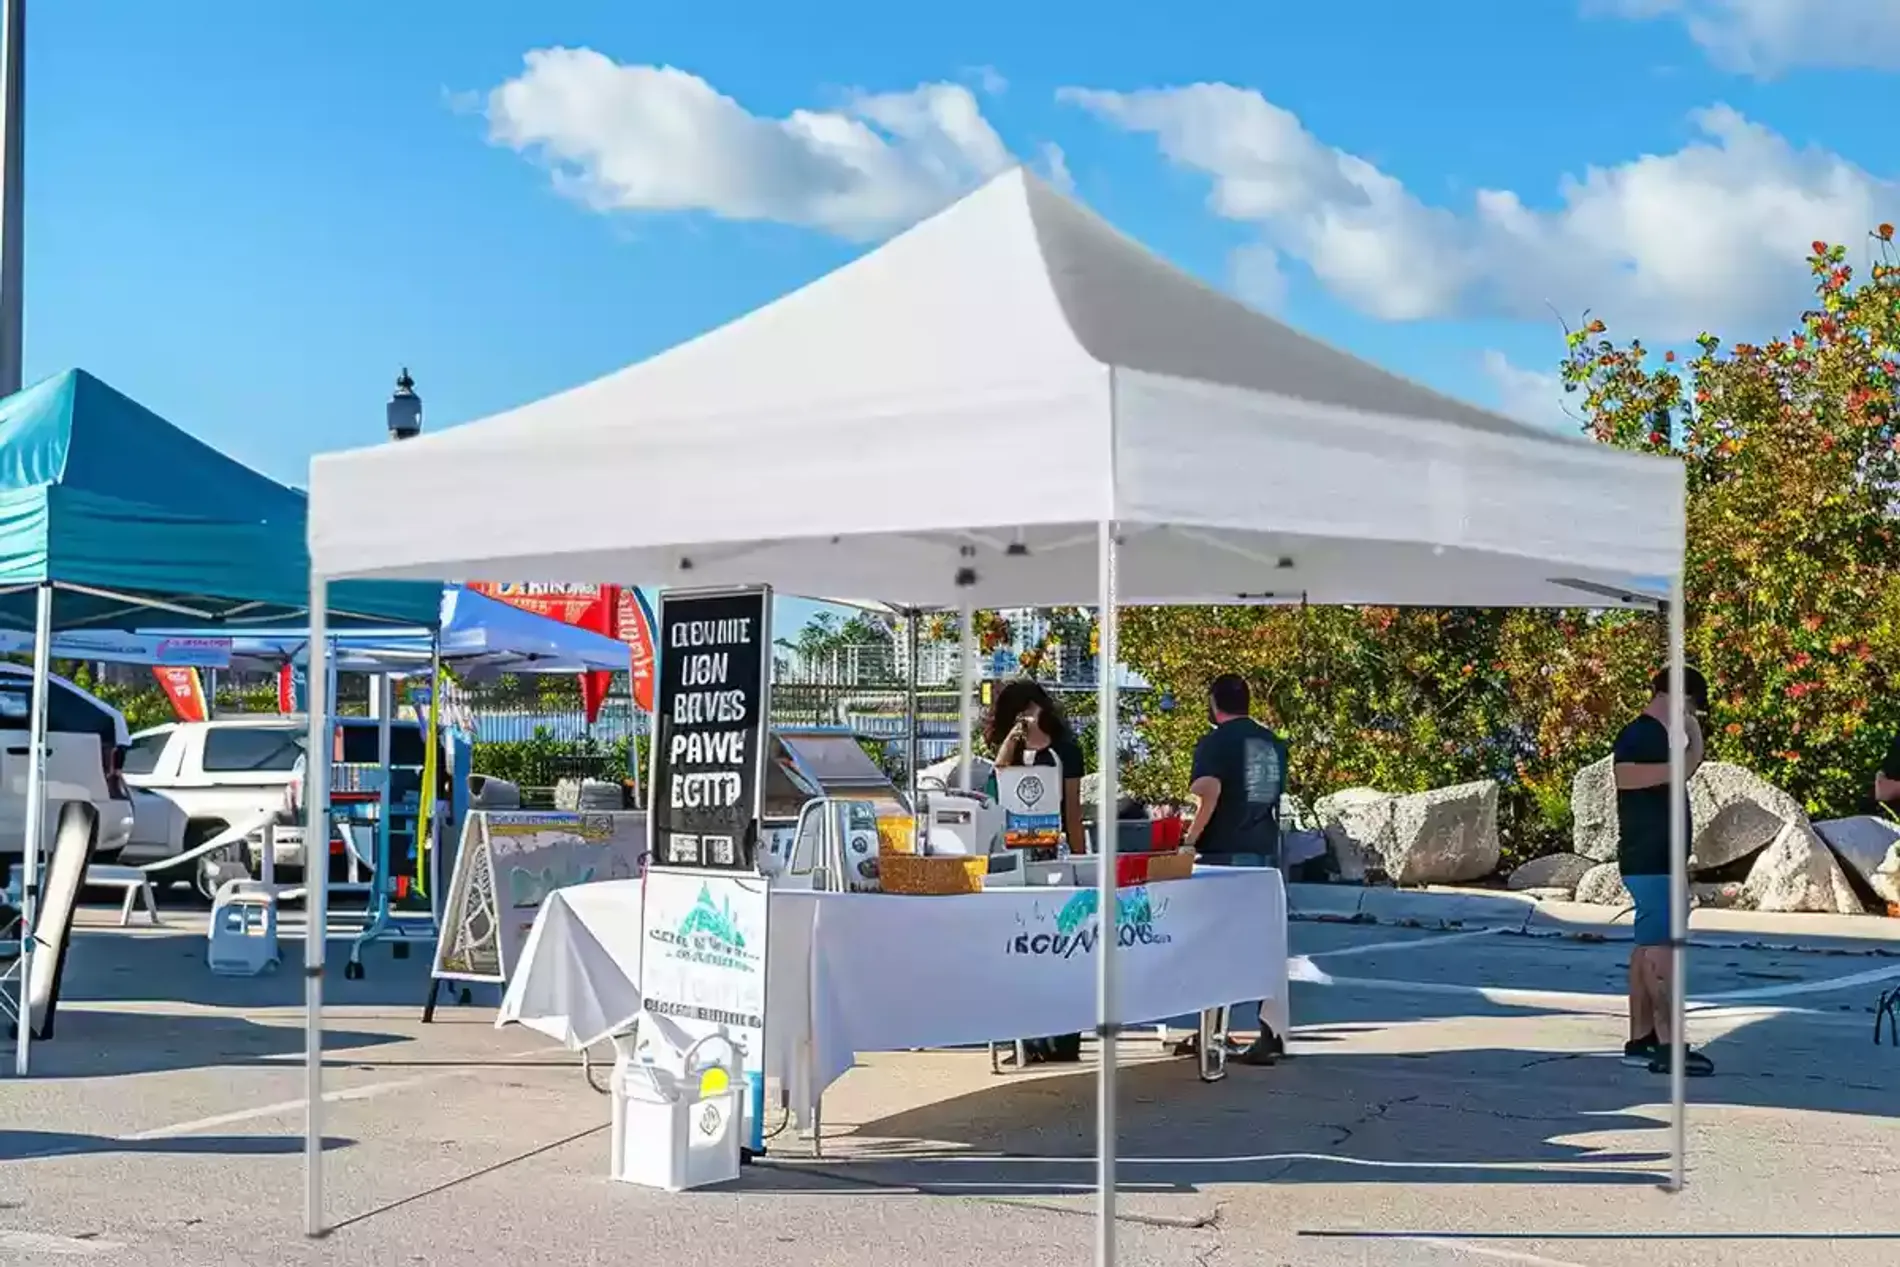
A good location ensures your pop up outdoor canopy remains stable and safe throughout the event. Look for a flat, level ground with enough space for the tent to fully expand and for people to move around comfortably underneath. Avoid spots with tree branches, power lines, or other overhead obstructions that might interfere with the tent.

Clean the tent site

Clear away rocks, sticks, trash, or any sharp objects from the area. A clean, smooth surface will make installation much easier.

Prepare the required tools

You’ll need a retractable knife and a mallet or hammer. The knife is for opening the tent packaging, and the mallet is for securing the stakes.

Organize canopy tent parts

Items in Westshade's tent package
Items in Westshade’s tent package

After unpacking, check that all parts are included. For example, the Westshade tent package should contain: a fabric roof, a tent frame, 1 wheeled carrying bag, 4 tie-down straps, 4 sandbags, and 4 steel stakes.

How to Set Up a Canopy Tent by Yourself: Step-by-Step Guide

How to set up and take down a Westshade tent

Once the preparations are complete, you can start setting up the tent. Taking our 10 x 10 pop up tent as an example, the setup process involves these six main steps:

Step 1 Open the frame partially

Extend the frame until it is up to 75% open. Our small easy up canopy has a stable frame and flexible connection structure, making it easy to open on your own with minimal effort.

Step 2 Position the roof on the tent frame

Lay the fabric roof over the frame, ensuring it is spread evenly and the peak aligns with the center of the frame. Lift all roof connectors to lock the button until hearing a “click”.

Step 3 Secure the roof

Secure the roof in place. Attach the Velcro straps to the leg one by one, and fit the roof cap onto the top of the center pole.

Step 4 Open the frame completely

After fitting the fabric roof, hold the truss bars and walk backward to open the frame fully.

Step 5 Adjust tent legs to desired height

Press the adjustment buttons on the tent legs for ideal height

With the frame assembled, raise the legs to your desired height. You can press the button to adjust the leg height to 5 positions (approx. 5’1″, 6′, 6’4″, 6’7″, or 6’11”).

Step 6 Anchor the tent

How to install sandbags on tent legs

Now the tent is basically set up. To ensure safety, you can use steel stakes and sandbags to secure a canopy in the wind.   

Tips for Easier Set Up

Now you know the basic steps of the tent setup. However, if you want to make the process faster and easier, here are some tips that might help:

Start with a lightweight model

The design required for an easy-set-up tent frame

A one person set up canopy should be lightweight and easy to lift and adjust. When choosing a canopy, look for easy up tents that often feature:

  • Easy-to-use frames that make lifting and adjusting the structure simple.
  • Push-button locks for quick and secure leg height adjustments.
  • Quick-pull mechanisms that allow you to expand and secure the frame in minimal time.

Fortunately, Westshade’s tents are designed to meet the above requirements. Our 10×10 canopy tents could be the easiest pop up canopy for one person. They are easy to set up for various occasions, allowing you to quickly create a stable, secure shelter on your own. Whether you’re looking for a lightweight pop up canopy, a durable all-weather option, or a customizable shelter for your business, we have the perfect solution for you. Visit our website to choose the perfect canopy tent at Westshade.

Practice makes perfect

Practice setting up your tent in your backyard or an open space

Try setting up your tent in advance before the actual event. The process will become quicker and smoother as you become more familiar with the setup steps.

Consider asking for help

If you’re setting up a larger model or simply want to save time, consider asking for help. A second pair of hands can assist with lifting the frame into place or holding the canopy steady, making the process more efficient.

Disassembling and Storage

Secure your tent with tent stakes

After your event, it’s time to pack up the tent and store it properly. Do you know how to take down a canopy tent? To ensure your tent stays in good condition and is ready for future use, follow these steps:

1. Remove all equipment under the canopy

Clear the space by removing any personal belongings, tools, or decorations that were placed under the tent during the event.

2. Lower the tent legs

Push the button to retract the tent legs to their lowest position. Make sure the frame stays stable.

3. Unclip roof straps and slide down the roof connectors

Detach all Velcro, straps securing the canopy to the frame. And then push the button to release the roof connectors, making the roof slide down.

4. Collapse the canopy frame

Hold the truss and gently move it inward until the legs and frame fold into place.

5. Check for any remaining accessories

Double-check for any remaining stakes, ropes, or other accessories to ensure everything is packed away.

6. Inspect for any damage

Carefully inspect the canopy and frame for any signs of wear, tear, or damage to address before the next use.

7. Pack the tent into a protective cover

How to pack the tent into a protective cover

Neatly pack the tent into the protective cover for proper storage and easy transportation. Don’t forget to gather the accessories. You’d better store the tent and accessories together in a cool, dry place until the next use.

Conclusion

With the right tent and useful approaches, setting up a canopy on your own is easy. By following the step-by-step process in this guide, you’ll be able to set up your tent with confidence and efficiency. At Westshade, our 10×10 outdoor tent and other options are designed for easy setup, perfect for markets, events, or outdoor gatherings. Explore our range of canopies today and make your next outdoor event easier than ever!

Related articles
Design Your Canopy Tent with Westshade
Experience high quality materials and various custom options.
We offer the perfect canopy tent tailored to your needs.
newsletter
Newsletter
Join the newsletter to receive the latest updates in your inbox.
Quick Sharing
facebook
mail
twitter
pinterest